


25
Basic Operations
Note
• Messages are displayed in the language set
by the user in the “Language” menu. The pre-
set language upon purchase is “English”. The
user can choose from 8 national languages.
(☞ page 39)
However, the input mode ([PC1], [PC2],
[PC3], [Y/C], [VIDEO]) and button indications
([FREEZE], [D.ZOOM], [EXIT]) are only dis-
played in English irrespective of the display
language setting.
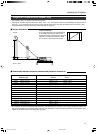
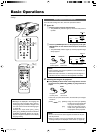
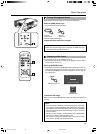
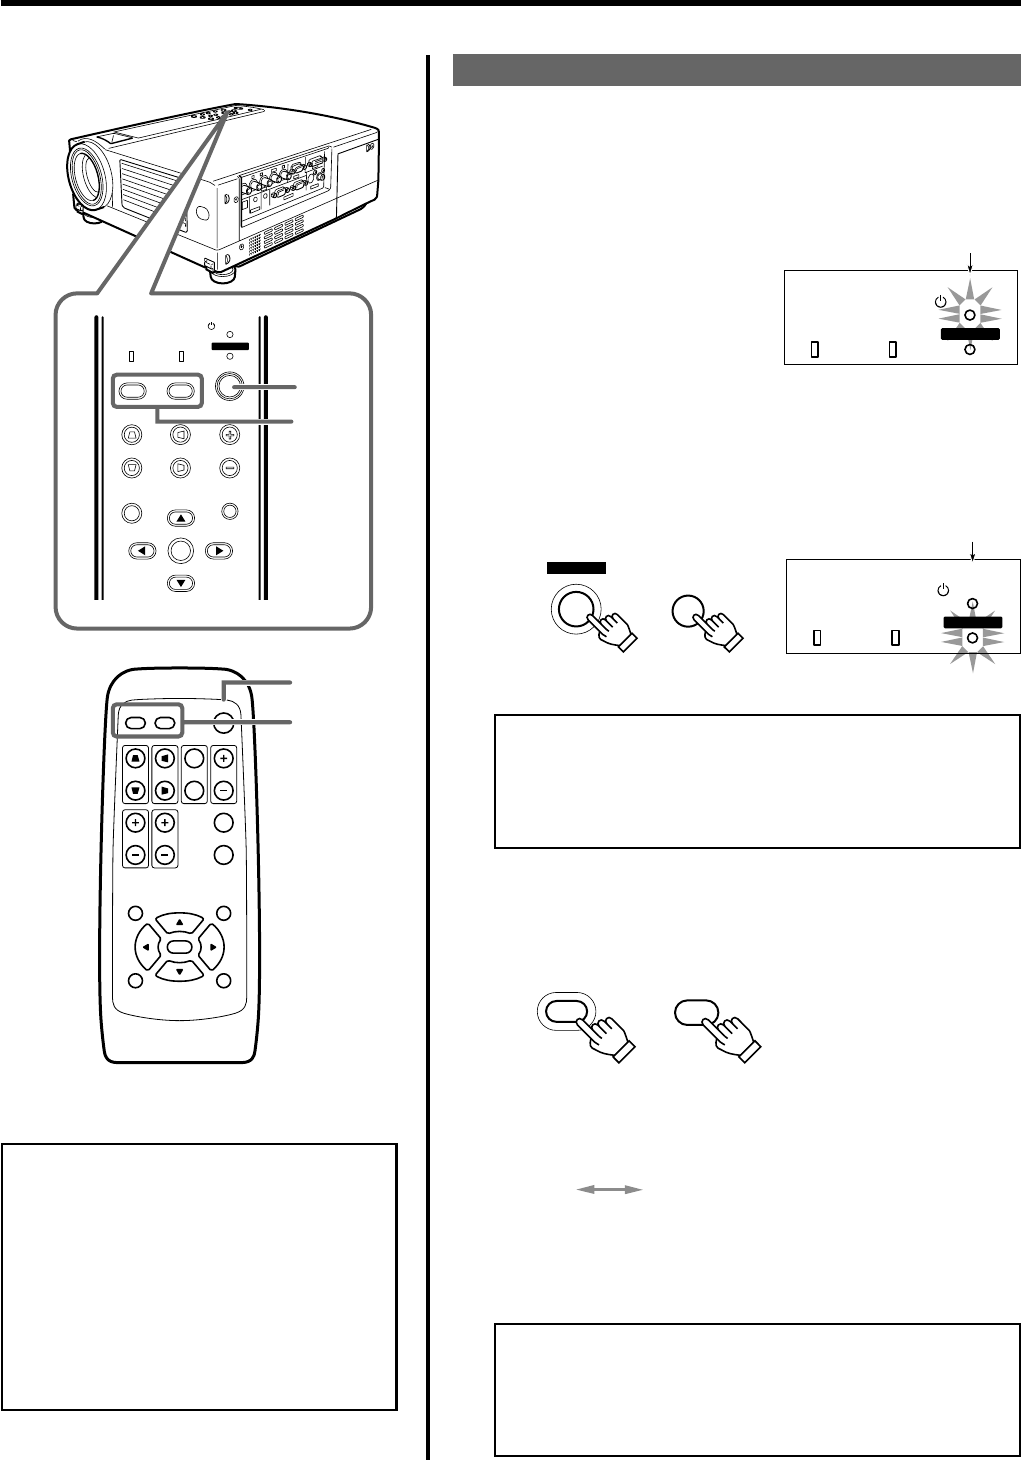
1.
Power On
1 Insert the power cord into the wall outlet
• The [STAND BY] indicator lights up when the main power is
inputted.
2 Press the [OPERATE] button on the projector (or the [OP-
ERATE] button on the remote control unit) for one second
or more
• The [OPERATE] indicator lights up and the projected image
slowly appears.
2.
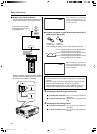
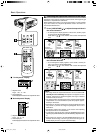
Selecting the image to be projected
Ⅵ Press [VIDEO] to select which of the image devices of those
connected to the [VIDEO IN] ([VIDEO] or [Y/C]) terminals is
output
• Each time you press either button, the selected input changes
as follows.
Notes
• Upon projection, the image may flicker for a few seconds, but
this is not a malfunction.
• When the lamp is turned on, it will slowly become brighter. It
will take more than a minute for the brightness to stabilize.
[VIDEO]: Image from the input [VIDEO]
terminal on the right hand side
of projector will be projected.
[Y/C] : Image from the input [Y/C] ter-
minal on the right hand side of
the projector will be projected.
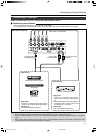
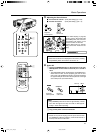
MENU
V-KEYSTONE
PC
LAMP
H-KEYSTONE VOL.
EXIT
ENTER
VIDEO
TEMP
STAND BY
OPERATE
1-
2
2
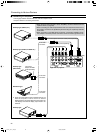
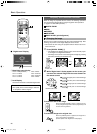
QUICK ALIGN.
PC VIDEO
VOLUME
PRESET HIDE
ENTER
MENU EXIT
FREEZE
OPERATE
V-KEYSTONE H-KEYSTONE
SCREEN
DIGITAL
ZOOM
FOCUS
W
S
1-
2
2
LAMP TEMP
STAND BY
OPERATE
LAMP TEMP
STAND BY
OPERATE
OPERATE
OPERATE
VIDEO
VIDEO
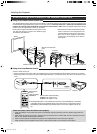
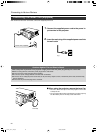
Basic Operation Procedures
Once the basic settings are done, follow the procedures below:
Light on
Projector: Indicator
Light on
Projector: Indicator
Remote
control unit
Projector:
Control panel
Remote
control unit
Projector:
Control panel
Notes
• Sound is formed from sound signals connected to the [AU-
DIO IN] terminal.
• When no image is input to the selected input terminal, the
message “No Input” is displayed on the screen. (☞ page 53)
If projector set up is not yet complete, please read ‘Adjustments and Settings Using Menus’ on page 32 and perform the necessary
settings.
[VIDEO]
[Y/C]
HX-1E_p15-31_En.p65 10/3/03, 6:08 PM25