Silicon Image, Inc. iScan Pro User Manual
23
Appendix A – Internal Jumper Settings
These modifications are only required in very rare circumstances. Composite Sync and Sync-on-
Green are only required in RGB mode (never Component/YPbPr mode) and typically only with older,
large front projectors. The rule of thumb is if you are seeing a picture on your display, then you have
the sync settings correct.
To modify these internal settings, you will need to change a jumper that is only available after
opening up your iScan Pro unit. Read through these instructions first and if you feel that you are not
comfortable with performing this type of operation, please ask your dealer to make the modification
for you. They are generally happy to do so.
Removing the iScan Pro motherboard
1) Find an electrostatic-free environment to work at. Having no carpeting or static-free carpeting is
strongly recommended. If you can find an area with some heavy metal parts within easy reaching
distance, touching these will allow you to discharge yourself before beginning work.
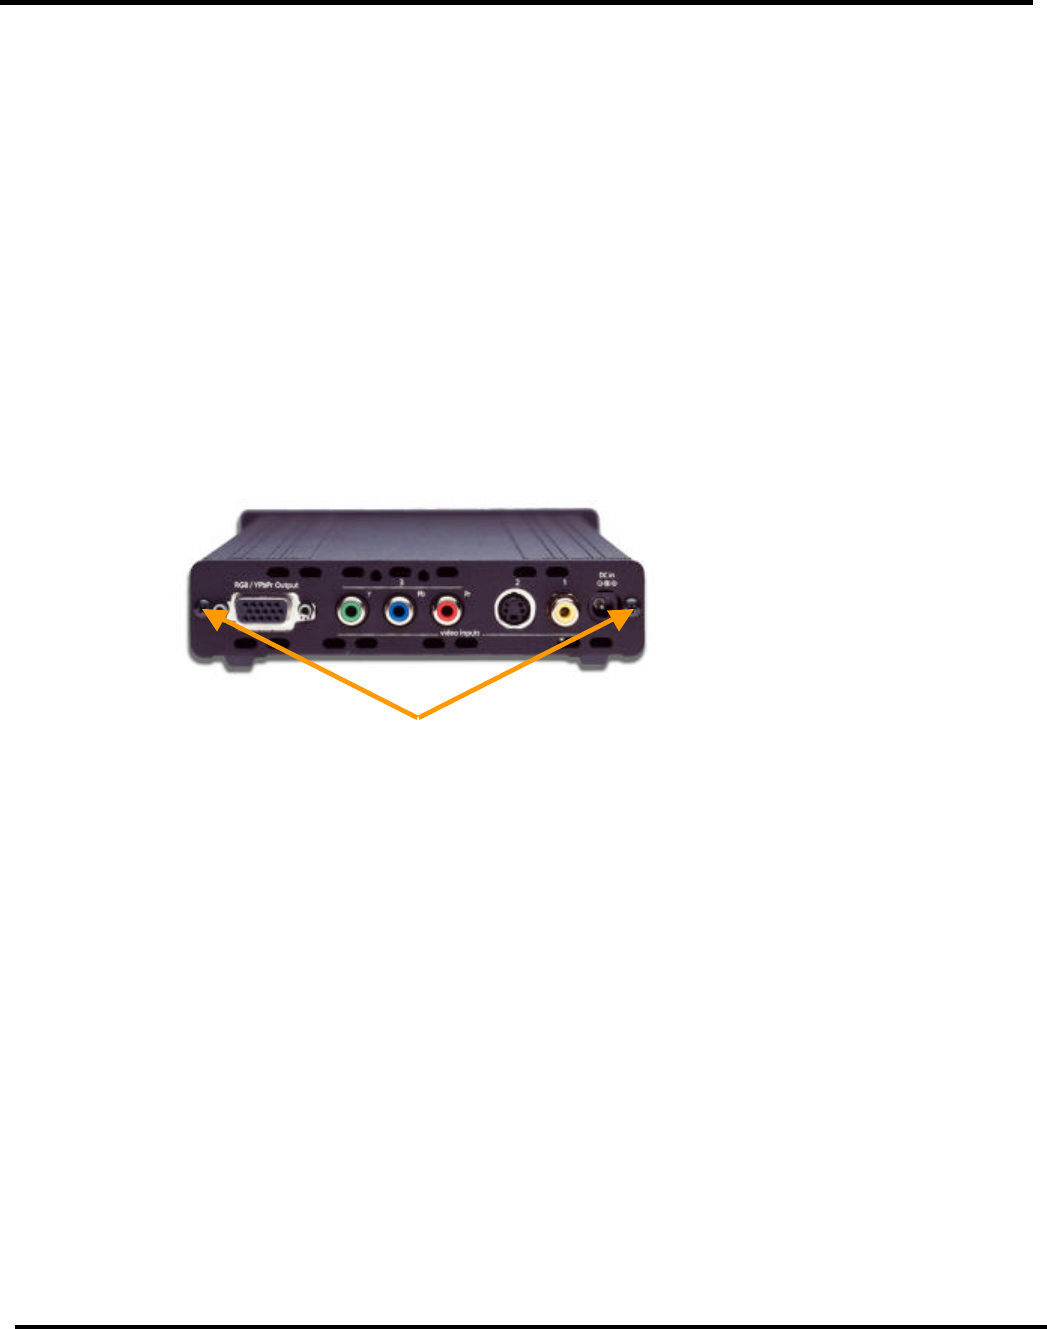
2) Turn the iScan Pro unit so that the back of the unit is facing you. Remove the two screws on the
back of the unit and set aside in a safe place – you will definitely need these screws later!
3) Discharge yourself by touching some grounded, heavy metal object nearby.
4) Pull the back panel and EMI gasket off of the unit. The iScan Pro printed circuit board is seated in
the bottom slot in the chassis housing.
5) Notice the three small metal clips straddling the board below the power input connector, the
component video connector and the output connector. You will need to remove these clips and put
them aside for replacement later so pay careful attention to how it is mounted on the board. (See
picture on next page).
6) Pull the board all of the way out of the housing.


