


4
DX-E202
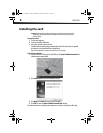
Installing the card
Caution: Before touching any electronic components, make sure that you first touch an
unpainted, grounded metal object to discharge any static electricity stored on your
clothing or body.
To install your card:
1 Turn on your computer.
2 Locate an available CardBus slot.
3 Insert your network card into the slot.
Windows finds the card and may automatically install a driver. However, for optimal
performance, you should install the included driver.
Note: Driver installation is not required for Mac OS X v10.4.0 or higher.
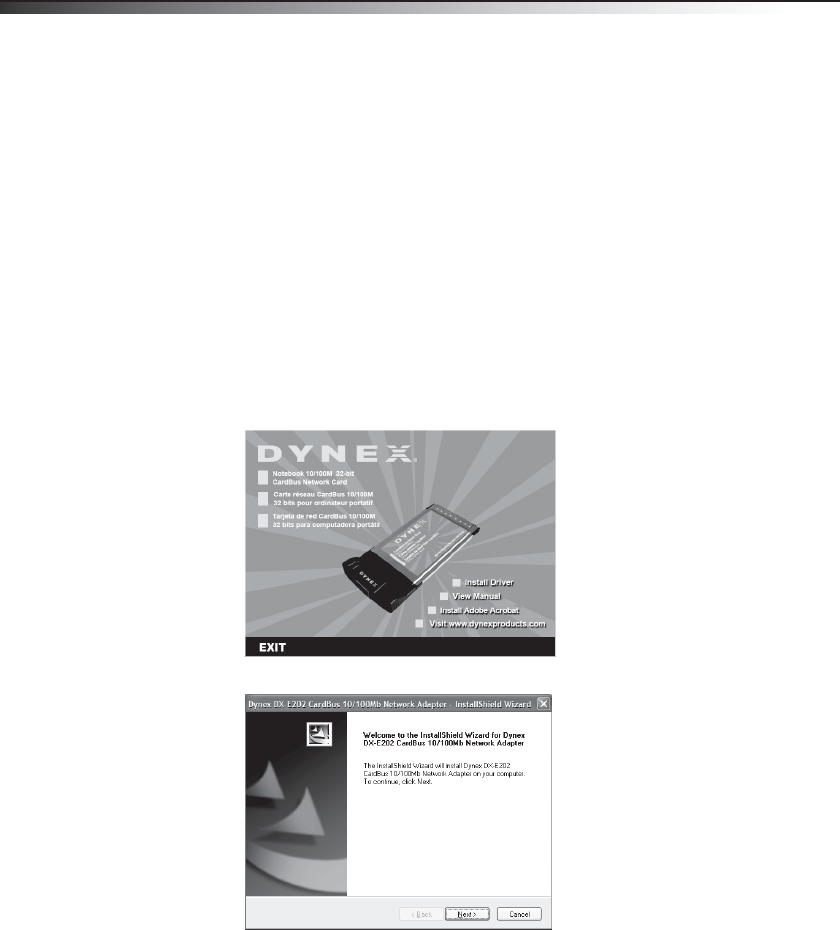
To install the card driver:
1 Insert the DX-E202 CD into your CD or DVD drive. The Dynex CardBus Network Card
windows opens automatically.
2 Click Install Driver to start the installation wizard.
3 Click Next, then Finish when the wizard is complete.
4 Click EXIT to close the Dynex CardBus Network Card window.
For information about connecting your computer to a network, see Windows online help.
Dynex-A5-ENG.fm Page 4 Wednesday, October 21, 2009 10:04 AM