15
BEFORE OPERATION
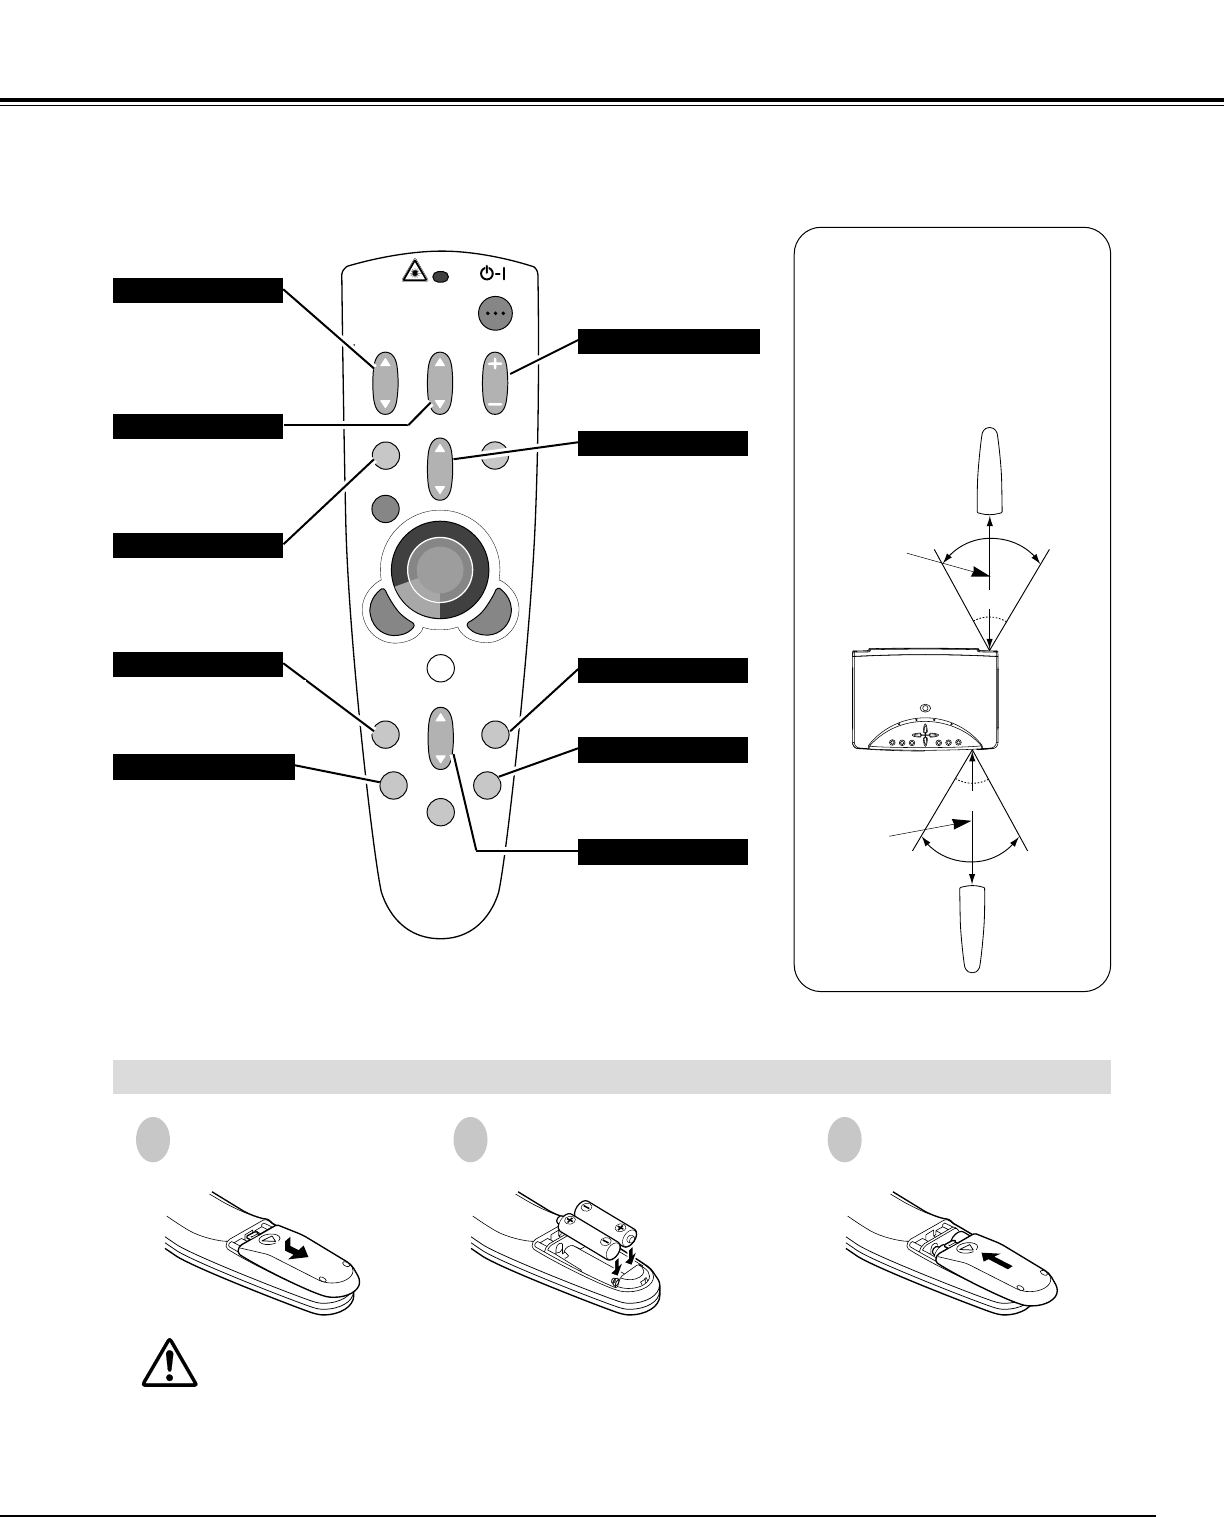
To insure safe operation, please observe the following precautions :
● Use (2) AA, UM3 or R06 type alkaline batteries.
● Replace two batteries at the same time.
● Do not use a new battery with an used battery.
● Avoid contact with water or liquid.
● Do not expose Remote Control Unit to moisture, or heat.
● Do not drop Remote Control Unit.
● If a battery has leaked on Remote Control Unit, carefully wipe the case clean and load new batteries.
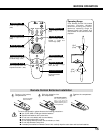
Press the lid down-
ward and slide it.
Remove the battery
compartment lid.
Slide the batteries into
the compartment.
Replace the compartment
lid.
Two AA size batteries
For correct polarity (+
and –), be sure the
battery terminals are in
contact with the pins in
the compartment.
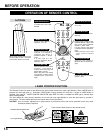
Remote Control Batteries Installation
1 2 3
Operating Range
Point Remote Control Unit toward
projector (Receiver Window)
whenever pressing any button.
Maximum operating range for
Remote Control Unit is about 16.4’
(5m) and 60° in front and rear of the
projector.
16.4’
(5 m)
60°
16.4’
(5 m)
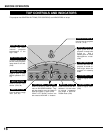
Used to adjust zoom.
(P20)
VOLUME
ON-OFF
FOCUS
ZOOM
D.ZOOM
MENU
MUTE
LASER
KEYSTONE
NO SHOW
FREEZE
AUTO PC ADJ.
IMAGE
P-TIMER
LOCK
INPUT
MUTE BUTTON
Used to mute sound.(P21)
ZOOM BUTTON
FOCUS BUTTON
Used to adjust focus.
(P20)
NO SHOW BUTTON
Used to turn the picture
into black image. (P21)
AUTO PC ADJ. BUTTON
Use to operate AUTO PC
Adjustment function. (P24)
VOLUME BUTTON
Used to adjust volume.
(P21)
D.ZOOM BUTTON
Used to select DIGITAL
ZOOM +/– mode and
resize image. (P29)
KEYSTONE BUTTON
Used to correct
keystone distortion.
(P20, 35)
FREEZE BUTTON
Used to freeze the picture.
(P21)
IMAGE BUTTON
Used to select image
level. (P27, 32)
60°


