8
www.gateway.com
Starting the monitor
To start the monitor:
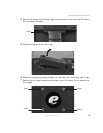
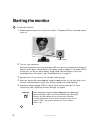
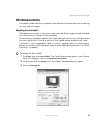
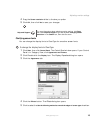
1 Press the power button on the front of monitor. The power LED on the power button
turns on.
2 Turn on your computer.
After your computer is running, the power LED on the monitor’s power button should
be blue. Allow about 10 seconds for the display image to appear. If the power LED is
not blue or you do not see a display image, check the connections. For more
troubleshooting information, see “Troubleshooting” on page 19.
3 Adjust the tilt of the monitor for the best viewing angle.
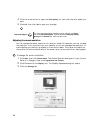
4 After you see the Windows desktop, press the Auto button on the right side of the
monitor to automatically adjust your display image to the ideal settings.
5 Use the on-screen display (OSD) to adjust other monitor settings. For more
information, see “Adjusting monitor settings” on page 9.
Important When adjusting the monitor settings, always press the Auto button
before entering the OSD. This will automatically adjust the display
image to the ideal settings for the current screen resolution.
For most applications, the best screen resolution for the 15-inch
model is 1024 × 768, and the best for the 17-inch model is
1280 × 1024.
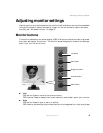
Power button


