3-10 Chapter 3
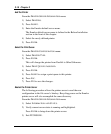
Add the Printer
From the
PRINTER SERVER INFORMATION menu:
1) Select
PRINTERS.
2) Press
INSERT.
3) Enter the Emulex default server name.
The Emulex default server name is defined in the Before Installation
section in the front of this chapter.
4) Select the newly defined printer.
5) Press
ENTER.
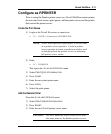
Select the Print Queue
From the
PRINTER CONFIGURATION menu:
1) Select
PRINTER TYPE.
2) Press
ENTER.
This will change the printer from Parallel to Other/Unknown.
3) Select
PRINT QUEUES ASSIGNED.
4) Press
ENTER.
5) Press
INSERT to assign a print queue to this printer.
6) Press
ESC.
7) Press
F10 to save the changes.
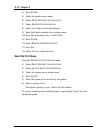
Restart the Printer Server
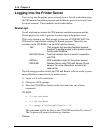
The following procedure allows the printer server to read the new
configuration in the file server’s bindery. Recycling power on the Emulex
printer server will also accomplish the same discovery.
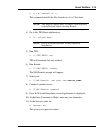
From the
PRINTER SERVER INFORMATION menu:
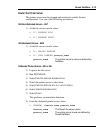
1) Select
INFORMATION AND STATUS.
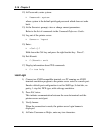
2) Verify current server status is running and highlighted.
Press
ENTER to bring down the printer server.
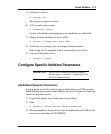
3) Exit PCONSOLE.


