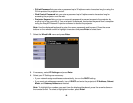
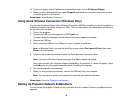
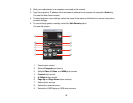
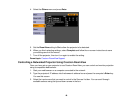
10. To prevent display of the IP address on the standby screen, turn off IP Address Display.
11. When you finish selecting settings, select Complete and follow the on-screen instructions to save
your settings and exit the menus.
Parent topic: Wired Network Projection
Using Quick Wireless Connection (Windows Only)
You can use the optional Epson Quick Wireless Connection USB key to quickly connect the projector to
a Windows computer wirelessly (PowerLite 1880). Then you can project your presentation and remove
the key when you are done.
1. Turn on the projector.
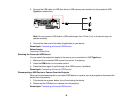
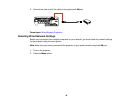
2. Connect the USB key to the projector's USB TypeA port.
You see a projected message that the network information update is complete.
3. Remove the USB key.
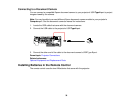
4. Now connect the USB key to a USB port on your computer or notebook.
Note: In Windows Vista, if you see the AutoPlay window, select Run LaunchU3.exe, then select
Allow on the next screen.
5. Follow the on-screen instructions to install the Quick Wireless Connection driver.
Note: If you see a Windows Firewall message, click Yes to disable the firewall.
After a few minutes, your computer image is displayed by the projector. If it does not appear, press
the LAN button on your projector remote control or restart your computer.
6. Run your presentation as necessary.
7. When you finish projecting wirelessly, remove the USB key from your computer.
Note: You may need to restart your computer to reactivate your wireless interface.
Parent topic: Using the Projector on a Network
Setting Up Projector Network E-Mail Alerts
You can set up the projector to send you an e-mail alert over the network if there is a problem with the
projector.
43


