820 CFS Installation Instructions
Pre-Filled CFS
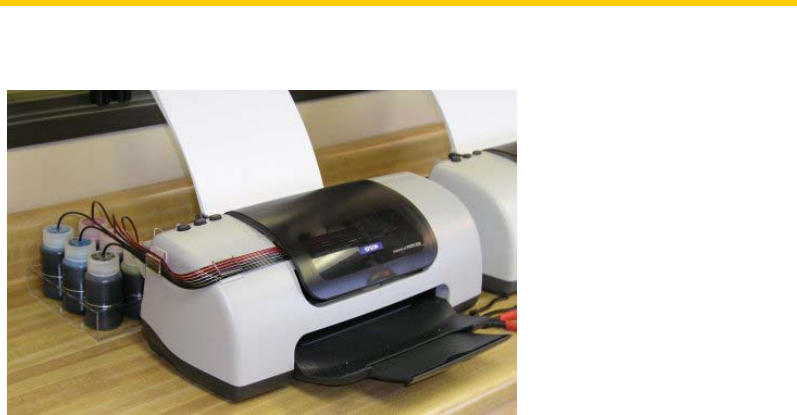
Below are the instructions for installing a pre-filled CFS for an Epson 820 printer.
Here is what you will need to do this installation…..
• Alcohol or Alcohol swabs
• Continuous Flow Cartridge set with Tubes attached
• (2) MIS Short Bracket and (1) MIS Bridge Bracket for 820/C60 Printers
• MIS 6 Bottle Tray, MIS Inkset and Drilled Caps
• Ruler or tape measure
• Pencil or Pen
• Small thin screw driver, not phillips.
Get everything together in one place so you can do this all at the same time. It will take about 15 minutes of your
time. It is not difficult if you have the right tools. Of course the second time you do it , it will be a lot easier.
Pre-Installation
1. Unwrap the CFS cartridge and lay out the ribbon tubing flat. You do not want any major creases or bends in
the tubing. Keep the large paper clip attached to the end of the tubing. If necessary, use some heat from a
blow dryer if the tubing is deformed or just let it rest flat over night. Don’t turn the cartridge upside down.
Always keep the cartridge upright in its installed position.
2. Print the PURGE6.TIF image on the 820 using Photoshop, PaintShop Pro, or the graphics program of your
choice. Print at 360 dpi, plain paper settings. The purge6 file can be found on the diskette in the CFS kit or
on the bottom of our Archival webpage. The output should not have any banding or skipping on it. Print
several copies (5 or 6). This is a good test of the printer. If you have skipping or white horizontal lines, then
do 3 cleaning cycles and print another copy. If it does not clear up, do 3 more cleanings. Always check the
nozzles before and after each cleaning. You must have a perfect nozzle pattern before you begin installing
the CFS.
Do not proceed unless you have a perfect nozzle pattern
3. Push the paper feed button on the printer to move the cartridges to the cartridge change position. Remove the
original cartridges from the printer and the cartridge hold down clamps. Use your small screw driver and twist
it at the hinge point of the clamps. They will come right out with a twist of the screwdriver. Set them aside in
a safe place, you may need them in the future.
With the power still on the printer, pull the power plug from the wall


