


R4CD380/E850
Unpacking and Setup Guide
Rev.C
ENGLISH.FM A4 size
4/6/05
R
Proof Sign-off:
KOW M.Arai K.Nishi
K.Nishi
NOC K.Lee
17
English
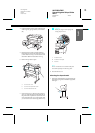
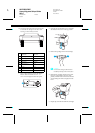
Setting up the Printer
Connecting the Power Cord
Note:
Most illustrations shown in this section are for EPSON
Stylus Pro 9800/9400, so they may vary in appearance
from EPSON Stylus Pro 7800/7400. The instructions
are the same, except as noted.
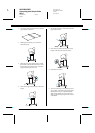
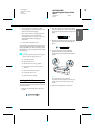
1. Check the label on the back of the printer to
make sure the voltage required by the printer
matches that of the wall outlet. Also, make
sure that you have the correct power cord for
your power source.
c
Caution:
It is not possible to change the printer’s
voltage. If the rated voltage and your outlet
voltage do not match, do not plug in the
power cord, and contact your dealer for
assistance.
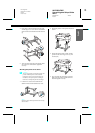
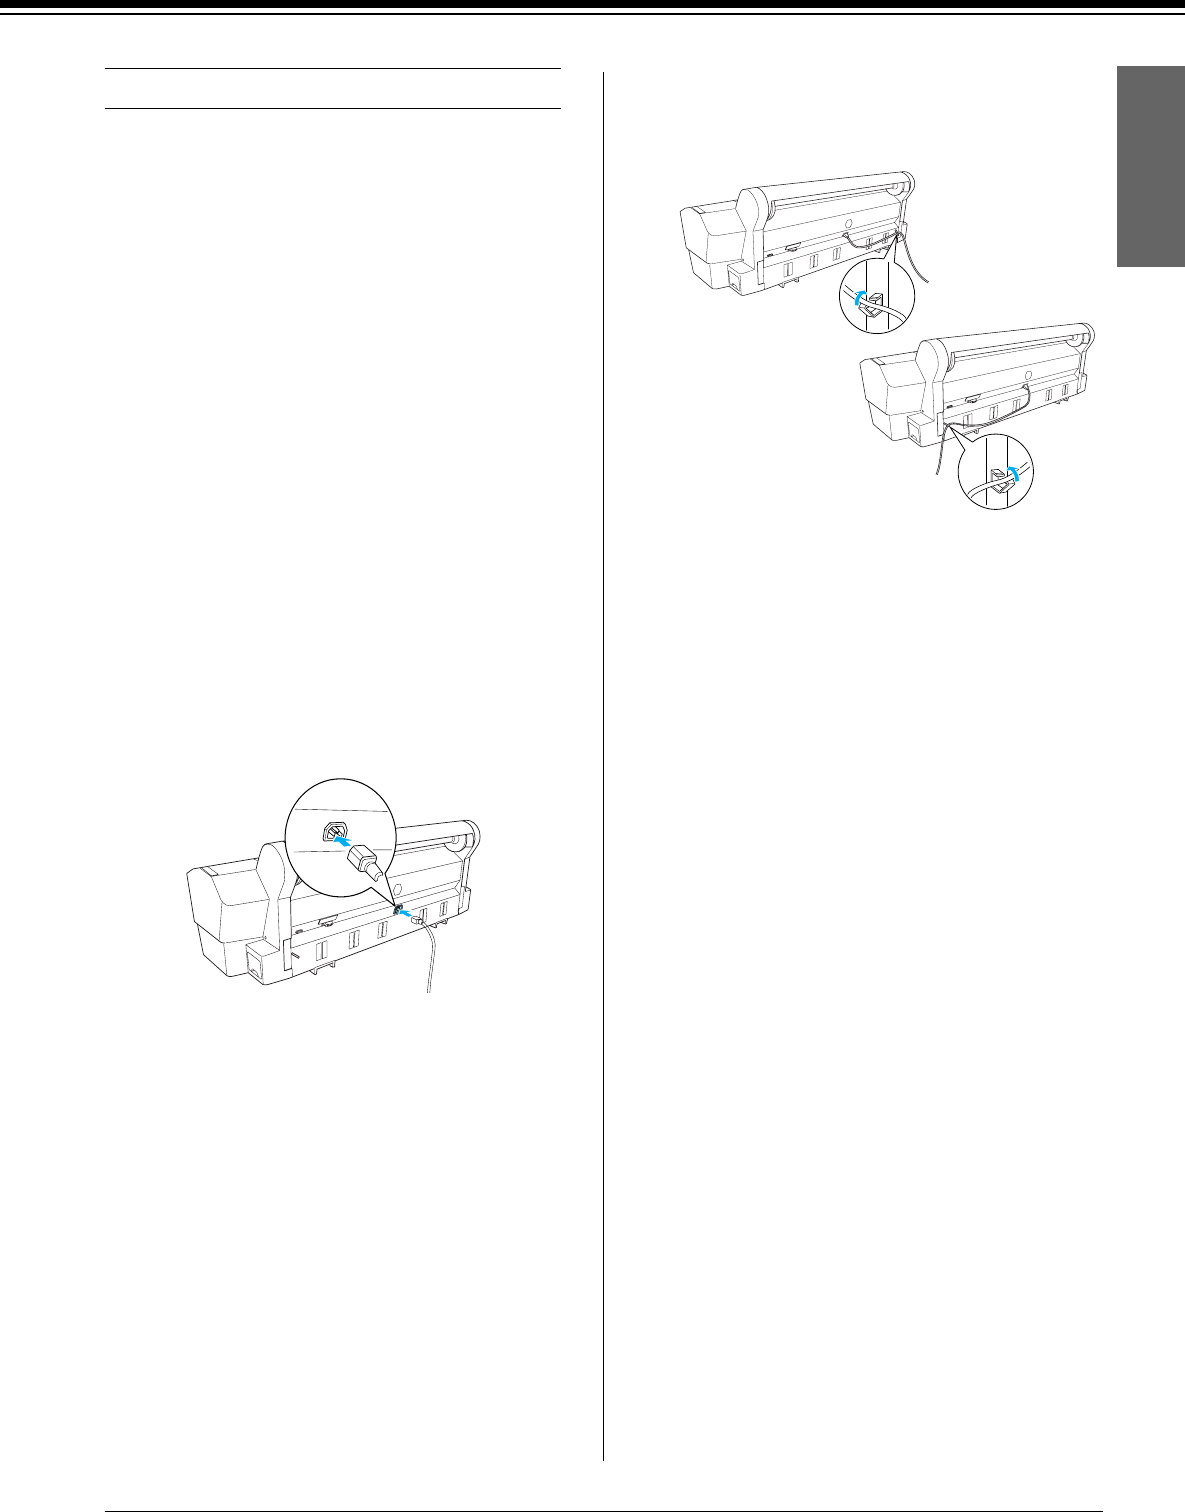
2. Connect the power cord to the AC inlet on the
back of the printer.
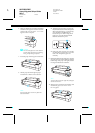
3. Route the power cord through the clamps at
the rear of the printer. The cord can be routed
to either the left or right side.
4. Plug the power cord into a properly grounded
electrical outlet.
c
Caution:
Do not use an outlet that is controlled by an
automatic timer or wall switch. Otherwise,
accidental shut down or damage to your
printer may occur.
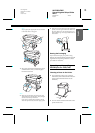
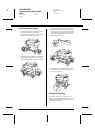
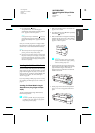
Installing the Ink Cartridges
To install the ink cartridges, follow the
instructions below.
w
Warnings:
The ink cartridges are self-contained units.
Under ordinary use, ink will not leak from the
cartridges. If ink does get on your hands, wash
them thoroughly with soap and water. If ink gets
into your eyes, flush them immediately with
water.
Note:
❏ The ink cartridges included with your printer are
primarily for initial setup. Because your printer
will use large quantities of ink during the setup
process, you may need to replace the ink cartridges
soon.
❏ Initial ink charging requires approximately
10 minutes.