


5 When you’re done, remove the CD and restart your computer.
You’re ready to copy, print, and scan! See the Basics Guide or your
on-screen User’s Guide.
To connect your Epson Stylus CX5800F to a phone line for faxing,
see “Connect Phone Line” to the right.
Macintosh
1
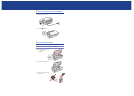
Insert the Epson Stylus CX5800F CD.
2 Open the Epson CD-ROM desktop icon
and double-click the
Epson icon.
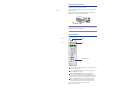
3 Click Install and follow the
on-screen instructions. Software
installation takes several minutes.
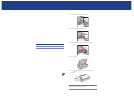
If necessary, close any open
windows on your screen to
return to the installer.
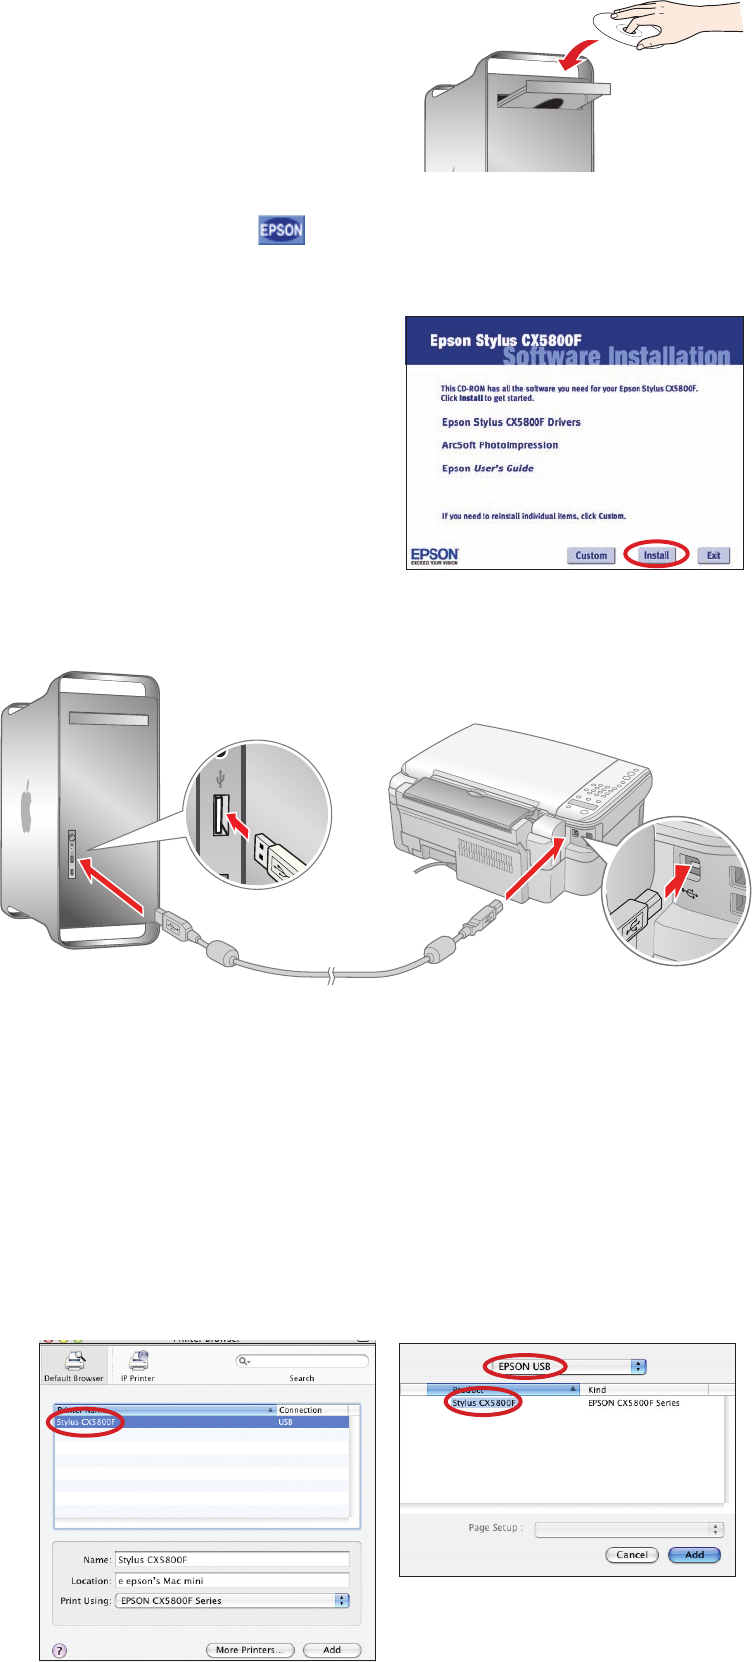
4 Connect the USB cable. Use any open USB port on your computer.
5 Remove the CD and restart your Macintosh.
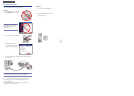
6 Open the Applications > Utilities folder and select the Printer
Setup Utility (OS X 10.3.x to 10.4.x) or Print Center (OS X 10.2.x).
7 Click the Add button.
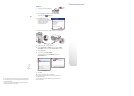
8 In OS X 10.4.x, select Stylus CX5800F.
In OS X 10.2.x to 10.3.x, select EPSON USB at the top and
Stylus CX5800F below.
9 Click Add.
10 Quit the Printer Setup Utility or Print Center.
You’re ready to copy, print, and scan! See the Basics Guide or your
on-screen User’s Guide.
To connect your Epson Stylus CX5800F to a phone line for faxing,
see the next section.
7 C o n n e c t P h o n e L i n e
Mac® OS X 10.4.x
Mac OS X 10.2.x to 10.3.x