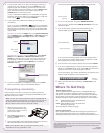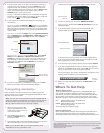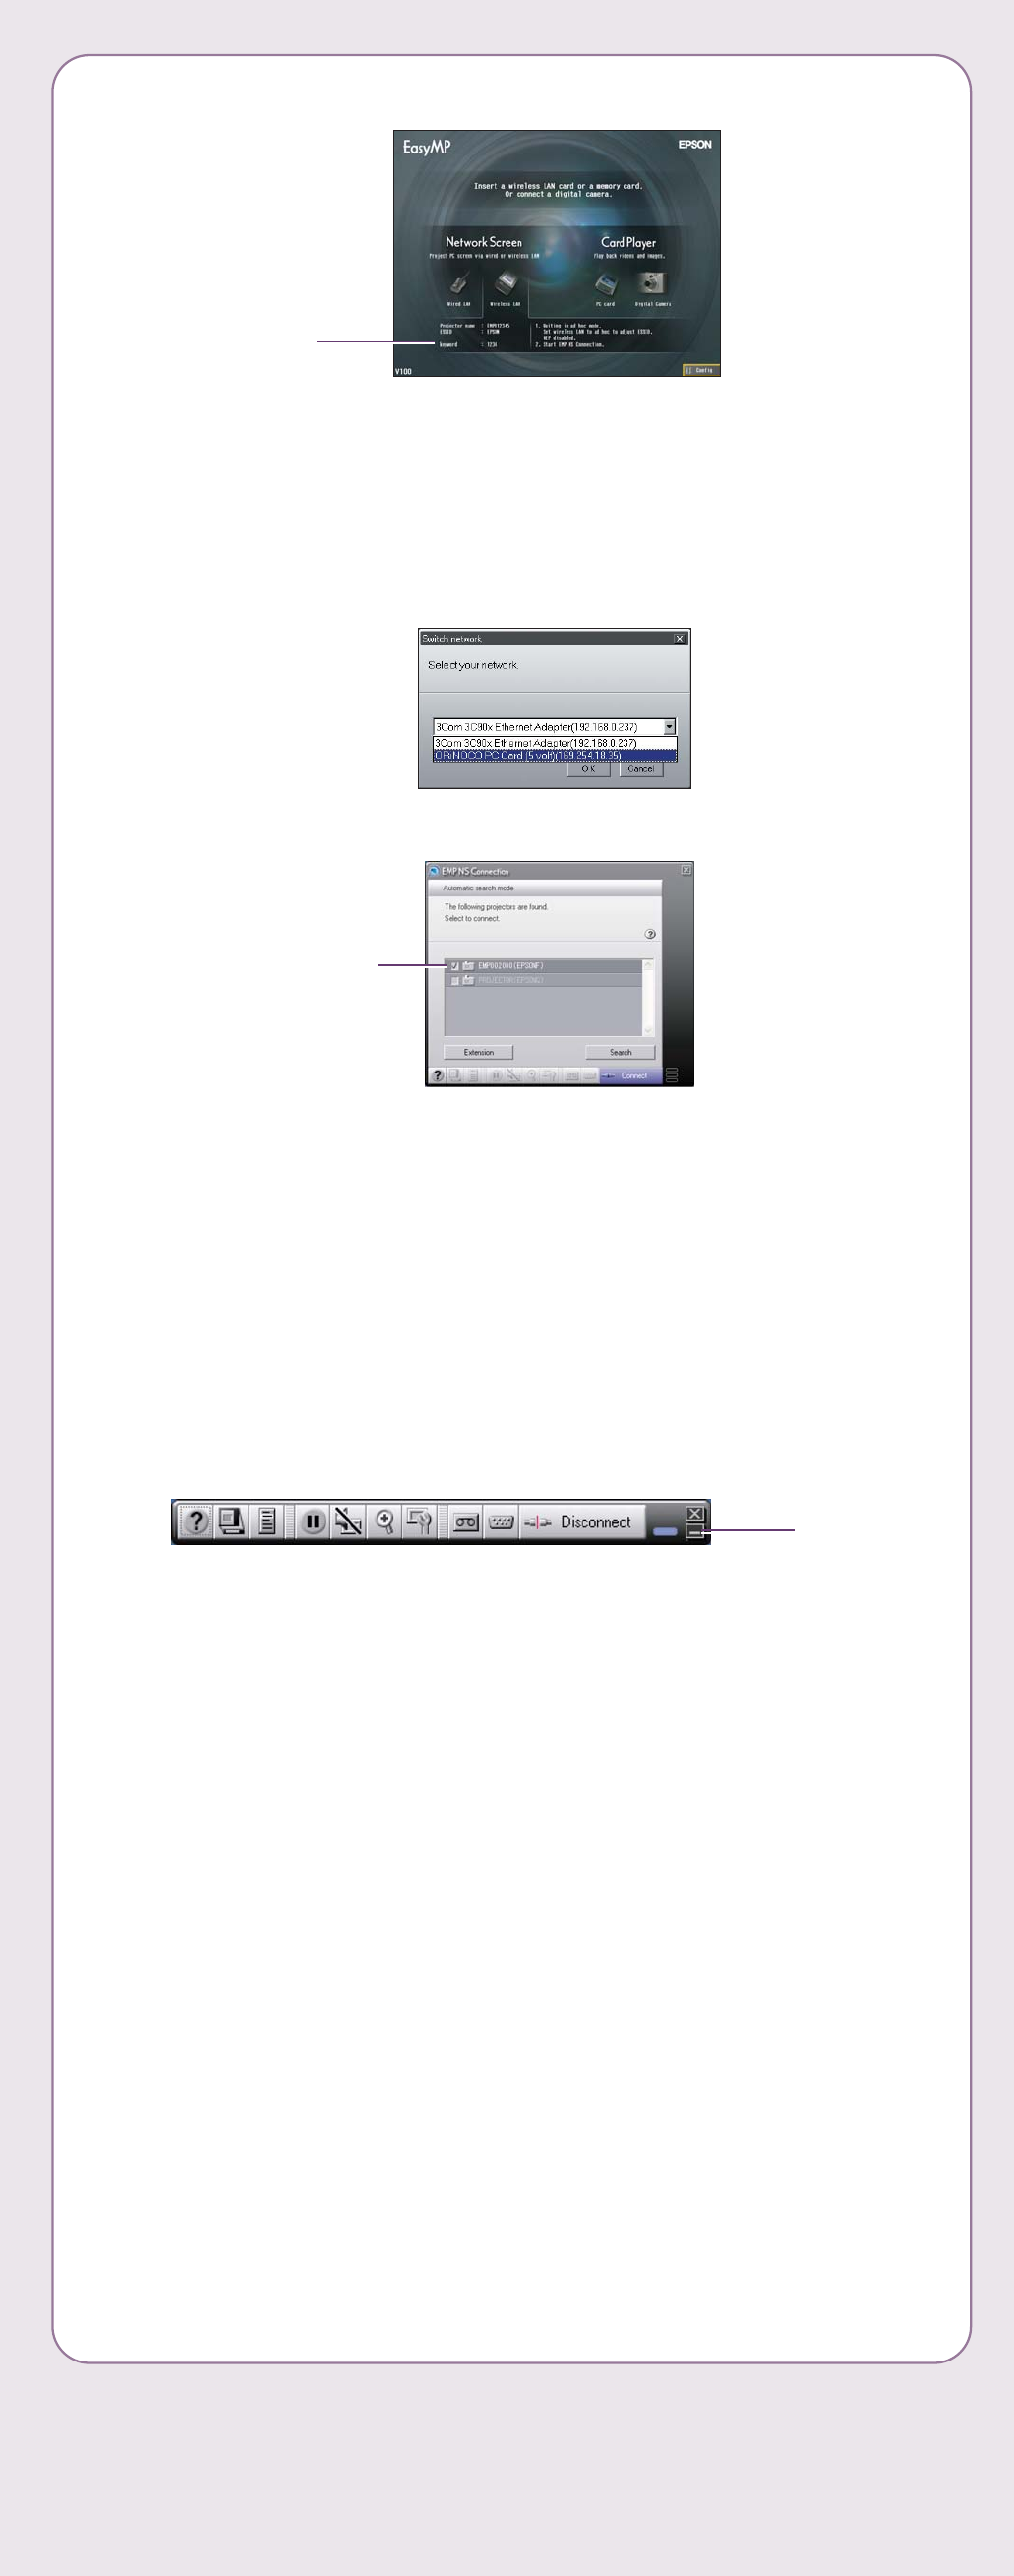
Once the card is inserted, the projector displays a screen like this:
4 Windows: From the Start menu, select EMP NS Connection.
Macintosh OS X: Double-click the EMP NS Connection icon in your
Applications folder.
5 If you see this screen, select the name and IP address for your
computer’s 802.11g or 802.11b wireless card and click OK.
You see this screen:
If the connection is working properly, you see your projector listed.
If you don’t see your projector listed, restart your computer. If it still
doesn’t appear, see the User’s Guide for help.
6 Once the name of your projector appears, select it and click Connect.
7 If you see a message asking for a keyword, enter the four digits that
appear on the EasyMP Network Screen and click OK. (See the screen at
the top of this column to locate the projector keyword.)
You see the image on your monitor transmitted to the projector, and a
floating control bar appears on the computer screen:
8 When you’re done with your presentation, click Disconnect on the
control bar.
Epson is a registered trademark and EasyMP is a trademark of Seiko Epson Corporation. PowerLite and PrivateLine are registered
trademarks of Epson America, Inc.
General Notice: Other product names are for identification purposes only and may be trademarks of their respective owners.
Epson disclaims any and all rights in those marks.
© 2004 Epson America, Inc. 6/04 CPD-18221R1
Printed in XXXXXXXXX
Click here
to minimize
Where To Get Help
Telephone Support Services
To use the Epson PrivateLine
®
Support service, call (800) 637-7661 and
enter the PIN on the Epson PrivateLine Support card included in your
Start Here kit. This service is available 6 AM to 6 PM, Pacific Time, Monday
through Friday, for the duration of your warranty period. You may also
speak with a projector support specialist by dialing one of these numbers:
U.S.: (562) 276-4394, 6
AM to 6 PM, Pacific Time,
Monday through Friday
Canada: (905) 709-3839, 6 AM to 6 PM, Pacific Time,
Monday through Friday
Toll or long distance charges may apply.
Electronic Support Services
Epson provides assistance through electronic support services 24 hours a
day at http://support.epson.com. For tips, templates, and training for
developing successful presentations go to http://www.presentersonline.com.
4 If you see a blank screen or you don’t see the image you are trying
to project from your computer, make sure the Power light on the
projector is green and not flashing, and the lens cover is off. If the
screen is still blank, restart your notebook, or press the Search button
on the remote control again. If mute mode is active, press the
A/ V Mute button on the remote control.
Windows
®
: Hold down the Fn button on the keyboard and press the
function key that lets you display on an external monitor. It may have
an icon such as , or it may be labeled CRT/LCD.
5 If your projector and notebook don’t display the same image, do
the following:
Windows: Try using the CRT/LCD or function key, as described
above. If this doesn’t work, double-click Display in the Control Panel.
Make sure both the LCD screen and monitor port are enabled. (Allow
a few seconds for the projector to sync up.) See your Windows online
help for details.
Macintosh
®
OS X: From the Apple menu, select System Preferences,
then click Displays. Select the VGA Display or Color LCD dialog box,
click the Arrangement (or Arrange) tab, and make sure Mirror
Displays is checked.
Macintosh OS 9 or earlier: From the Apple menu, select Control
Panels, then click Monitors or Monitors and Sound. Click the
Arrange icon, then drag one monitor icon on top of the other; this
lets you display on both the projection screen and the LCD screen.
If this option isn’t available, click the Monitor icon and select a
Simulscan resolution.
6 If you see an image but it’s not displayed correctly, press the Auto
button on the remote control to automatically readjust it.
If projecting wirelessly...
Follow the steps in this section to project over an 802.11g or 802.11b
wireless network from a computer running Windows 98, 2000, Me, XP, or
Macintosh OS X 10.2.4 or above.
NOTE: You must have already installed the projector’s EasyMP (EMP NS
Connection) software and configured your projector and computer. See
the User’s Guide for instructions. Also, your computer must have an
802.11g or 802.11b network card or transmitter installed.
1 Make sure you’ve turned on the
projector and adjusted the image
as described in sections 1 and 2 on
the front of this sheet.
2 Select EasyMP as the source by
pressing the EasyMP button on
the remote control.
3 Insert the Epson 802.11g card with the label facing upward, as shown.
When fully inserted, the end of the card will protrude.
NOTE: Use only the Epson 802.11g card. Other brands may not be
compatible and are not guaranteed to work.
Click here
Drag one monitor
icon onto the other
Click here
Make sure this
is checked
Select your projector
Projector keyword
(optional)


