Warning: Do not press the Cut button until the tape
stops moving or the tape cartridge may be damaged.
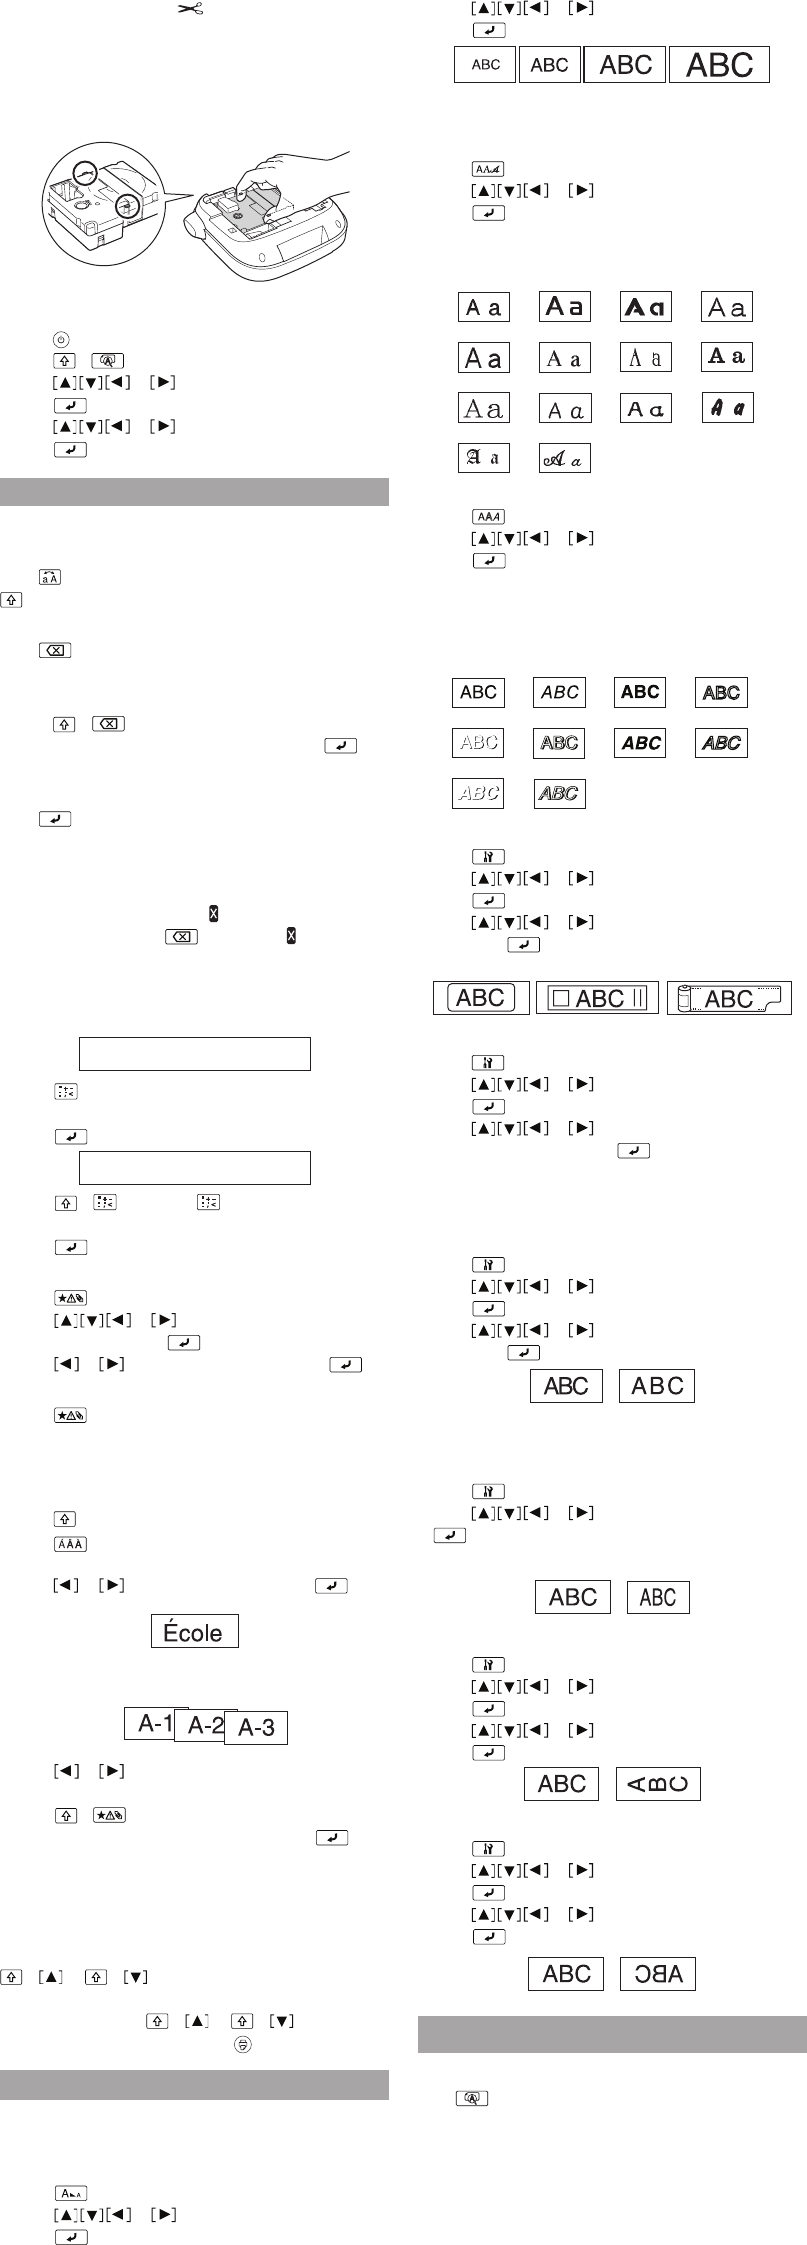
Removing a tape cartridge
1. Remove the rear cover.
2. Hold the cartridge by the tabs, and lift it straight up.
Language selection
1. Press to turn on the product.
2. Press + .
3. Press or to highlight Language, then
press .
4. Press or to select your language, then
press .
.
Creating labels
Use the character keys to enter text, then see below.
Changing the letter case
Press to enter upper case or lower case for all letters or
+ character for a single letter..
Deleting characters
Press .
Deletes one character backward.
Deleting a label
1. Press + .
2. When a confirmation message appears, press .
All entered text will be deleted.
Breaking lines
Press .
Breaks the line from the character next to the cursor.
The line number is indicated on the display.
Note: You can print a maximum of two lines of text. If
you try to exceed the maximum, appears and you will
not be able to print. Press to delete the and print
your label.
Adding punctuation
There are two groups of available punctuation marks.
: ; < > [ ] { }
1. Press repeatedly to scroll through the
available marks.
2. Press to select the desired mark.
" | _ ^ \ = - +
1. Press + , then press repeatedly to scroll
through the available marks.
2. Press to select the desired mark.
Adding symbols
1. Press .
2. Press or to scroll through the
categories, then press to select a category.
3. Press or to select a symbol, then press .
Note: To cancel and return to the previous menu,
press .
Adding characters with an accent mark
If a character can include an accent mark, you can choose
it from a list indicated on the display.
1. Press + letter.
2. Press
.
A list of options appears on the display (e.g. ÈÉÊË).
3. Press or to select an item, then press .
Creating sequentially numbered labels
1. Press or to move the cursor to a position
where you want to add a serial number, then
press + .
2. Enter a number for the first label, then press .
The number increases by one when printing multiple
copies.
Saving labels
You can create and save up to 30 labels at a time.
To create multiple labels, type in your text, then press
+ or + to move to the next label (the label
number appears to the left of the text).
To print a label, press + or + to select the
label you want to print, then press .
Useful functions
Below are some common functions that will help you
customize your labels.
Changing the font size
1. Press .
2. Press or to select a line layout, then
press .
Note: You can select a maximum of two lines of text.
3. Press or to select a font size, then
press .
Tip: The setting is indicated on the display.
Changing the font
1. Press .
2. Press or to select a font, then
press .
The font used for the entire line of text will change.
Available fonts
B.Gothic
BR
CB
CL Roman
Gothic
Gyosho
SansS.HG
Mincho
ScriptPL
Reisho
Roman
SansS.
SansS.ST
US Roman
Changing the font style
1. Press .
2. Press or to select a style, then
press .
Note: Styles applied to small or elaborate characters may
not print clearly.
Available styles
Shadow
Outline
S+O+I
Italic
S+I
S+O
Normal
Bold
B+I O+I
Adding a frame
1. Press .
2. Press or to select Frame, then
press .
3. Press or to scroll through the options,
then press , or enter the frame number, to select
the desired frame.
Specifying the length of labels
1. Press .
2. Press or to select Label length, then
press .
3. Press or to select a value (up to 15
inches [40 cm]), then press .
Tip: Selecting Auto will adjust to the proper length
automatically.
Adjusting the space between characters
1. Press .
2. Press or to select Char. spacing, then
press .
3. Press or to select Narrow or Wide,
then press .
Note: The default setting (Narrow) is recommended.
Changing the font width
1. Press .
2. Press or to select Narrow, then press
.
3. Repeat step 2.
Creating vertical text
1. Press .
2. Press or to select Vertical, then
press .
3. Press or to select On, then
press .
Creating mirror image text
1. Press .
2. Press or to select Mirror print, then
press .
3. Press or to select On, then
press .
Printing labels
Previewing a label
Press .
Entered text scrolls across the display.
Note: Only the text and the length of the label can be
previewed. The actual print image will not show on the
display.


