


Untitled Document
happen:
1- The image must be cropped or "trimmed" to match the shape of the product, or
2- The image size must be adjusted (not cropped) so as to fit within the shape of the product being
designed.
Method 1 produces the best results as the images will "fill up" the product best. Method 2 usually results in a
smaller print on your product usually with some "unprinted white area" resulting.
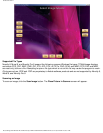
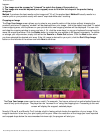
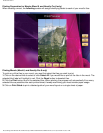
Cropping an Image
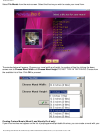
The Crop Your Image screen allows you to select a very specific portion of the picture without changing the
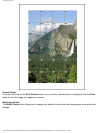
product's print size. A cropping "window" will be displayed over your image - this is the default crop area. To select
a new cropping area, click anywhere on your picture and a new cropping window will be displayed. You can click
and drag the cropping window to move and size it. Or, click the arrow keys (or use your keyboard’s arrow keys) to
move the cropping window. Click the Rotate button to rotate the crop window in 90 degree increments. To reduce
or enlarge your crop window, simply click either the Zoom In or Zoom Out buttons. Click the Next button when
you have selected the desired print area. If the full image is desired for your print, click the Don't Crop Image
button on the left side of the screen and click Next to continue.
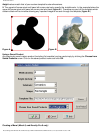
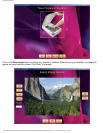
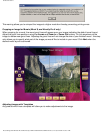
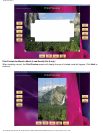
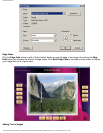
The Crop Your Image screen can be very useful. For example: You have a picture of an entire football team but
want to only print one player. The player can be "zoomed in on" using the cropping box. Proceeding to the next
screen will display the cropped, selected player.
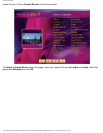
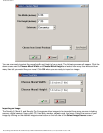
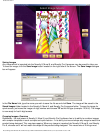
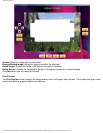
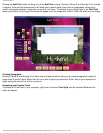
Novelty 8, Mural 8, and Novelty Pro 8 include a built-in feature which checks the resolution of your image. If the
image's resolution is too low, your print quality will be poor. When the resolution of the image you have imported
and cropped drops below the recommended minimum dpi, the program will alert you.
file:///C|/Program%20Files/CTP,%20Inc/Novelty%20Pro%208%20Demo/V8Manual.htm (20 of 39)7/19/2004 11:09:31 AM