


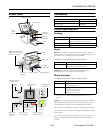
PictureMate Pal (PM 200)
6/06 PictureMate Pal (PM 200) - 5
Printing All Photos
1. Press the Select All button.
2. To print more than one copy of each photo, press or to
select the number of copies (up to 999).
You can also press
Menu to adjust settings or print a proof
sheet containing thumbnail images of all your photos.
3. Press
Layout to select the layout of your photos on the
paper. See “Choosing a Layout” for details.
4. Press
Print.
5. Press or to review your photos on the Print Preview
screen.
Note: To change the number of copies for individual photos,
press Cancel, press or to select the photo, then press OK
to increase or Cancel to decrease the number of copies.
6. Press Print to start printing.
Printing Selected Photos
1. Press or to view the photo you want to print.
2. Press
OK to select it.
3. To print more than one copy of the photo, press
OK to
increase the number of copies (up to 999). Press
Cancel to
decrease the number.
4. Repeat step 1 through step 3 for each photo you want to
print.
You can also press
Menu to adjust settings if necessary.
5. Press
Layout to select the layout of your photos on the
paper. See “Choosing a Layout” for details.
6. Press
Print.
7. Press or to review your photos on the Print Preview
screen.
8. Press
Print to start printing.
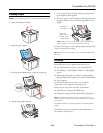
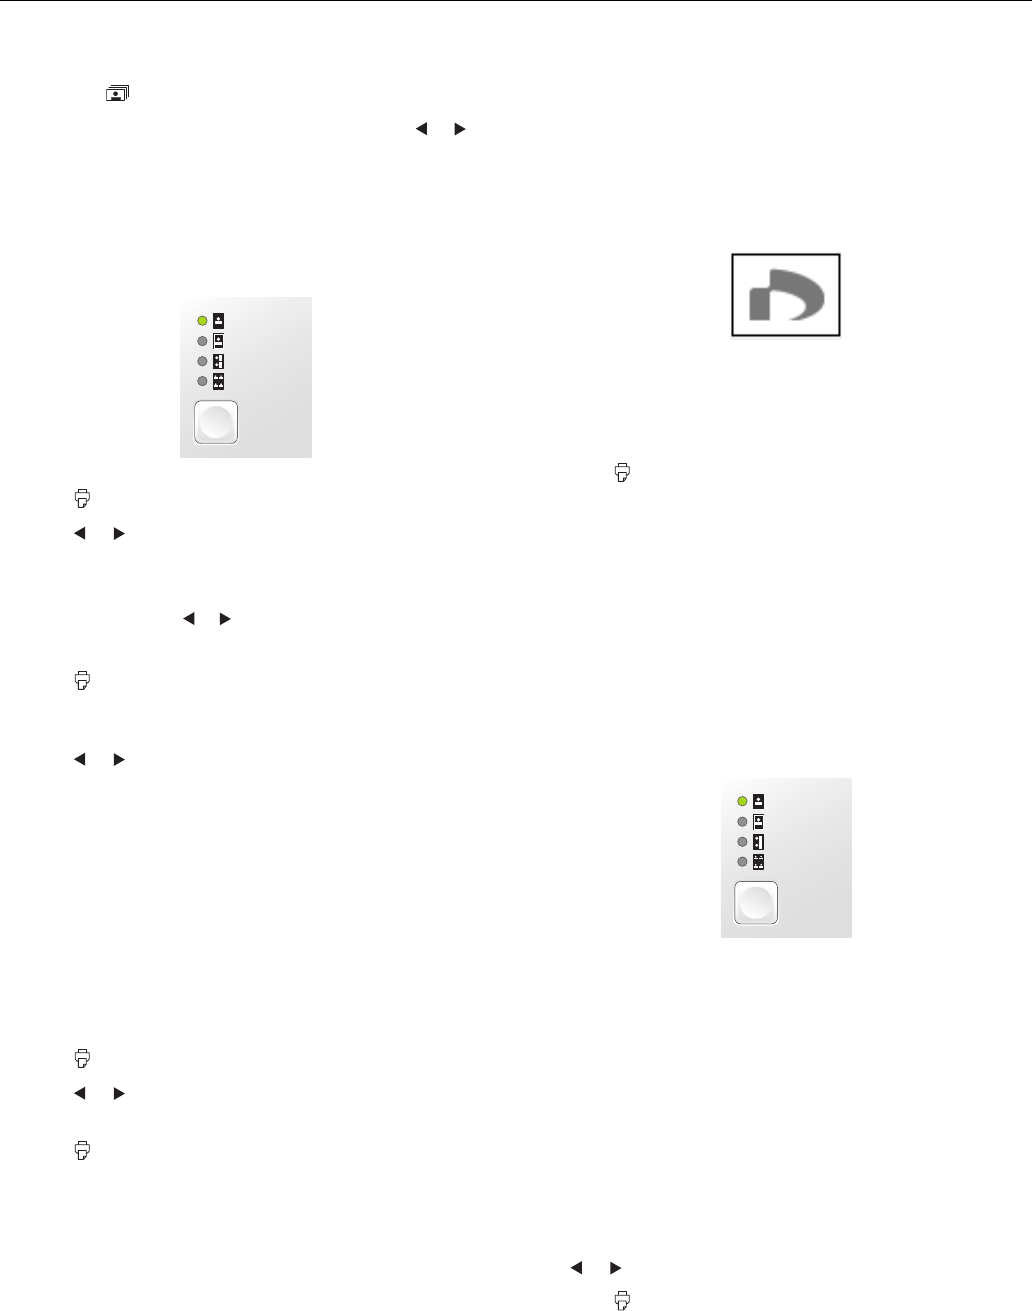
Printing Camera-Selected DPOF Photos
If your camera supports DPOF
™
(Digital Print Order Format),
you can use it to pre-select the photos and copies you want to
print.
See your camera manual to choose photos for printing with
DPOF, then insert your memory card in PictureMate Pal. You
see this symbol on the screen:
1. Press
Layout to select the layout of your photos on the
paper. See “Choosing a Layout” for details.
You can also press
Menu to adjust settings if necessary.
2. Press
Print to print your pre-selected photos.
Note: If your camera supports PictBridge or USB DIRECT-PRINT
printing, you can connect it to PictureMate Pal and use the camera to
control printing. See the Basics book for more information.
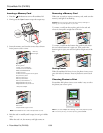
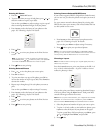
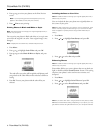
Choosing a Layout
Note: This feature does not change your original digital photo file; it
affects only your prints.
Press the Layout button to print your photos at the full 4 × 6
size—with or without borders—or print 2 wallet or 4 mini-
wallet size photos per sheet.
You can also print proof sheets containing thumbnail images
of all your photos using the
Menu button. Each proof sheet
contains 20 images and their file names.
Note: When you print without borders, your images are automatically
expanded. To control the amount of expansion, press the Menu
button and select Borderless Exp. See the Basics book for details.
1. Select the photos and number of copies you want to print.
2. To print 4 × 6-inch, wallet, or mini-wallet size photos, press
Layout to select the layout of your photos on the paper.
To print a proof sheet of all your photos, press
Menu, press
or to highlight
Proof Sheet, and press OK.
3. Press
Print.
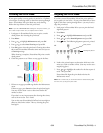
Borderless
Border
Wallet
Mini-wallet
Layout
Borderless
Border
Wallet
Mini-wallet
Layout