


5
Pet Master’s buttons are easy to
use.
ON/ENTER Use this button to turn
Pet Master on or to select an item
on a menu. When reading detailed
information, press this button for
two seconds to return to
AUTO-
PAGE DOWN mode to let you re-
select the speed of auto-page down.
Note: Pet Master shuts off automat-
ically after five minutes of non-use.
When you turn Pet Master back on,
it will return to the point where you
last left off. If you wish to return to
the starting screen, simply hold
down the
BACK button for more
than a second.
DOWN ARROW Use this button to
scroll down a menu, list or index
one line at a time. Press
DOWN after
pressing the
ABC key to move down
to the next alphabetical first letter
in an index. And use the
DOWN
ARROW
to view the next four lines
of detailed text if auto-page mode is
turned off. Use
DOWN after press-
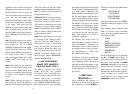
Activating or Installing the Battery
Pet Master is equipped with an
CR2032 battery. Simply pull the
plastic tab at the battery compart-
ment to activate. (Be sure to review
“Battery Information” on page 20.)
Then press the RESET button.
Note: Pet Master warns you when
the battery is low. When your bat-
tery needs to be replaced, we rec-
ommend that you press SAVE two
seconds to turn Pet Master off, and
then insert a new battery
within
one minute
so that your saved data
will be retained in Pet Master’s
memory. (See page 19.)
To install a new battery, carefully
turn Pet Master over so that the top
side is face-down on a soft surface,
such as a towel or magazine. You’ll
find the battery compartment on the
unit’s back.
Use a small Phillips screwdriver to
remove the screw. Lift off the bat-
tery compartment lid and install one
CR2032 battery. Place the battery
compartment lid’s tabs in their slots
and snap the compartment door
back on. Replace the screw and
gently tighten it.
After you install batteries, press the
RESET button.
—FRAMING YOUR PET’S PHOTO
IN PET MASTER
’S LID—
What better place to keep your pet’s picture in view than on the lid of a
product designed to enhance that pet’s life!
Simply use your fingernail to pull at the top center of the protective
plastic and pull it out. Trim your photo to fit the space and then insert
the picture. Next replace the piece of clear plastic by fitting the small
tabs at the bottom into the slots at the bottom of the picture frame. Then
carefully push the tabs at the top of the plastic into the slots at the top of
the frame, pushing the plastic gently with your fingers.
4
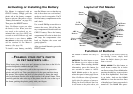
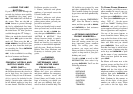
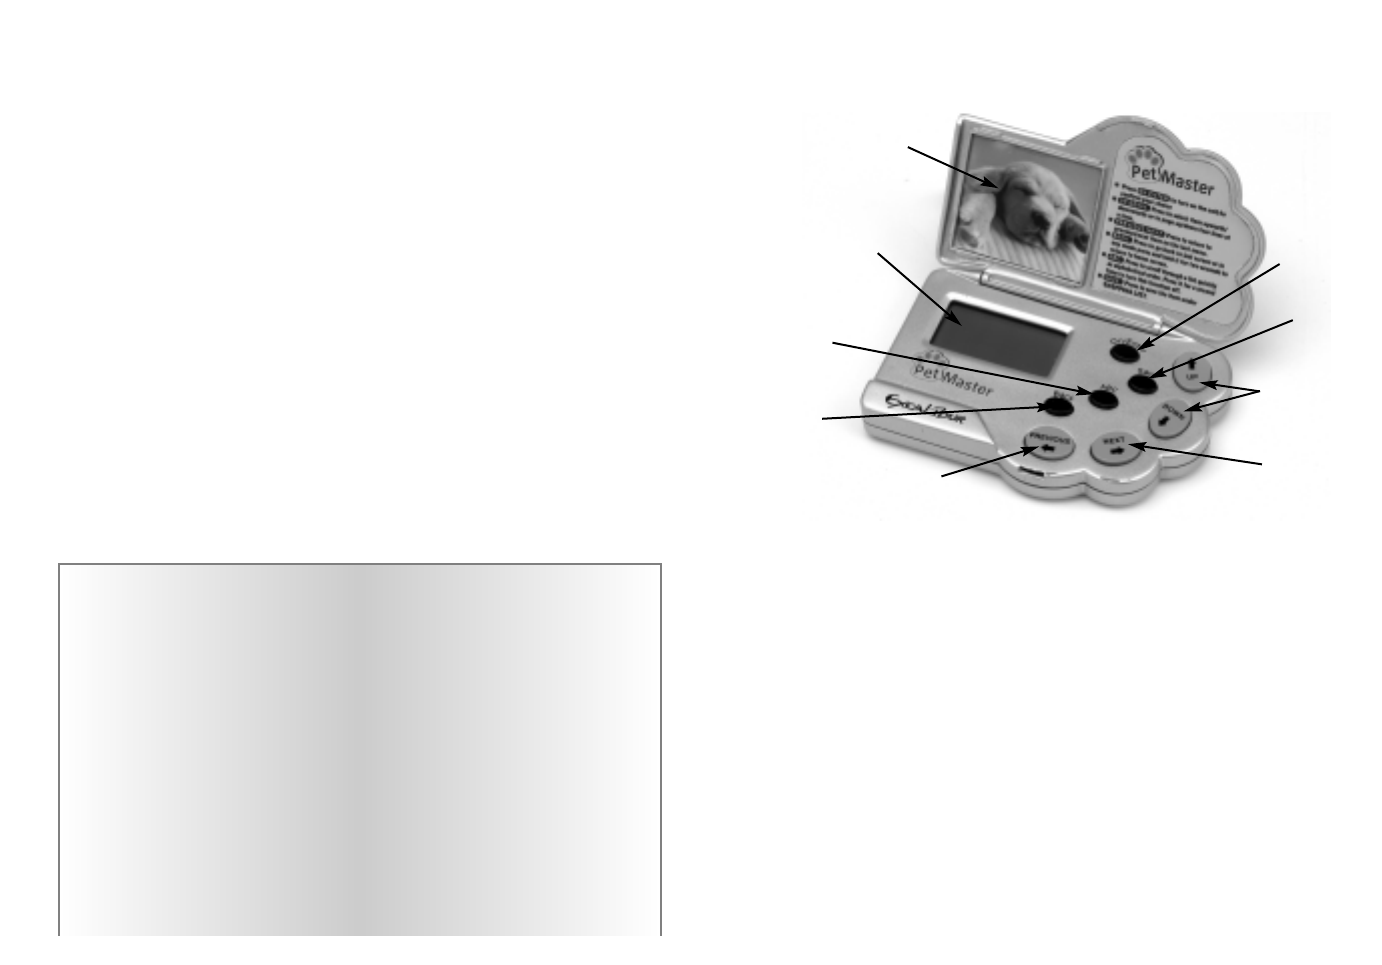
Layout of Pet Master
Function of Buttons
ON/ENTER
BUTTON
SAV E
BUTTON
UP/DOWN
BUTTONS
NEXT
BUTTON
PREVIOUS
BUTTON
BACK
BUTTON
ABC
B
UTTON
LCD
D
ISPLAY
PHOTO
FRAME