


Firmware Upgrade Procedure, cont’d
CrossPoint Plus/CrossPoint/MAV/Matrix 50 • Firmware Upgrade Procedure4
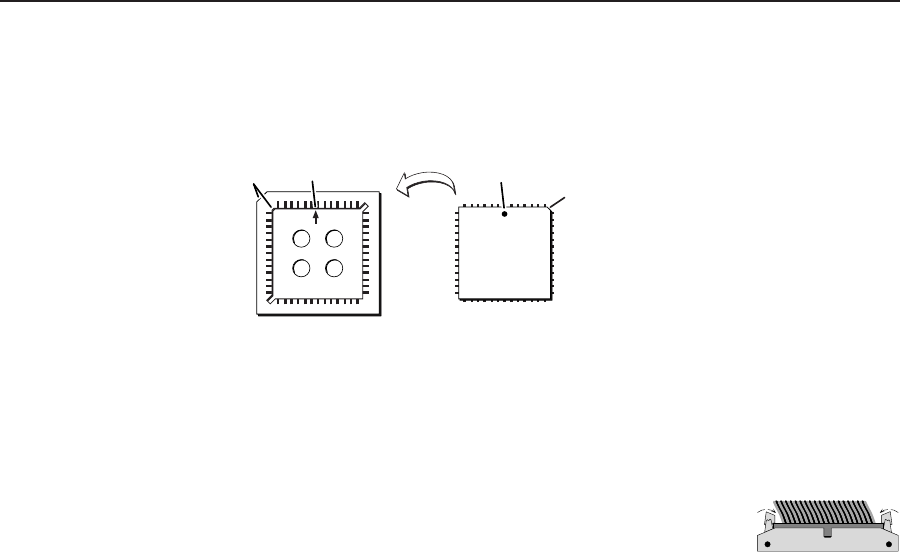
3. Note the key (angled corner) of the replacement firmware IC and the dot on
the underside that indicates pin 1 (figure 3). Orient the IC to match the key
and pin 1 (indicated by arrow) on the socket. While you support the front
panel from the bottom, carefully press the IC in place.
Key
Pin 1 mark Pin 1 mark
Socket
IC
Key
Figure 3 — Key and pin 1 mark
Reinstall the Front Panel and Initialize the Switcher
1.
Tip the front panel into position close to the switcher and reinstall the cable
removed in step 4 of Remove the Front Panel.
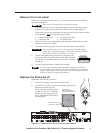
To plug the self latching cable into the desired receptacle,
align the holes in the connector with the pins in the
receptacle, and press evenly until the receptacle tabs lock
into place.
2. Replace all the front panel screws removed in step 2 of Remove the Front Panel.
3. If top and bottom screws were removed in step 1 of Remove the Front Panel,
replace them.
4. Reinitialize the switcher to recognize the new IC as follows:
a. Press and hold the Enter button while you connect the power cord to the
switcher.
b. Observe that the Input, Output, Preset, View, and Esc LEDs all flash.
c. Release the Enter button.
5. Disconnect the power cord from the switcher.
6. Reset the switcher as follows:
a. Press and hold the Esc button while you connect the power cord to the
switcher.
b. Observe that the Input, Output, Preset, View, and Esc LEDs all flash.
c. Release the Esc button.
7. Ensure that the switcher is working properly.
8. If the switcher was removed from a rack, align the holes in the mounting
bracket with those of the rack. Secure the switcher to the rack using the
machine screws removed in step 1 of Partially Remove the Switcher from a Rack.
Ribbon cable
Self-latching receptacle