


YCS SW6 MX • Serial Communication
YCS SW6 MX • Serial Communication
Serial Communication, cont’d
3-4
Symbol definitions
= CR/LF (carriage return/line feed)
• = Space
X1
= Input number 0 – 6 (0 = Muted output)
X2
= Software version x.xx
X3
= Format
0 = Muted output, 5 = NTSC/composite video,
6 = NTSC/S-video, 7 = PAL/composite video,
8 = PAL/S-video
Command/response table
Command description ASCII Response
Select input channel
Select input channel
X1
X1
& C
X1
Example: 5& C5
Select input channel
X1
(audio)*
X1
! C
X1
Example: 2! C2
* If an audio/video switcher is chained to the RS-232 port of the YCS SW6 MX,
use this command to break the audio signal away from the video signal.
Request information
I/i V
X1
•T
X3
•QVER
X2
•M6
Example: I V2•T6•QVER1.23•M6
Current input - input 2, NTSC/S-video; software version = 1.23; and maximum
number of inputs = 6.
Request part number
N/n Nxx-xxx-xx
Example: N N60-224-01
Query software version
Q/q QVER
X2
Example: Q QVER1.23
3-5
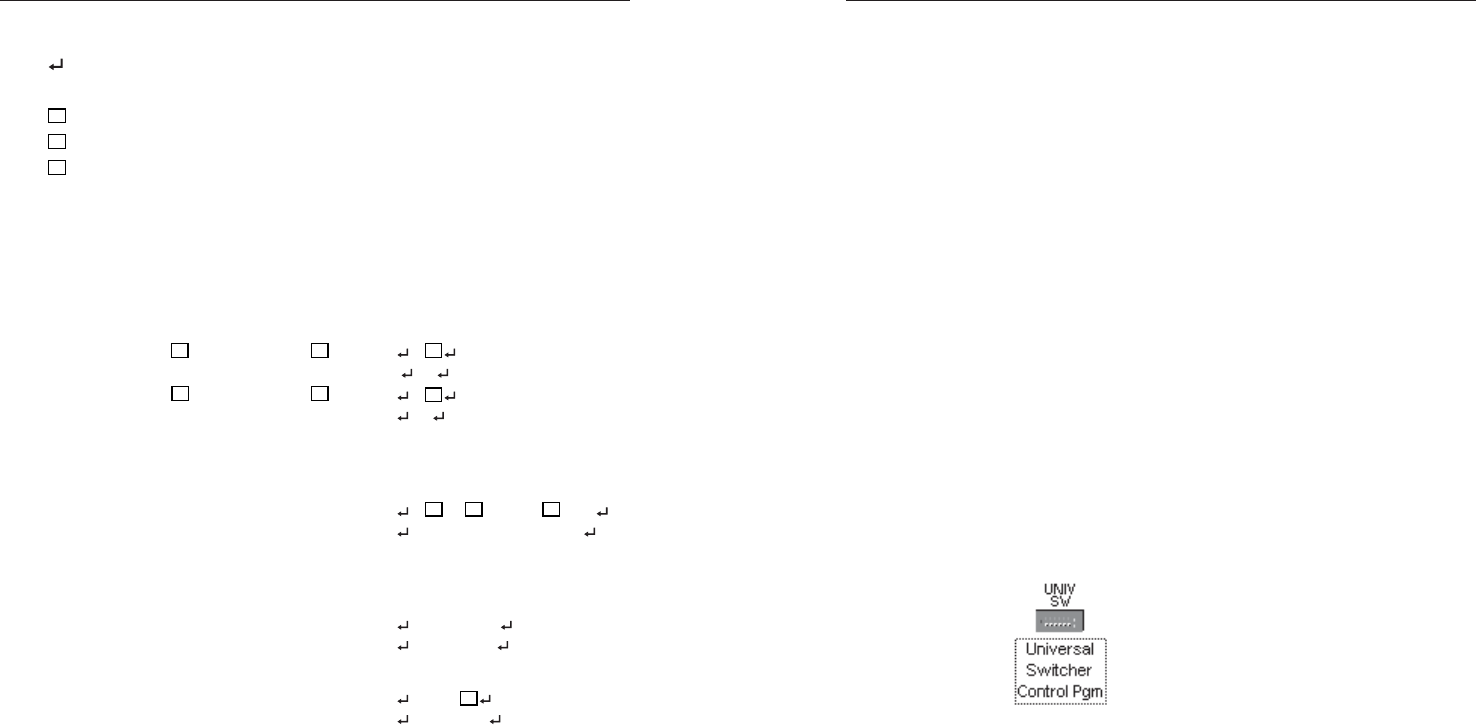
Universal SW Control Program
The Universal SW Control Program, Extron part number
29-031-01, which ships with the YCS SW6 MX switcher, is
compatible with Windows 3.1, 3.11, 95/98, and NT. It provides
remote control of input selection.
Installing the software
The Universal SW Control Program is contained on a single 3.5”
diskette, and it can run from the floppy drive. However, it is
usually more convenient to load and run the program from the
hard drive.
To install the software from the floppy disk onto the hard drive,
run SETUP.EXE from the floppy disk, and follow the
instructions that appear on the screen. The program occupies
approximately 1 MB (megabyte) of hard disk space.
By default, the Windows installation creates a C:\UNIVSW
directory, and it places two icons (Universal Switcher Control
Pgm and Universal Switcher Help) into a group or folder
named “Extron Electronics”.
Using the software
To run the software, do the following:
1. Double-click on the Universal Switcher Control Pgm icon
in the Extron Electronics group or folder.
The Comm menu appears on the screen.
2. Click on the comm port that is connected to the switcher’s
RS-232 port.
The Universal SW Control Program window appears
(figure 9, on the next page). It displays the current input
selection.
3. Using normal Windows controls, you can perform the
same adjustments as from the front panel.