FS-B-OPC-01 Series FieldServer Start-up Guide Page 8 of 10
FieldServer Technologies 1991 Tarob Court Milpitas, California 95035 USA Web:www.fieldserver.com
Tel: (408) 262-2299 Fax: (408) 262-2269 Toll Free: 888-509-1970 email: support@fieldserver.com
4 OPERATION
Read this Start-up Guide in conjunction with the Configuration Manual, the Driver Manual(s) and the Utilities
manual.
4.1 Connect and Power the FieldServer.
Connect the power adapter to a 100 to 240vAC power supply. Ensure that the power supply used complies
with the specifications provided in Section 2.2
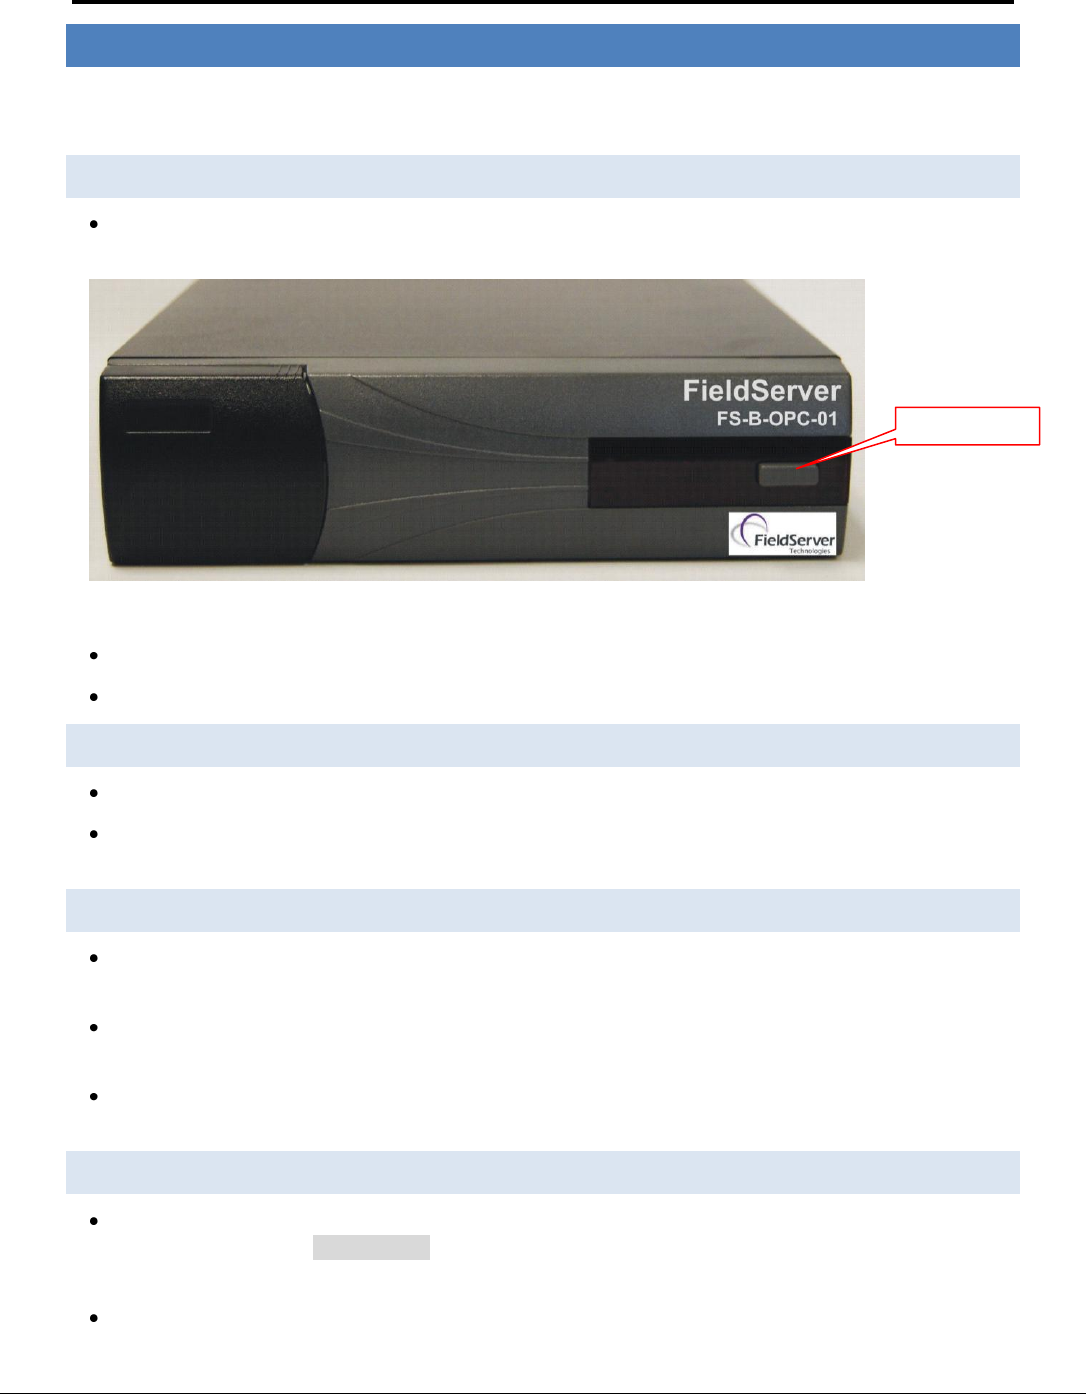
Figure 4-1: View of front of FS-B-OPC-01 Showing Power LED and power button
Press the Power Button on the front of the FS-B-OPC-01.
Wait approximately 3-5 minutes for unit to operate.
4.2 Connect all wiring to unit
Connect a standard CAT-5 Ethernet cable to the Ethernet port of the FS-B-OPC-01.
Make appropriate RS232 wiring connections to the RS-232 port of the FS-B-OPC-01. Refer to Section 3 for
more information.
4.3 Set the IP Address
If the FieldServer was not ordered with a Custom Configuration, the IP address is set to automatically update
from any local DHCP server.
If no IP address was ordered, then a standard PC monitor, Keyboard, and Mouse must be connected to the
FS-B-OPC-01 and the IP address set for a normal PC.
Once the IP address is found or assigned, the configuration of the FST OPC Server Configuration Utility must
be changed to match that IP address. Please reference the FS-8707-06 manual for more instruction.
4.4 Change the Configuration File to Meet the Application
The configuration of the FieldServer is provided to the FieldServer’s operating system via a comma-delimited
file called “CONFIG.CSV” which can be accessed from the
Start|Programs|FieldServerTechnologies|Configuration File folder.
If ordered with the FieldServer, the custom configuration is installed; (Reference documentation FS-8790-
XX).
