Restoring and Correcting Photos 27
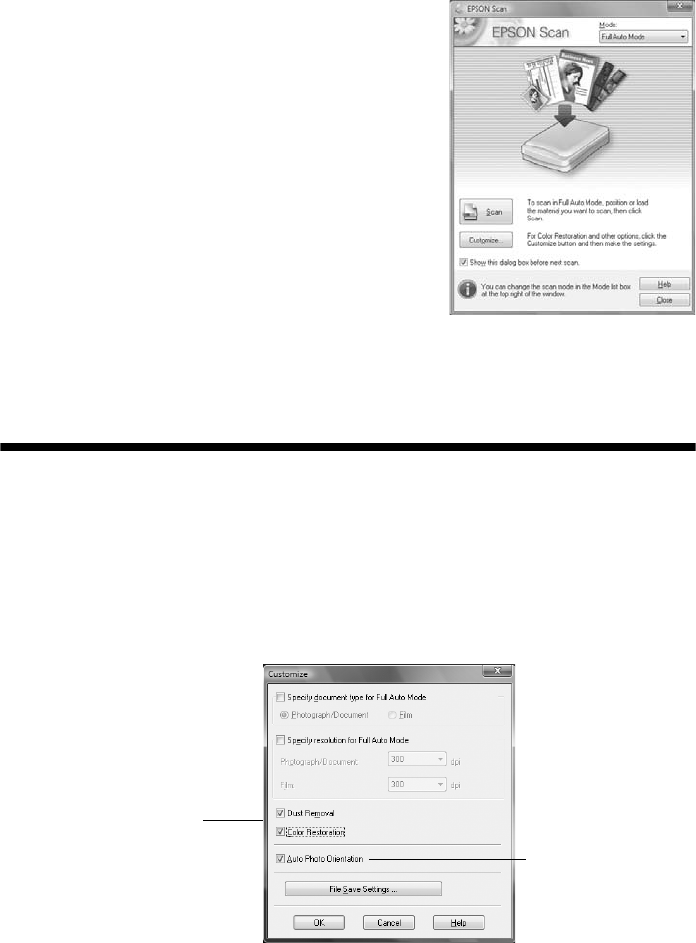
You see the Epson Scan standby window:
4. If the Mode setting in the upper right corner
is set to
Full Auto Mode, click the Scan
button.
If you are in Home or Professional Mode,
you see a different Epson Scan settings
window. (You can change the mode using the
Mode selector in the upper right corner.)
5. If you want to restore faded color in a photo
or make other corrections, click
Customize.
Then follow the instructions below.
6. Click
OK. The image is scanned and you see
its icon in Windows Explorer or Macintosh Finder.
Restoring and Correcting Photos
You can automatically transform a faded, dusty, or badly exposed color photo into
one with true-to-life color and sharpness as you scan. Use the
Color Restoration
and
Dust Removal options in Epson Scan’s Full Auto Mode. In Home and
Professional Mode, you can also select
Backlight Correction to remove shadows
from images with too much background light.
Note:
For more information, see your on-screen Epson Information Center. You can also click
Help on the Epson Scan screen for information about all the available settings.
Full Auto Mode
Click the Customize button,
click Dust Removal and/or
Color Restoration, click
OK, and click Scan.
Select Auto Photo
Orientation to orient
your photos based
on detected faces,
the sky, etc. If your
photo is not oriented
correctly, turn it off.


