Operation
34 Zebra XiII Printer User’s Guide
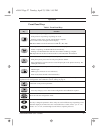
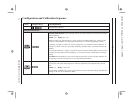
Configuration and Calibration Sequence
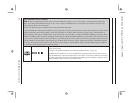
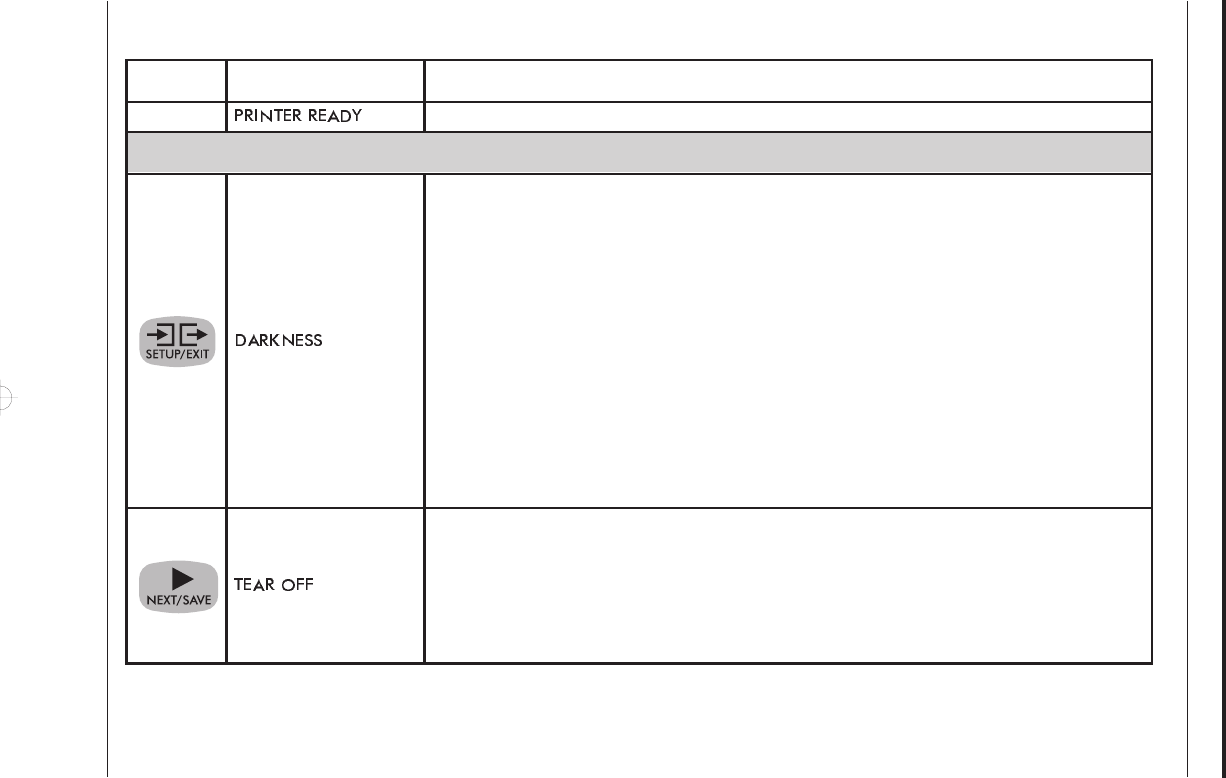
1. Press: 2. Display Shows: Action/Explanation:
—
Normal printer operation.
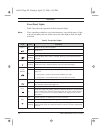
Setting Print Parameters
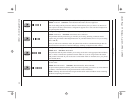
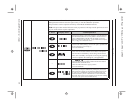
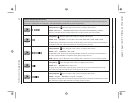
Adjusting Print Darkness Press the right oval key to increase darkness. Press the left oval key to
decrease darkness.
Default: +10 Range: 0 to +30
Darkness settings are dependent upon a variety of factors including ribbon type, media, and the
condition of the printhead. You may adjust the darkness for consistent high quality printing.
If printing is too light, or if there are voids in printed areas, you should increase the darkness. If
printing is too dark, or if there is spreading or bleeding of printed areas, you should decrease the
darkness.
The “Feed Key Self Test” on page 72 can also be used to determine the best darkness setting. Since
the Darkness setting takes effect immediately, you can see the results on labels that are currently
printing.
CAUTION: Set the Darkness to the lowest setting that provides good print quality. Darkness set
too high may cause ink smearing and/or it may burn through the ribbon.
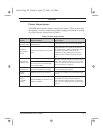
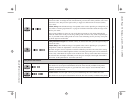
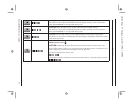
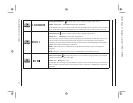
Adjusting the Tear-Off Position Press the right oval key to increase the value, press the left oval
key to decrease the value. Each depression of the key adjusts the Tear-Off position by four dot
rows.
Default: +0 Range: -64 to +64
This parameter establishes the position of the media over the tear bar after printing. The label and
backing can be torn off or cut between labels.
xi2ch2 Page 34 Tuesday, April 23, 1996 1:45 PM


