


p.16
Maintenance for Your Drive
WARNING: THIS NEXT STEP WILL ERASE ALL DATA ON YOUR DRIVE.
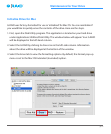
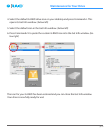
6. Click on the Erase button to continue. A progress bar in the lower right corner of the
window will show the progress of the disk’s reformatting.
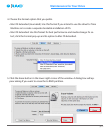
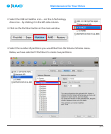
7. After the drive is reinitialized, you should automatically see the Time Machine dialog
box.
• Click the Use as Backup Disk button if you want to use the drive with
Time Machine.
• Click the Don’t Use or Decide Later button if you do not want to use
Time Machine at this point.
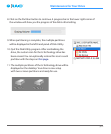
8. Quit the Disk Utility program. After reinitializing the drive, the custom icon for
G-RAID has been erased. You can optionally restore this icon with the steps on the
next page.