Page 6For technical questions, please call 1-800-444-3353.SKU 38391
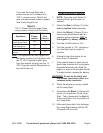
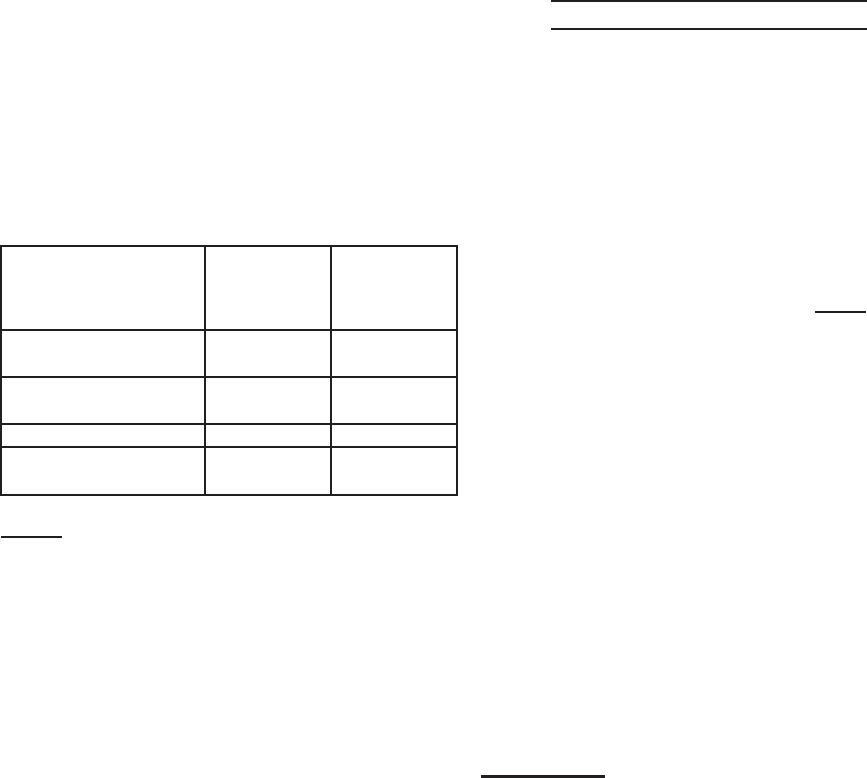
If you use the Jump-Start with a
power inverter (not included) as a
120 V~ power source, Table 3 will
give you approximate times to expect
with a fully charged unit.
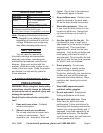
TABLE 3
120 V~ Power Source Usage Times
using a power inverter (not included)
Appliance
Estimated
Power
(watts)
Estimated
Use
(hours)
Spotlight, DVD
Player, Sump Pump
100 1.5
Faxes/TV’s
Small Appliances
150 1
Computers/Printers 200 0.75
Medium Power Tool,
Blender
250 0.5
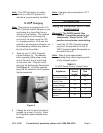
Note: The appliance will be plugged into
the power inverter (not included), and
the 12 VDC Cigarette Lighter plug
from the inverter will plug into the 12
VDC Cigarette Lighter Receptacle on
the side of the unit.
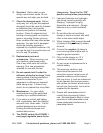
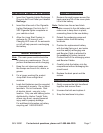
Jump Starting a Vehicle
NOTE:1. Press the Light Switch to
activate Work Light in case it is
needed.
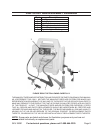
Attach the2. Red (+) Clamp (1) to the
red (+) positive battery terminal.
Attach the 3. Black (-) Clamp (2) to a
non-moving metal engine part on
negative ground systems, NOT to
the negative (-) battery terminal.
Turn the On/Off switch to “On”. 4.
Turn the ignition to “On”- Accessory 5.
(not start) and wait a couple of
minutes.
Attempt to start the engine for no 6.
more than 5-6 seconds.
If the vehicle does not start, wait at 7.
least three minutes until trying again.
Repeated attempts may ood the
engine or wear out the engine starter.
If unable to start, replace the battery.
WARNING! Do not let the black and
red clamps touch each other or a
common metal conductor.
When the engine is running, switch 8.
off the Jump-Start.
Disconnect the 9. Black (-) Clamp and
return it to its position on the Jump-
Start. Then, disconnect the Red (+)
Clamp and return it to its position on
the Jump-Start.
After each jump start, fully recharge 10.
the Jump-Start battery until the DC
Charging LED turns off.


