


KK-K9-D22-K_INST_9-07
Always!
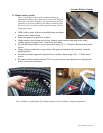
Read all instructions before installing any Havis-Shields Equipment Corp products.
Check for obstructions (Wire, brake lines, fuel tank, etc.) before drilling any holes!
Use hardware provided with install kit
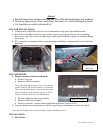
TIPS FOR INSTALLATION:
• Cordless drill with Phillips screw bit is recommended to help speed up installation time.
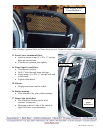
• Rear and ceiling fillers as well as step sill may require you to apply pressure when attaching
them to the cage. This will aid in achieving a clean tight fit and may require two installers during
these steps.
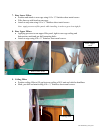
• PVC protective covering should be removed during installation. Peeling it back while attaching
hardware.
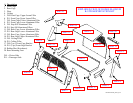
SUB ASSEMBLIES:
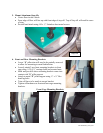
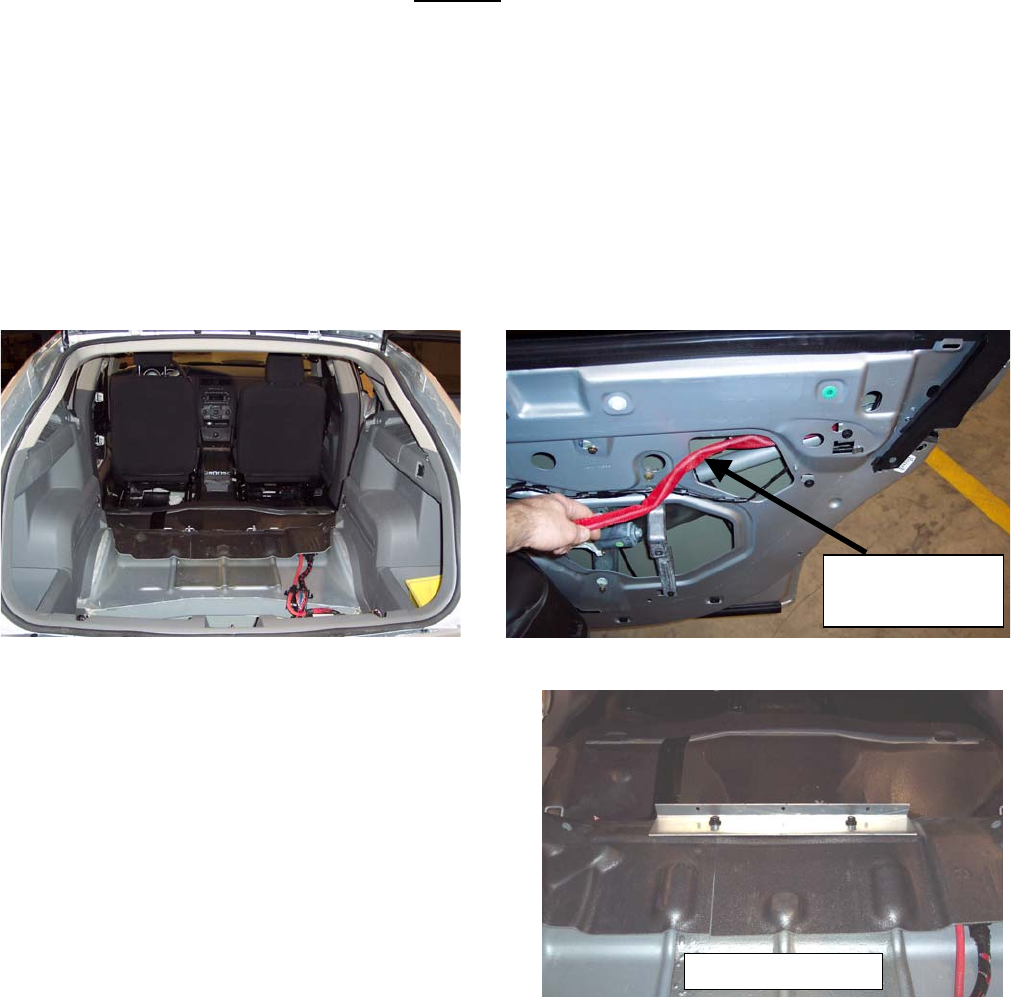
1. Remove necessary interior trim parts:
• Remove rear seat
• Remove OEM door panels.
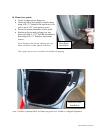
Note: if the door has an electric lock system and/or
window controls, the switches must be reconnected.
The switch assembly must be wire tied to inner door
panel and placed inside a plastic bag so, as not to
interfere with the window or lock mechanisms.
• Remove OEM door lock pin assembly
• Remove OEM step sill panel
• Remove seat belts – remove inboard belt latch and buckle (center of car)
2. Loosely attach rear-mounting foot to vehicle using factory seat hardware on floor of vehicle.
Note: DO NOT tighten these bolts until Step 6 of the installation process.
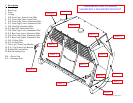
INSTALLATION:
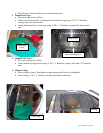
1. Place Floor:
Remove OEM
door rod
Rear of vehicle