Upgrading or replacing controller options 17
Upgrading or replacing controller options
Replacing or adding a battery
CAUTION: Electrostatic discharge can damage electronic components. Be sure you are
properly grounded before beginning this procedure.
For more information, see "Electrostatic Discharge (on page 37)."
1. Close all applications, and then power down the server. This procedure flushes all data from the
cache.
2. Observe the BBWC Status LED ("Battery pack LEDs" on page 34).
o If the LED is blinking every 2 seconds, data is still trapped in the cache. Restore system power,
and repeat the previous steps in this procedure.
o If the LED is not lit, proceed with the next step.
WARNING: There is a risk of explosion, fire, or personal injury if the battery pack is not
properly handled. Refer to "Battery replacement notice (on page 39)" before installing or
removing any item that contains a battery pack.
3. Remove the controller from the server.
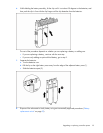
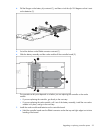
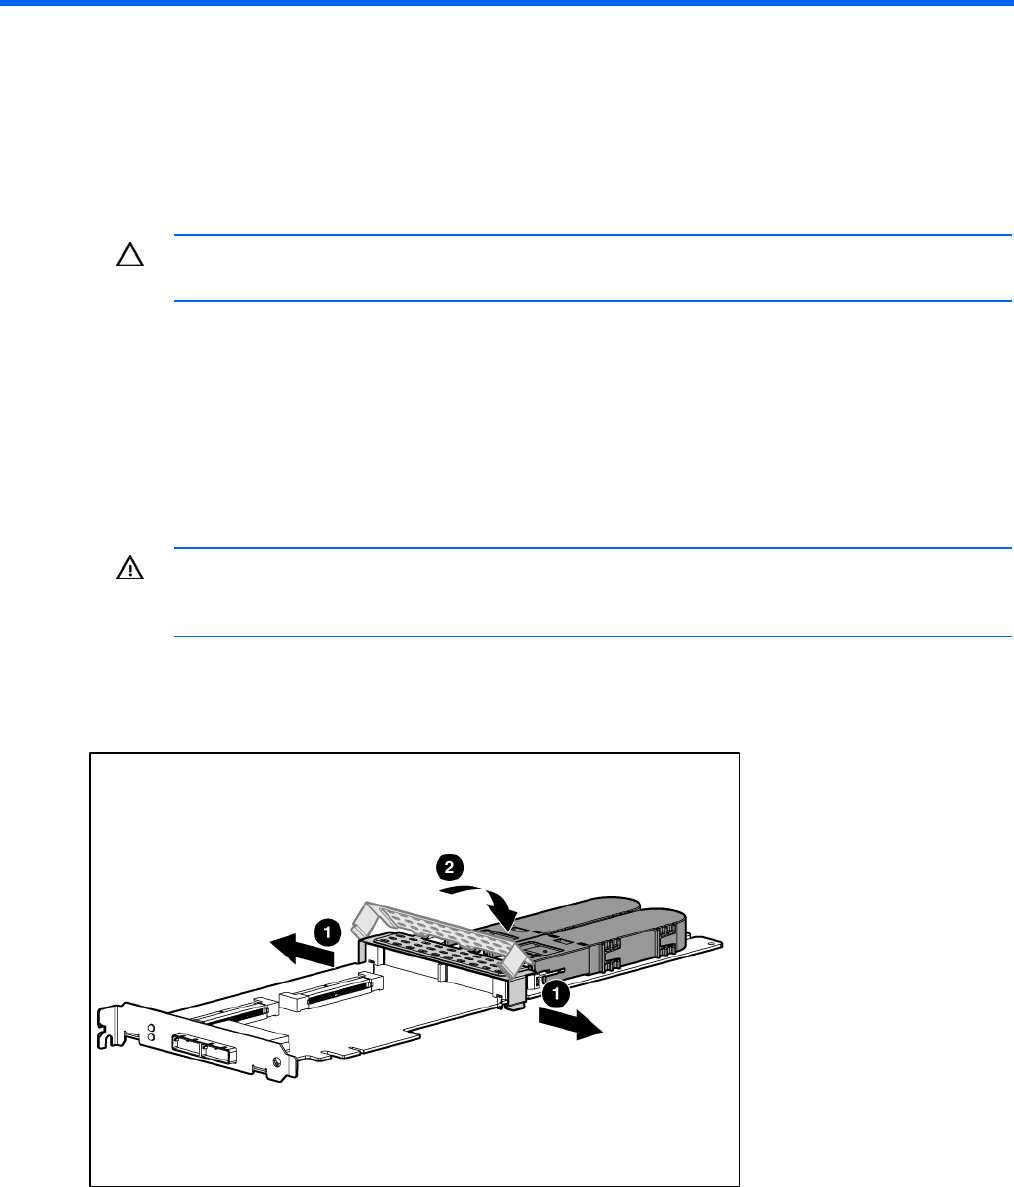
4. Pull the flanges on the battery clip outward (1), and then swivel the clip 180 degrees so that it rests
on the batteries (2).
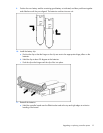
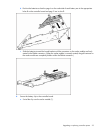
5. Slide the batteries toward the right edge of the controller, away from the bracket.


