


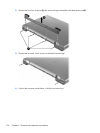
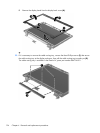
2.
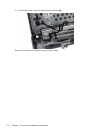
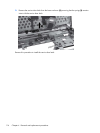
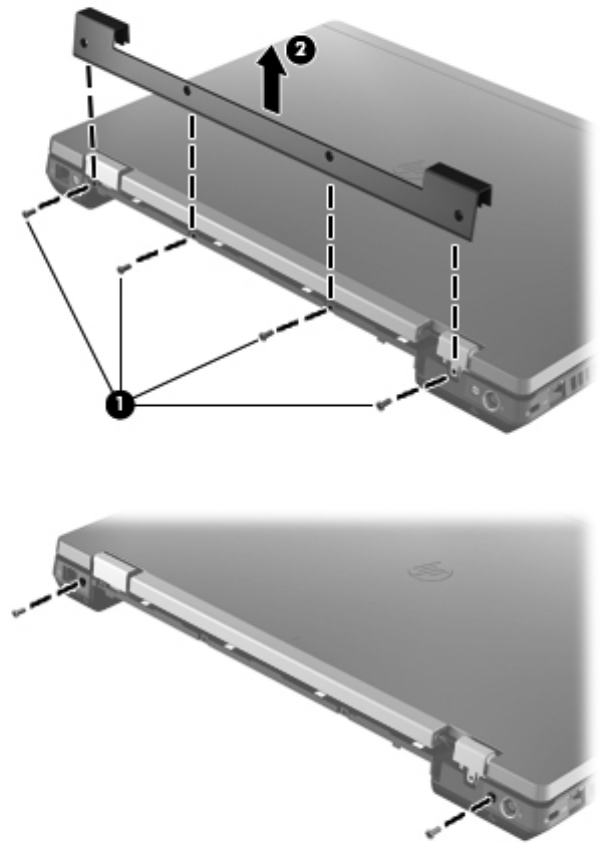
Remove the four Torx 8 screws (1) that secure the logo nameplate to the base enclosure (2).
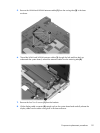
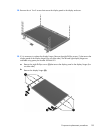
3.
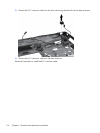
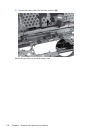
Remove the two-each Torx 8 screws on the back of each hinge.
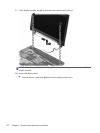
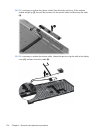
4.
Position the computer upside down, with the front toward you.
120 Chapter 4 Removal and replacement procedures