


Installing external fonts
Follow these steps to install external fonts.
1. Depending on your operating system, click the Start button and then do one of the following to
find the list of installed printers:
●
Click Devices and Printers or Printers and Faxes
●
Click Control Panel and then click Printers, or first click Hardware and Sound, and
then click Printers
●
Click Settings, and then click Printers or Printers and Faxes
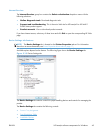
2. Right-click the name of the product.
3. Click Properties or Printer Properties.
4. Click the Device Settings tab.
5. Click the External Fonts option. The Properties button appears.
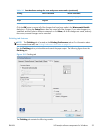
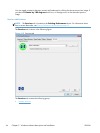
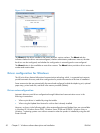
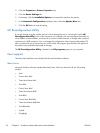
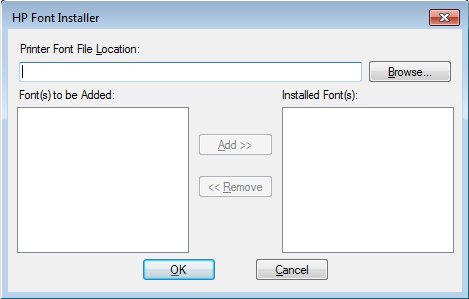
6. Click Properties. The HP Font Installer dialog box appears.
Figure 2-11 HP Font Installer dialog box
7. Type the name and path of the font metric file in the Printer Font File Location text box, or
click Browse to locate the file on the computer. The font file names appear in the Font(s) to be
Added window.
8. Select the fonts that you want to add, and then click Add. The fonts are installed and the file
names appear in the Installed Font(s) window.
9. Click OK to close the HP Font Installer dialog box.
ENWW
HP LaserJet software components for Windows
47