


2-38 Removal and Replacement HP Pavilion zt1100/xz100 Omnibook xt1000
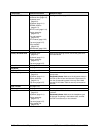
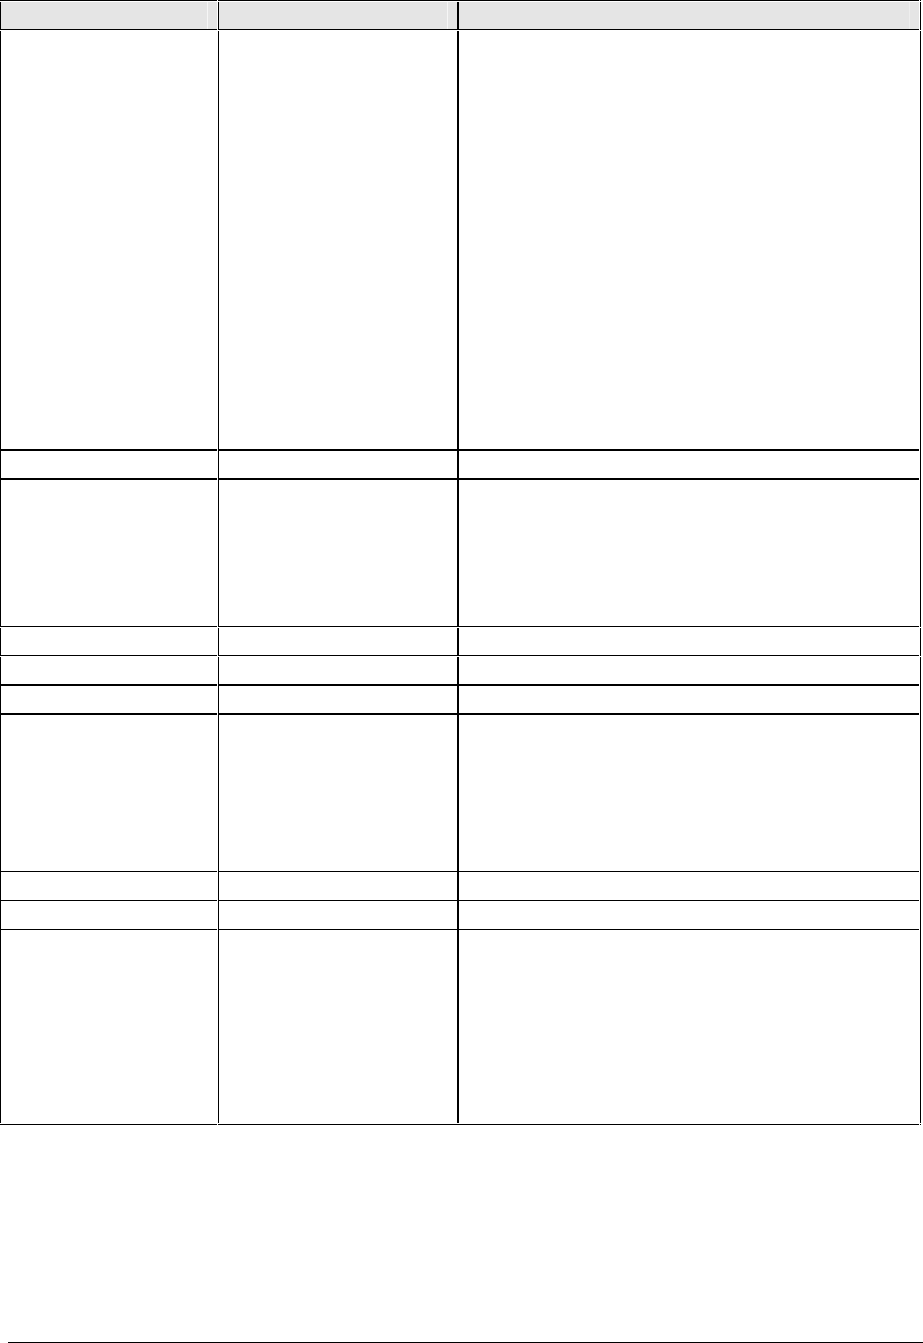
Component Removal Procedure Additional Steps
Doors, PCMCIA
Plug-in module (page 2-5).
Hard disk drive (page 2-6).
Keyboard cover
(page 2-9).
Keyboard (page 2-11).
SDRAM modules
(page 2-13).
Mini-PCI card (page 2-16).
Display assembly
(page 2-18).
Fan and heatsink
(page 2-22).
CPU module (page 2-25).
Top case (page 2-27).
Hinge saddles
(page 2-30).
Motherboard (page 2-32).
See Figure 2-25 on page 2-35.
Fan
See page 2-22.
Guide, hard disk drive
Keyboard cover
(page 2-9).
Keyboard (page 2-11).
Display assembly
(page 2-18).
Top case (page 2-27).
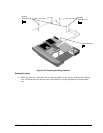
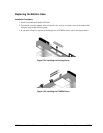
Remove the retaining screws, and lift the guide off of
the motherboard.
Heatsink
See page 2-22.
Keyboard
See page 2-11.
Module, CPU
See page 2-25.
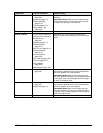
PCA, CD player
Keyboard cover
(page 2-9).
Keyboard (page 2-11).
Display assembly
(page 2-18).
Top case (page 2-27).
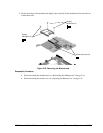
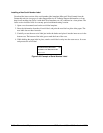
Remove both retaining screws, and lift the PCA out of
the top case.
Reassembly Notes: Make sure the alignment holes in
the PCA (at the left end and above the right screw) fit
over the corresponding posts in the top case. Make
sure the PCA’s ribbon cable is securely connected to
the PCA.
PCA, inverter
See page 2-20.
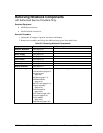
PCA, motherboard
See page 2-32.
PCA, USB
Keyboard cover
(page 2-9).
Keyboard (page 2-11).
Display assembly
(page 2-18).
Top case (page 2-27).
Hinge saddle, left
(page 2-30).
Carefully lift the PCA off of its connector and out of the
notebook.
Reassembly Notes: Make sure the headphone jack
fits through its opening in the bottom case, and that
the PCA is set securely on its connector.