


30
Controlling the Projector via Scheduling
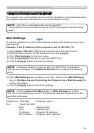
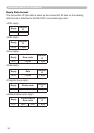
Schedule Settings
Schedule settings can be configured from a web browser.
Example: If the IP address of the projector is set to 192.168.1.10:
(
16)
There are three types of scheduling.
1) Daily: Perform the specified operation at a specified time every day.
2) Sunday ~ Saturday: Perform the specified operation at the specified time on a
specified day of the week.
3) Specific Date: Perform the specified operation on the specified date and time.
• In Standby mode the power indicator will flash green for approx. 3
seconds when at least 1 “Power ON” schedule is saved.
• When the schedule function is used, the power cord must be connected to
the projector and the outlet and the power switch must be turned on, [ | ]. The
schedule function does not work when the power switch is turned off, [
] or
the breaker in a room is tripped. The power indicator will lights orange or green
when the projector gets is receiving the power.
NOTE
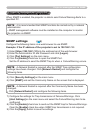
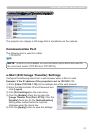
1) Enter [https://192.168.1.10] into the address bar of the web browser.
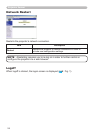
2) Enter the Administrator ID and Password and click
[Logon].
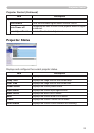
3) Click
[Schedule Settings] on the main menu and select the required schedule
item.
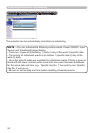
4) Click the [Enable] check box to enable scheduling.
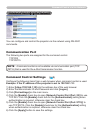
5) Enter the Date (Month/Day) for specific date scheduling.
6) Click
[Add] and set the hour, command and parameters and click [Add This
Schedule] when you want to add a command.
7) Click the [Delete] button when you want to delete a schedule.
8) Click the [Apply] button to save the settings.