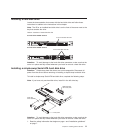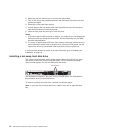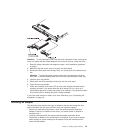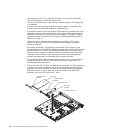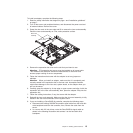
To install an adapter, complete the following steps:
1. Read the safety information that begins on page v and “Installation guidelines”
on page 7.
2. Turn off the server and peripheral devices, and disconnect the power cord and
all external cables. Remove the cover.
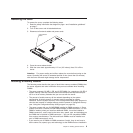
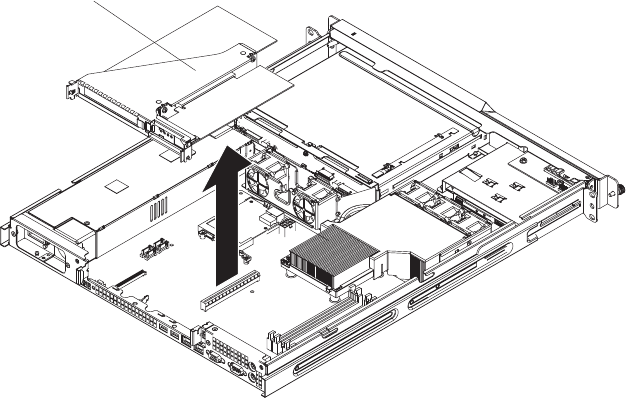
3. Grasp the riser card at the rear edge and lift to remove the riser-card assembly.
Place the riser-card assembly on a flat, static-protective surface.
Riser-card
assembly
4. Remove the expansion-slot cover on the slot that you intend to use.
Attention: PCI expansion-slot covers must be installed on all vacant slots.
This maintains the electronic emissions characteristics of the server and
ensures proper cooling of server components.
5. Follow the instructions that come with the adapter to set any jumpers or
switches.
Attention: When you install an adapter, make sure that it is completely and
correctly seated in the expansion slot in the riser card. Incomplete insertion
might cause damage to the riser card, system board, or the adapter when you
turn on the server.
6. Carefully grasp the adapter by its top edge or upper corners and align it with the
expansion slot in the riser card assembly; then, press the adapter firmly into the
expansion slot.
7. Follow the cabling instructions, if any, that come with the adapter.
8. Reinstall the riser-card assembly. Make sure that the riser-card assembly is fully
seated in the riser-card connectors on the system board.
9. If you are installing a ServeRAID 8s controller, complete the following steps:
a. Disconnect the existing SAS/SATA controller signal cable from the hard disk
drive backplane and from the controller; then, remove the cable from the
server.
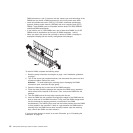
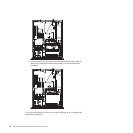
b. In a server with 2.5 inch drives, route the ServeRAID 8s signal cable as
shown in the following illustration and connect it to the hard disk drive
backplane.
Chapter 2. Installing optional devices 15


