132 Hardware Maintenance Manual: IBM PC Server/Enterprise Racks
• A Phillips screwdriver
• A 10mm nut driver or 10mm open-end or box wrench
Specifications
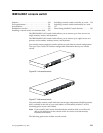
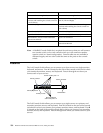
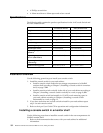
The following table contains the product specifications for the 1x4 Console Switch and
the 2x8 Console Switch:
Installation overview
Use the following general steps to install your console switch:
1. Install the console switch in your rack cabinet:
• Install a console switch inside the rear storage compartment of a NetBAY
monitor shelf according to Chapter 2, Installing a console switch in a monitor
shelf, on page 5 OR
• Install a console switch vertically in the side of your rack cabinet according to
Chapter 3, Installing a console switch vertically in a rack, on page 9, OR
• Install a console switch horizontally in 1U of EIA rack mounting space in
your rack cabinet according to Chapter 4, Installing a console switch
horizontally in a rack, on page 13.
2. If you have more than one console switch to install in your rack cabinet repeat
step 1 for each console switch.
3. Refer to the Apex User Guide CD for operation and configuration information.
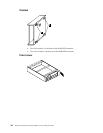
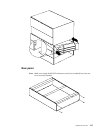
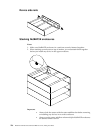
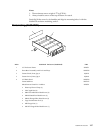
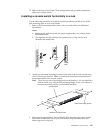
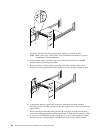
Installing a console switch in a monitor shelf
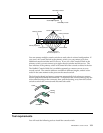
Use the following procedure to install the console switch in the rear compartment of a
NetBAY monitor shelf:
1. Refer to the documentation that comes with your rack cabinet for additional
information.
1x4 Console Switch 2x8 Console Switch
Height 4.3 cm (1.7 in.) 4.3 cm (1.7 in.)
Depth 20.3 cm (8.0 in.) 20.3 cm (8.0 in.)
Width 43.2 cm (17 in.) 43.2 cm (17 in.)
Weight 2.38 kg (5.25 lbs) 2.59 kg (5.7 lbs)
Rated voltage 100 240 V ac 100 240 V ac
Rated frequency 50 60 Hz 50 60 Hz
Rated input current 1.0 A maximum 1.0 A maximum
Operating temperature at 0914 m
(03000 ft)
10° 35°C (50° 95°F) 10° 35°C (50° 95°F)
Operating temperature at 914-
2133 m (3000-7000 ft)
10° 32°C (50° 90°F) 10° 32°C (50° 90°F)
Operating humidity (non-
condensing)
8% 80% 8% 80%
Video modes supported VGA, SVGA, XGA VGA, SVGA, XGA


