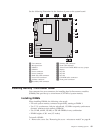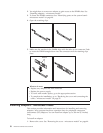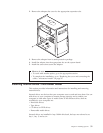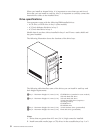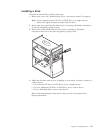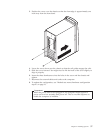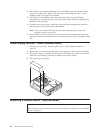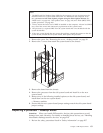
3. Position the cover over the chassis so that the front edge is approximately one
inch away from the front bezel.
4. Lower the cover down over the chassis so that the rail guides engage the rails.
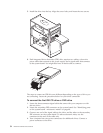
5. Slide the cover forward. You might need to lift the front of the cover slightly to
align it properly.
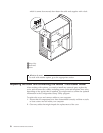
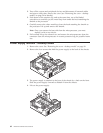
6. Insert the three thumbscrews into the holes in the cover and the chassis and
tighten.
7. Reconnect the external cables and cords to the computer.
8. To update the configuration, see “Module test menu/hardware configuration
report” on page 13.
Important:
When the power cord is first plugged in, the computer might appear to
power on for a few seconds, then power off. This is a normal sequence to
enable the computer to initialize.
Chapter 4. Installing Options 57


