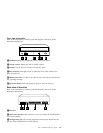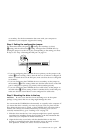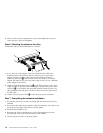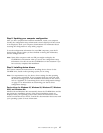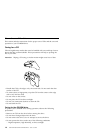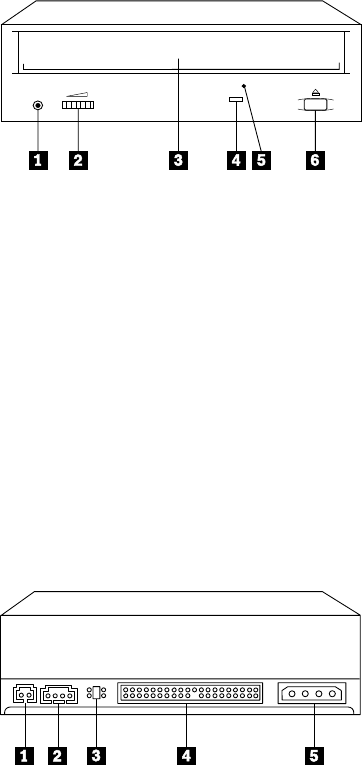
Front view of the drive
Refer to the illustration to identify parts that might be referred to in the
installation instructions.
1Headphone jack. Plug headphones in here for audio output.
2Volume control. Adjust this dial to control volume.
3CD tray. Use the CD tray to load a CD into the drive.
4Busy indicator. This light comes on when the drive reads a data CD or
plays an audio CD.
5Manual-eject hole. Use this to eject the CD tray if the Eject/Load button is
not operating correctly.
6Eject/Load button. Push this button to open or close the CD tray.
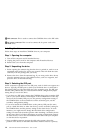
Back view of the drive
Refer to the illustration to identify parts that might be referred to in the
installation instructions.
1Reserved.
2Audio-out connector. This connector is used to connect the CD-ROM drive
to an audio adapter.
3Configuration pins. The jumper placement on these pins determines the
priority of the CD-ROM drive on the IDE bus.
Part 1: Installation and user’s guide 1-3


