Note: Take note of the location of any cables you disconnect. You might have
to disconnect cables to other drives to gain access to the drive you are
removing.
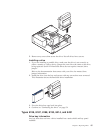
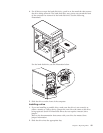
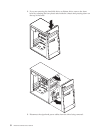
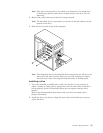
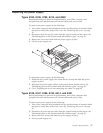
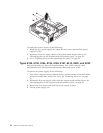
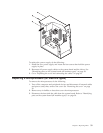
4. Remove the screws that secure the drive being removed.
Note: The hard disk drive is secured by two screws in the side and two at the
bottom of the drive.
5. Slide the drive out the front of the computer.
Note: This illustration shows the hard disk drive being removed. All drives are
removed in the same manner. However, it is only necessary to remove
the front bezel when removing the hard disk drive or diskette drive.
Installing a drive
1. If you are installing a parallel drive, make sure the drive is set correctly as
either a master or a slave device. Jumper the new drive the same as the drive
being replaced. Serial ATA hard disk drives do not require a master/slave
jumper.
Refer to the documentation that comes with your drive for master/slave
jumper information.
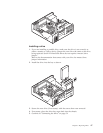
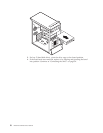
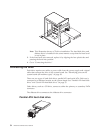
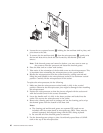
2. Install the drive into the bay. Align the screw holes and install two screws to
secure the drive.
Chapter 6. Replacing FRUs 53


