


2
Table of Contents
Introduction 3
Positioning the projector 5
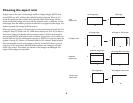
Choosing the aspect ratio 6
Video connectors 7
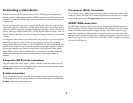
Connecting a video device 8
Composite (RCA) video connection 8
S-video connection 8
Component (RCA) connection 8
SCART RGB connection 8
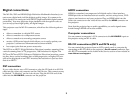
Digital connections 9
DVI connection 9
HDMI connection 9
Computer connections 9
RS-232 connections (IN74 and IN76 only) 9
Displaying an image 10
Adjusting the image 10
Shutting down the projector 12
Troubleshooting your setup 12
Using the remote control 18
Using the keypad buttons 19
Optimizing video images 20
Customizing the projector 20
Using the menus 21
Picture menu 22
Settings menu 26
Maintenance 29
Cleaning the lens 29
Replacing the projection lamp 29
Appendix 32
Red LED behavior and projector errors 32
Remote control discrete codes 33
Projector dimensions for ceiling mount installations 34
Supported video formats 35
RS-232 terminal specifications for IN74 and IN76 36
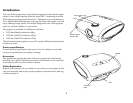
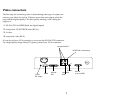
Important Operating Considerations for Safety
• Place the projector in a horizontal position no greater than 15 degrees
off axis.
• Locate the projector in a well-ventilated area without any obstructions
to intake or exhaust vents. Do not place the projector on a tablecloth or
other soft covering that may block the vents.
• Locate the projector at least 4' (1.2 m) away from any heating or cooling
vents.
• Use only InFocus-approved ceiling mounts.
• Use only the power cord provided. A surge-protected power strip is
recommended.
• Refer to this guide for proper startup and shutdown procedures.
• This product has a lamp which contains a very small amount of mer-
cury. Wash hands after cleaning the area and handling the ruptured
lamp. Dispose of it as required by local, state or federal ordinances and
regulations. For more information see www.eiae.org.
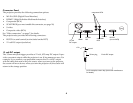
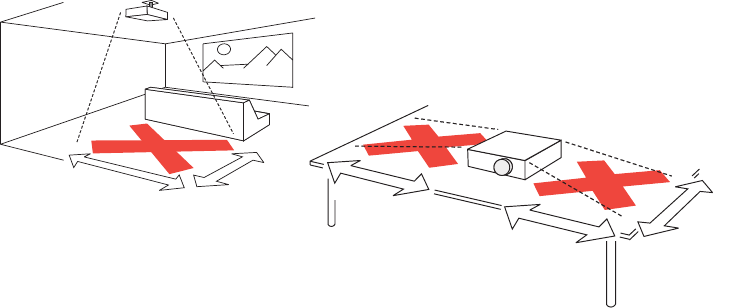
• In the unlikely event of a lamp rupture, particles may exit through the
projector side vents. When the projector is turned on, keep people,
food, and drinks out of the "keep out" area under and around the pro-
jector, as indicated by the "X" areas below.
Follow these instructions to help ensure image quality and lamp life over
the life of the projector. Failure to follow these instructions may affect the
warranty. For complete details of the warranty, see the Warranty booklet.
5
’
/1.5m
8
’
/2.4m
2
’
/0.6m
3
’
/1m
3
’
/1m