


21
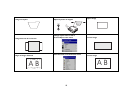
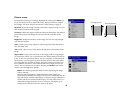
Using the menus
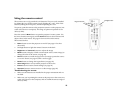
To open the menus, press the menu button on the keypad or remote. (The
menus automatically close after 60 seconds if no buttons are pressed.) The
Main menu appears. Use the arrow buttons to move up and down to high-
light the desired submenu, then press the Select button.
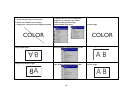
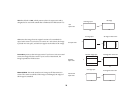
To change a menu setting, highlight it, press Select, then use the up and
down arrow buttons to adjust the value, select an option using radio but-
tons, or turn the feature on or off using check boxes. Press Select to confirm
your changes. Use the arrows to navigate to another setting. When your
adjustments are complete, navigate to Exit, then press Select to navigate to
the previous menu; press the Menu button at any time to close the menus.
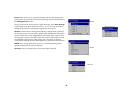
Dots appear before the menu name. The number of dots indicate the menu’s
level, ranging from one (the Main menu) to four (the most nested menus).
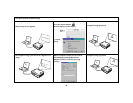
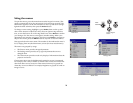
The menus are grouped by usage:
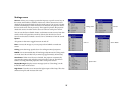
• The Picture menu provides image adjustments.
• The Settings menu provides set-up type adjustments that are not
changed often.
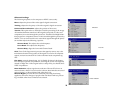
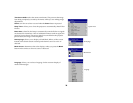
• The About menu provides a read-only display of information about the
projector and source.
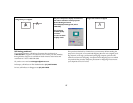
Certain menu items may be hidden until a particular source is connected.
For example, Tint is only available for NTSC video sources and will be hid-
den when other sources are active. Other menu items may be grayed out
when they are not available. For example, Brightness is grayed out until an
image is active.
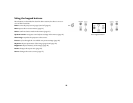
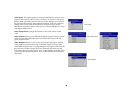
Keypad navigation
buttons
Main menu
Menu
button
Picture menu
Settings menu
Dots
About menu