6
hardware documentation
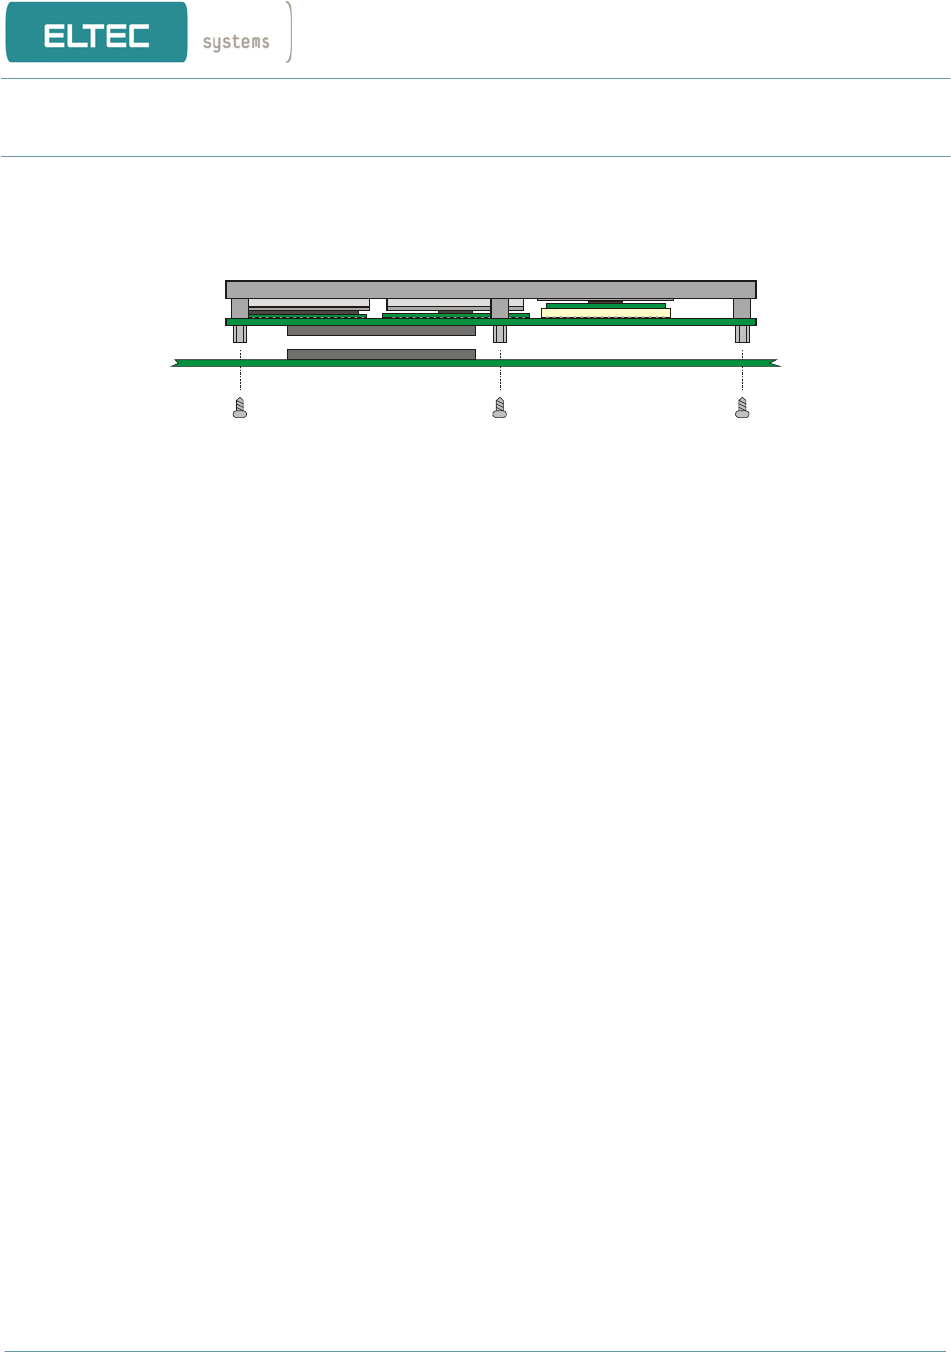
At least plug the modul onto the carrierboard and fix it.
Make sure that the power supply within the rack meets the power requirements specified in Section "Power
Requirements". Also the operating requirements must meet the values specified in Section "Environmental Conditions".
1.5. Cooling Requirements
Cooling of the EUROCOM 450 and especially of the processor is essential. Depending on the processor
frequency and the type of heatsink used different maximum air temperatures can be tolerated. See
Section 'Environmental Conditions' for a detailed list of specified air temperatures.
1.6. Testing the Installation
After power is switched on the BIOS displays a message on the CRT screen. It takes some time before
the BIOS is ready to display. After system boot from harddisk or floppy drive the keyboard should work.
The driver software for the mouse should detect the mouse device. If a network is installed, other network
devices (if existent) should be accessible (e.g. from Windows file manager). These default configurations
may be different depending on the required CPU frequency.
2. BIOS Setup
The EUROCOM 450 is delivered with an BIOS from AMI. The BIOS includes a setup menu to configure basic settings.
ELTEC ships the EUROCOM 450 with optimized BIOS settings. If desired, most of the BIOS settings can be changed
(some settings are hardwired). Also if the battery for the CMOS RAM is weak, the RAM may loose its contents making a
new setting of the setup necessary. Caution should be taken because some changes of settings may cause an erroneous
system behaviour.
It may happen that the values in the nonvolatile memory inhibit starting of the EUROCOM 450. In this case board can
be reset to the default values by the following procedure:
Þ remove the board from the carrierboard
Þ wait about 10 seconds
Þ reinstall board
2.1.1. Power On Self Test
When the EUROCOM 450 is powered on, the BIOS tests and initializes the hardware and programs the chipset and other
peripheral components. During this time, Power On Self Test (POST) progress codes are written by the system BIOS to
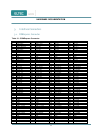
I/O port 80h, allowing the user to monitor the progress with a special monitor. A later chapter lists the POST codes and
their meanings.


