


Disassembly
Removing and Installing the Processor 2 - 9
2.Disassembly
Removing and Installing the Processor
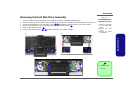
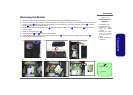
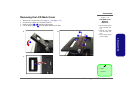
1. Remove the rear component cover (page 2 - 7).
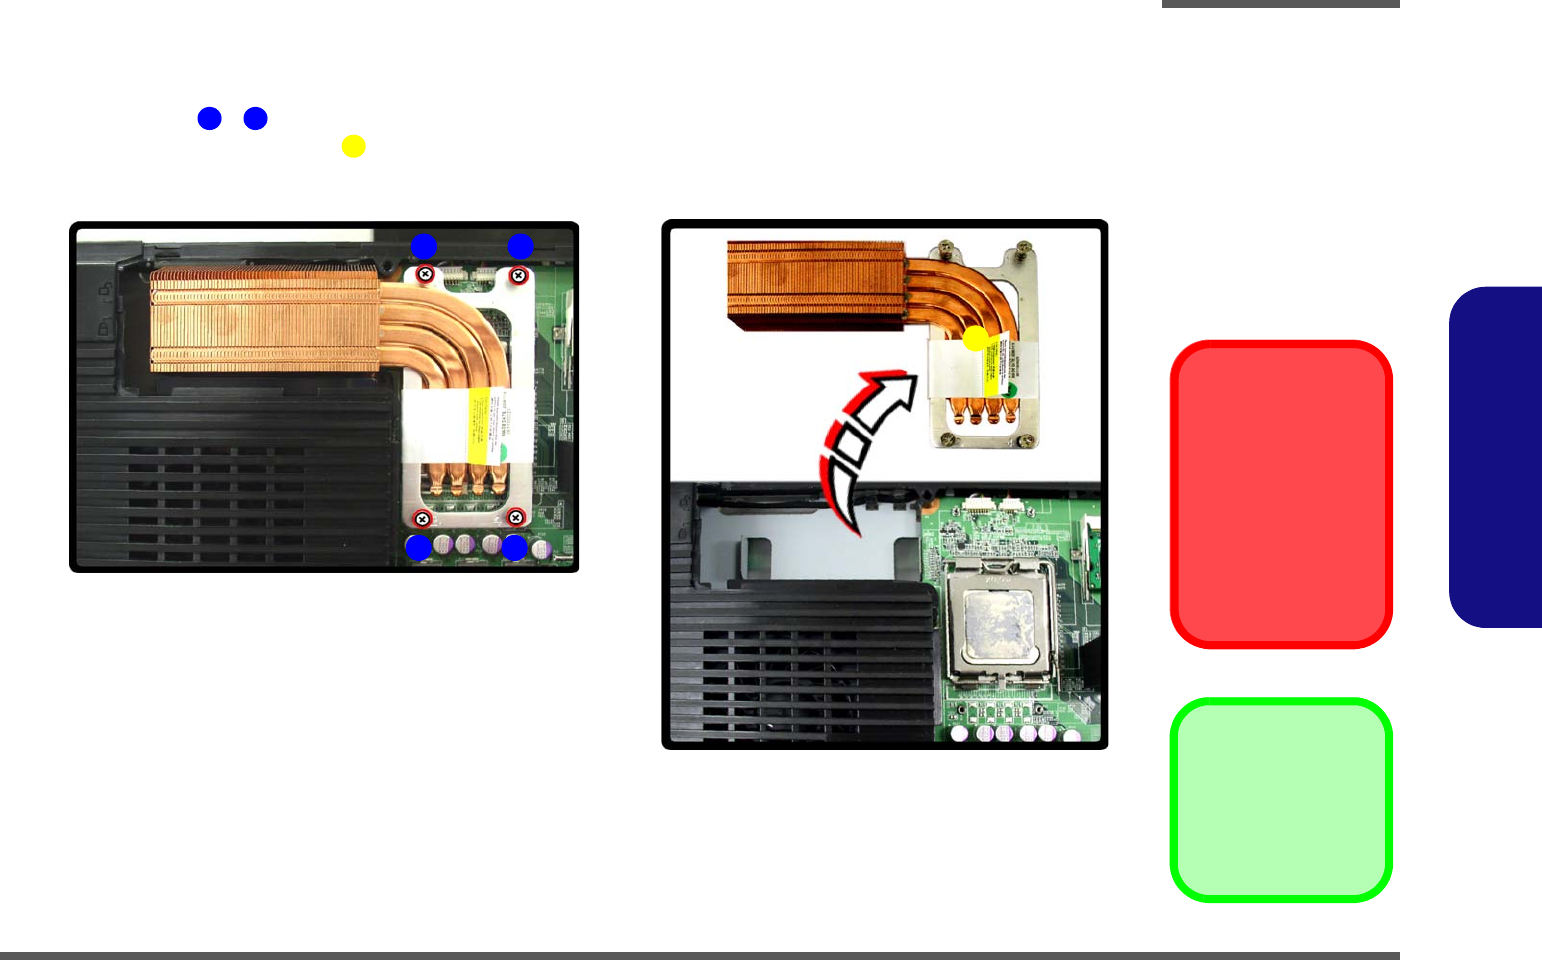
2. Remove screws - from the CPU heat sink unit (in the order indicated in Figure 2 - 5a).
3. Lift out the CPU heat sink unit from the mainboard.
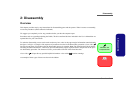
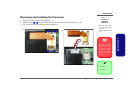
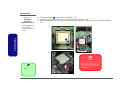
Figure 2 - 4
Processor
Removal
Sequence
a. Remove the screws
from the CPU heat
sink unit.
b. Lift the heat sink unit
out.
1 4
5
2
1
a.
4
3
b.
5
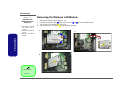
5. Heat Sink
•4 Screws
Caution
The heat sink, and
CPU area in general,
contains parts which
are subject to high
temperatures - Please
allow the area time to
cool before removing
these parts.