


49
ENGLISH
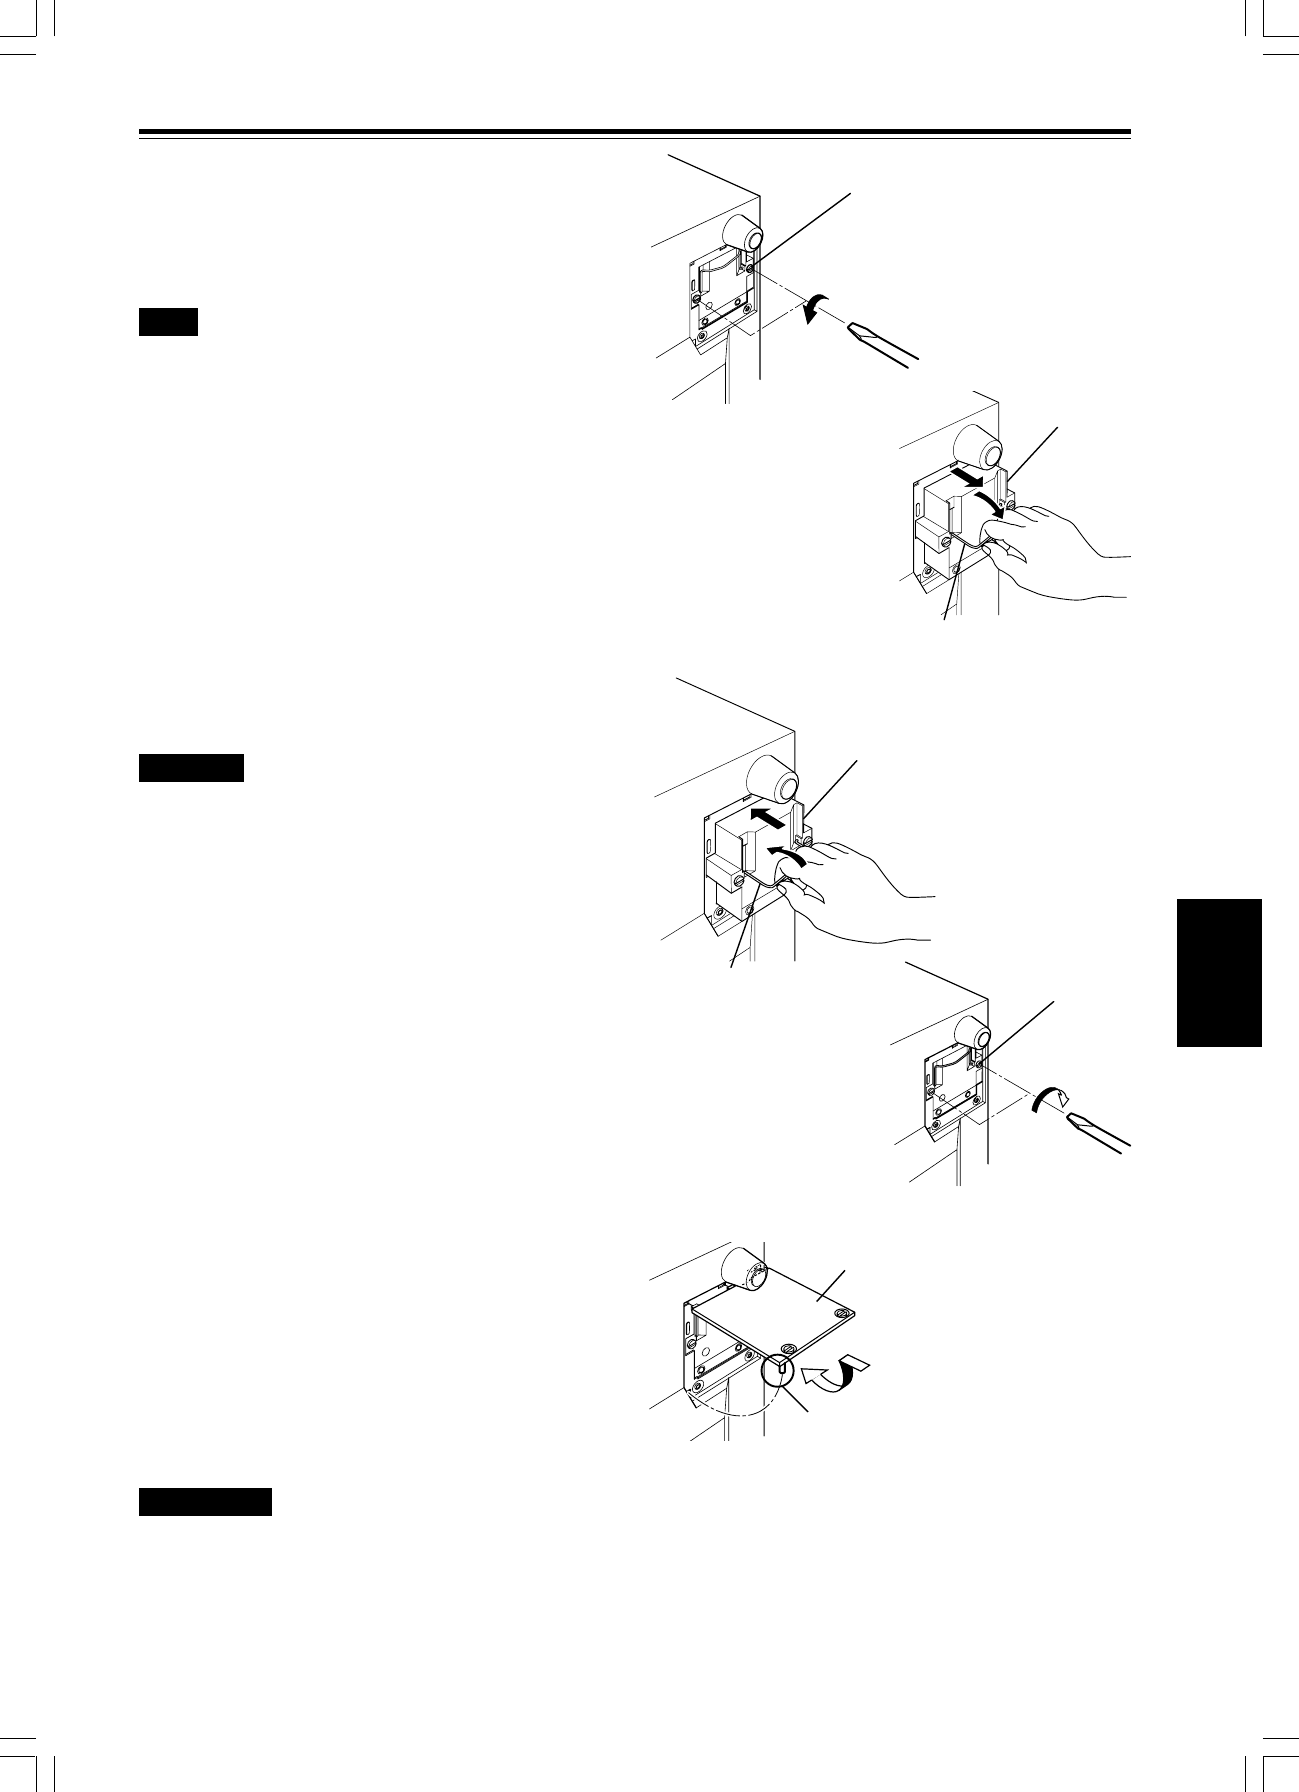
2
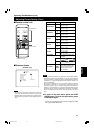
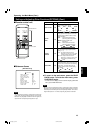
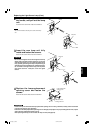
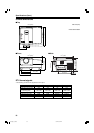
Loosen the lamp-unit screws, raise
the handle, and pull out the lamp
unit.
Loosen the two screws with a flat-end screwdriver.
Screw
Lamp unit
Handle
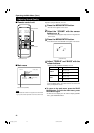
Lamp unit
Handle
Screw
Lamp-replacement
opening cover
Be careful not to
damage the claw.
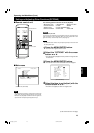
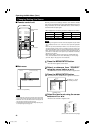
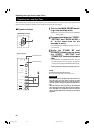
3
Insert the new lamp unit fully
inside and fasten the screws.
Fasten the two screws with a flat-end screwdriver.
CAUTION
• Do not touch the glass surface of the light-source lamp
directly with your hand as well as staining it. If you touch
with a bare hand, stains on your hand may adhere to the
lamp, possibly preventing the lamp from performing as
specified due to a shortened lamp life, a darkened screen,
etc. To handle a new light-source lamp, hold its plastic
part. Never touch the metal part or the front glass
surface.
CAUTIONS
• Install the lamp unit and close the lamp-replacement opening cover correctly; otherwise, a safety switch is activated
to prevent the projector from operating.
• If the claw on the lamp-replacement opening cover is damaged, the projector may not possibly operate. Then, replace
with a new lamp-replacement opening cover.
• After replacing the lamp, be sure to reset the lamp use time (see page 50).
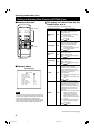
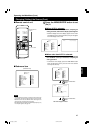
4
Replace the lamp-replacement
opening cover and fasten the
screws.
Fasten the two screws with a flat-end screwdriver.
1
2
Replacing the Light-Source Lamp (Cont.)
Note
• The screws are fitted so that they do not come off the lamp-
unit.
1
2
G1000[D] p.46-59 99.2.24, 5:52 PM49