


55
ENGLISH
Changing Channels (Cont.)
Operating the Main Menu (Cont.)
OPERATE
VOL.
PAGE
BACK
PRESET
ZOOM FOCUS
COMPUTER VIDEO
QUICK
ALIGN.
AV
MUTING
W
T
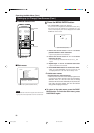
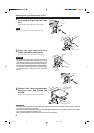
MENU/ENTER
MENU/ENTER
button
Cursor buttons
PAGE BACK button
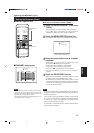
■ Remote control unit
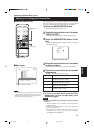
■ Changing channels on the “CHANNEL Setup/
Selection” menu :
1
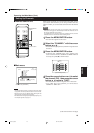
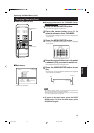
Press the MENU/ENTER button.
• The main menu appears on the screen.
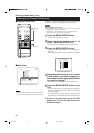
2
Press the cursor button 5 or ∞ to
select a submenu item, CHANNEL.
• The selected item (displayed in text) is shown in magenta color
on the screen.
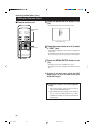
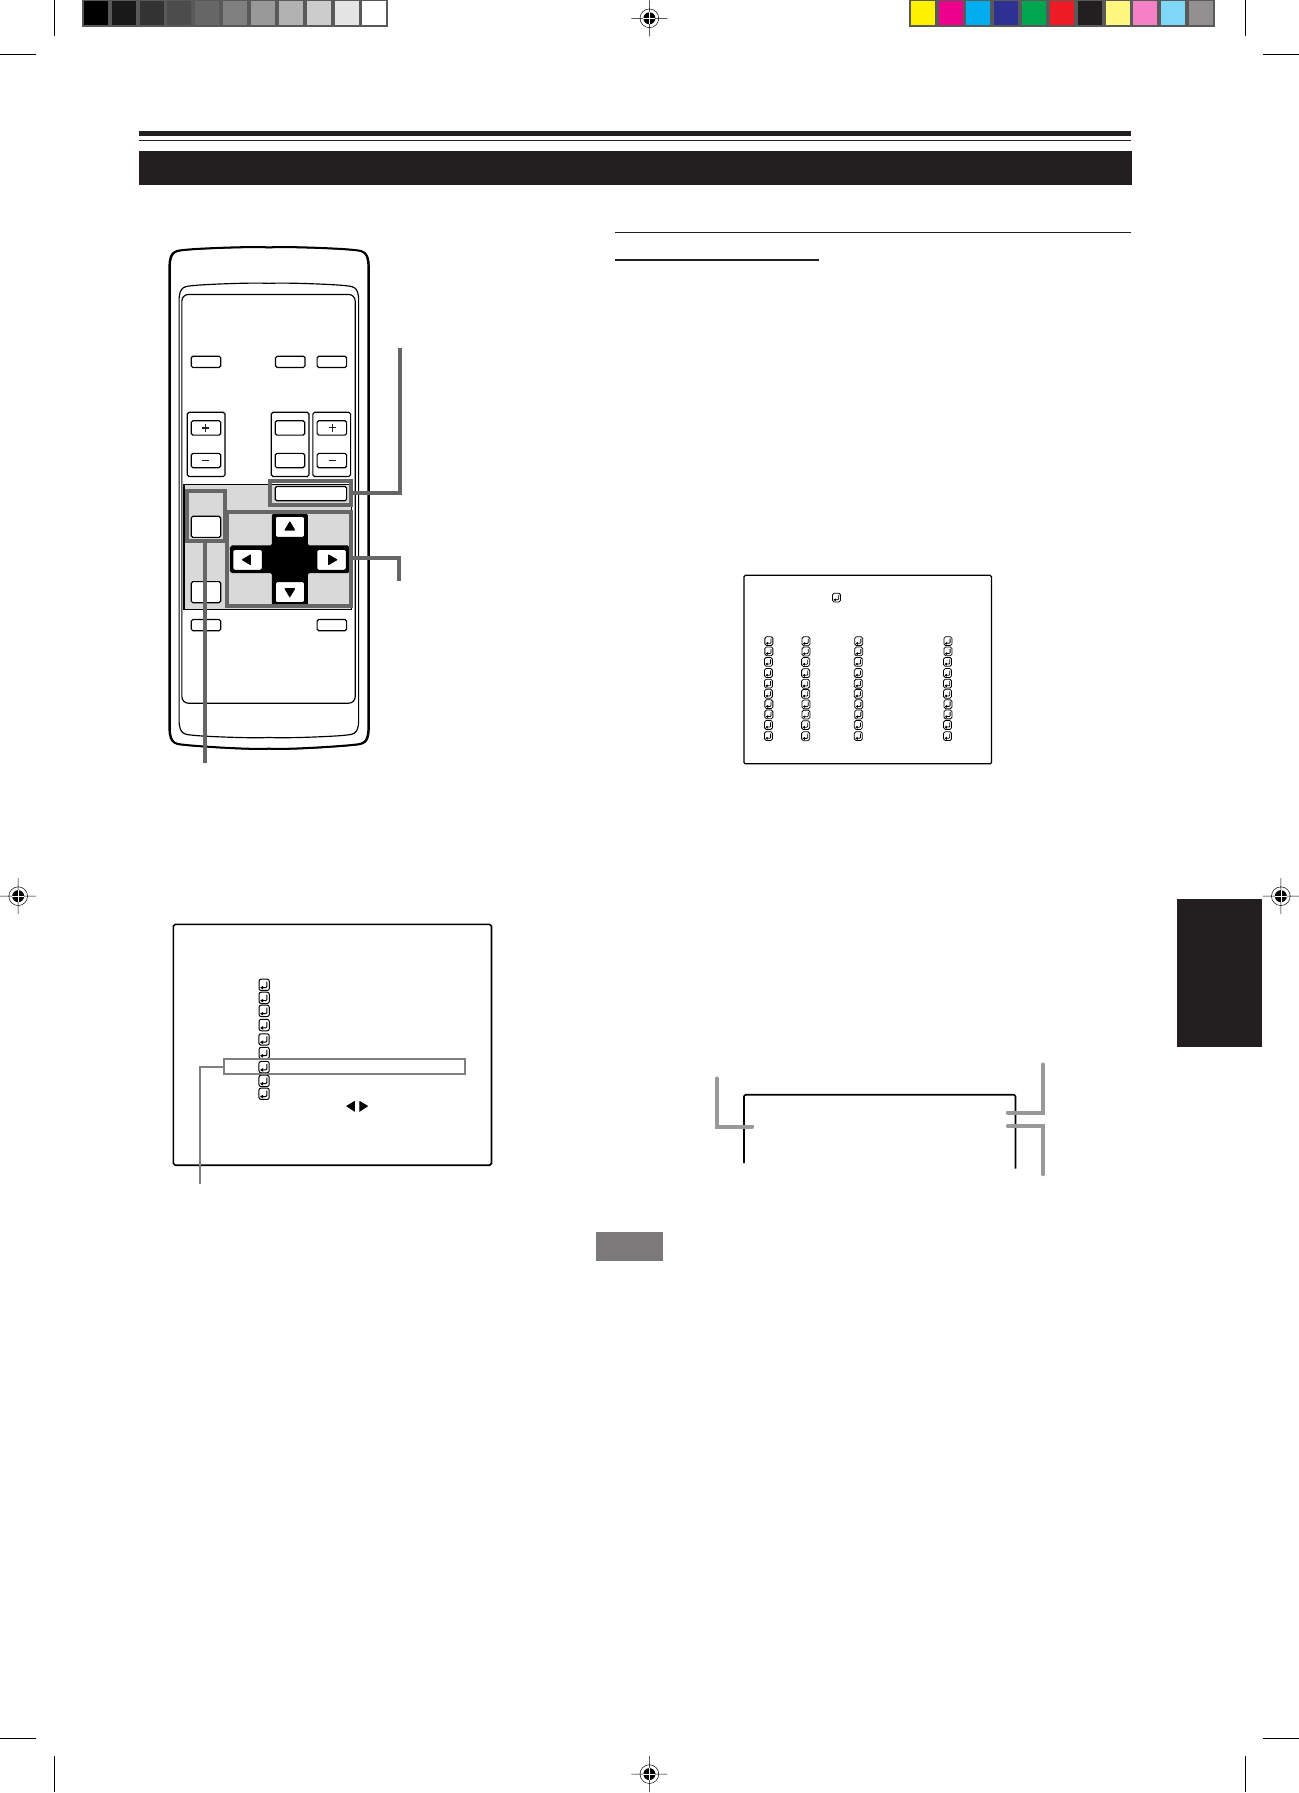
3
Press the MENU/ENTER button.
• A submenu, “CHANNEL Setup/Selection” menu, is displayed
on the screen.
1
2
3
4
5
6
7
8
9
(AUTO)
CHANNEL
NTSC(480i)
PAL/SECAM
777777777
777777777
777777777
777777777
777777777
777777777
777777777
777777777
10
77777
77777
77777
77777
77777
77777
77777
77777
Y/C
VIDEO
1
2
77
77
77
77
77
77
77
77
CH LINE
SOURCE
SWNo
(Channel Setup/Selection menu)
Submenu item [CHANNEL]
■Main menu
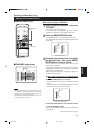
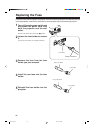
4
Press the cursor button 5 or ∞ to select
a channel (CH) you want to switch to.
• The selected CH is shown in magenta color.
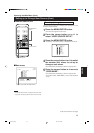
5
Press the MENU/ENTER button to set
(fix).
• The line input, source and switcher number that are registered
to the channel are selected.
Y/C
CH: 1
NTSC(480i)
Line
Source
Channel
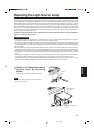
Memo
• To be able to select a channel, you must already have registered a line
input, source and switcher number to the channel.
• If the source being input is not registered (set up) to the channel selected,
a “?” mark is put prior to the source name.
¶ To return to the main menu, press the PAGE
BACK button. To finish the main menu, press
PAGE BACK again.
CH: 1
YPBPR NTSC(480i)
PIXEL CLOCK
POSITION
PICTURE
SOUND
OPTIONS
SOURCE
CHANNEL
USER SOURCE SETUP
DISPLAY SIZE
DECODER AUTO(NTSC(480i))
LANGUAGE ENGLISH
G2000 p.35-59 99.11.20, 3:29 AM55