


4
Parts Identification
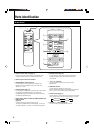
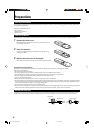
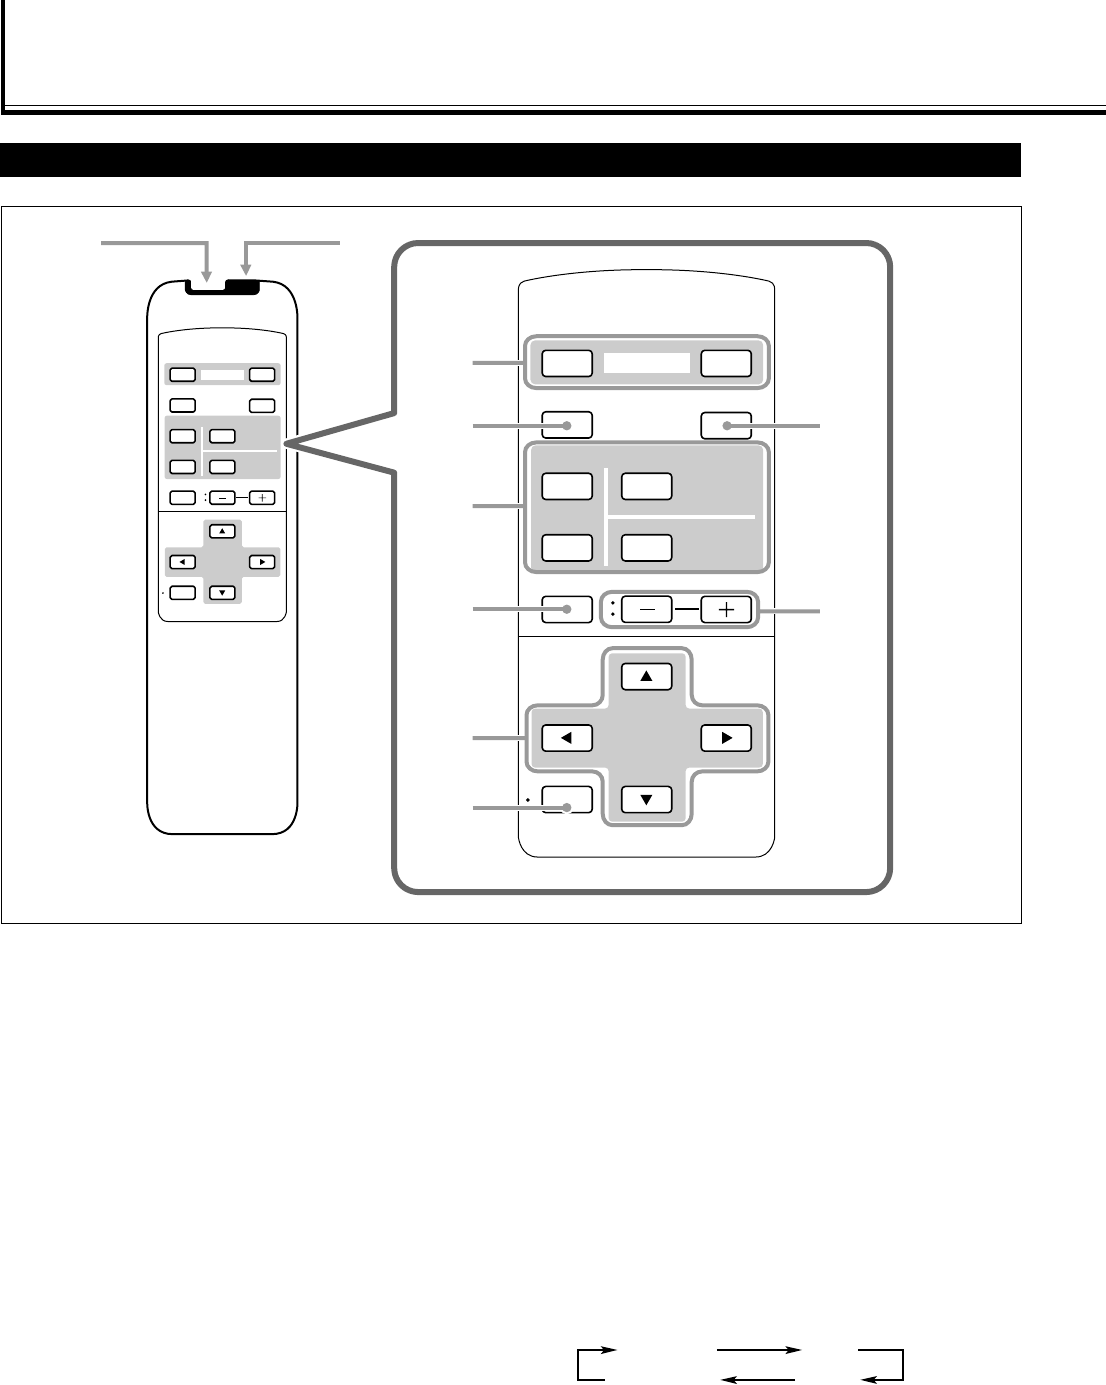
Remote Control
1 Remote control cable jack (page 11)
Connect the remote control cable (not supplied) when
using this remote control as a wired remote control.
2 Remote signal transmission window
3 POWER ON/OFF button (page 14)
Use this button to turn on and off (on standby) the
Monitor when the POWER switch on the rear of the
Monitor is “| (on).”
4 DISPLAY button (page 14)
Use this button to display the input terminal, color system
(for VIDEO A or VIDEO B input), scan system (for
COMPONENT input) and horizontal/vertical frequency
(for RGB A and RGB B input).
5 INPUT SELECT (VIDEO A, VIDEO B, COMPO./(RGB B) and
RGB A) buttons
(page 14)
Use these buttons to switch between inputs.
To select the COMPONENT or RGB B input, you have to
set “RGB/COMPO.” correctly on the menu (see page 22).
VIDEO
DISPLAY
OFF POWER
RM–C579 REMOTE CONTROL UNIT
ON
ASPECT
MUTING
MENU/EXIT
VOLUME
A
COMPO.
/(RGB B)
B RGB A
INPUT SELECT
VIDEO
DISPLAY
OFF POWER
RM–C579 REMOTE CONTROL UNIT
ON
ASPECT
MUTING
MENU/EXIT
VOLUME
A
COMPO.
/(RGB B)
B RGB A
INPUT SELECT
12
3
49
p
6
8
7
5
REGULAR FULL
ZOOMPANORAMIC
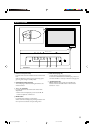
6 MUTING button (page 14)
Use this button to turn off the volume immediately.
Pressing the button again will resume the previous
volume level.
7 2 / 3 / 5 / ∞ buttons
Use these buttons to select menu items or make
adjustments.
8 MENU/EXIT button
Use this button to display or erase menus.
While a sub-menu is displayed, pressing this button will
move you one screen back to the preceding menu.
9 ASPECT button (page 15)
Use this button to switch between aspect ratios. Each time
you press the button, the aspect ratio changes as follows:
p VOLUME + / – buttons (page 14)
Use these buttons to adjust the volume level.
EN_04_13_GM_V42C.p65 04.1.14, 1:22 PM4