


ENGLISH
CONTENTS
SAFETY PRECAUTIONS ................................................................................. 2
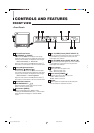
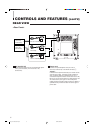
CONTROLS AND FEATURES ......................................................................... 4
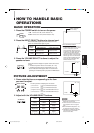
HOW TO HANDLE BASIC OPERATIONS ....................................................... 7
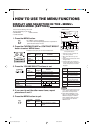
HOW TO USE THE MENU FUNCTIONS.......................................................... 8
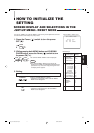
HOW TO INITIALIZE THE SETTING...............................................................11
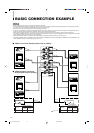
BASIC CONNECTION EXAMPLE.................................................................. 12
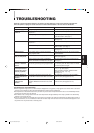
TROUBLESHOOTING .................................................................................... 13
SPECIFICATIONS .......................................................................................... 14
SCREEN BURN
● It is not recommended to keep a certain still image displayed on screen for a long time as well as displaying extremely bright
images on screen. This may cause a burning (sticking) phenomenon on the screen of cathode-ray tube. This problem does
not occur as far as displaying normal video playback motion images.
3
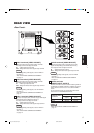
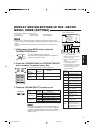
Fuse
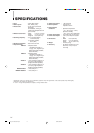
POWER CONNECTION
The power supply voltage rating of this product is AC 120 V (For U.S.A. and Canada only) and AC 230 V (For European countries
or United Kingdom), the power cord attached conforms to the following power supply voltage and countries. Use only the power
cord designated to ensure Safety and EMC regulations of each countries.
Power cord
Power supply voltage : AC 120 V AC 230 V AC 230 V
Countries : U.S.A. and Canada European countries United Kingdom
Warning:
● Do not use the same Power Cord for AC 120 V as for AC 230 V. Doing so may cause malfunction, electric shock
or fire.
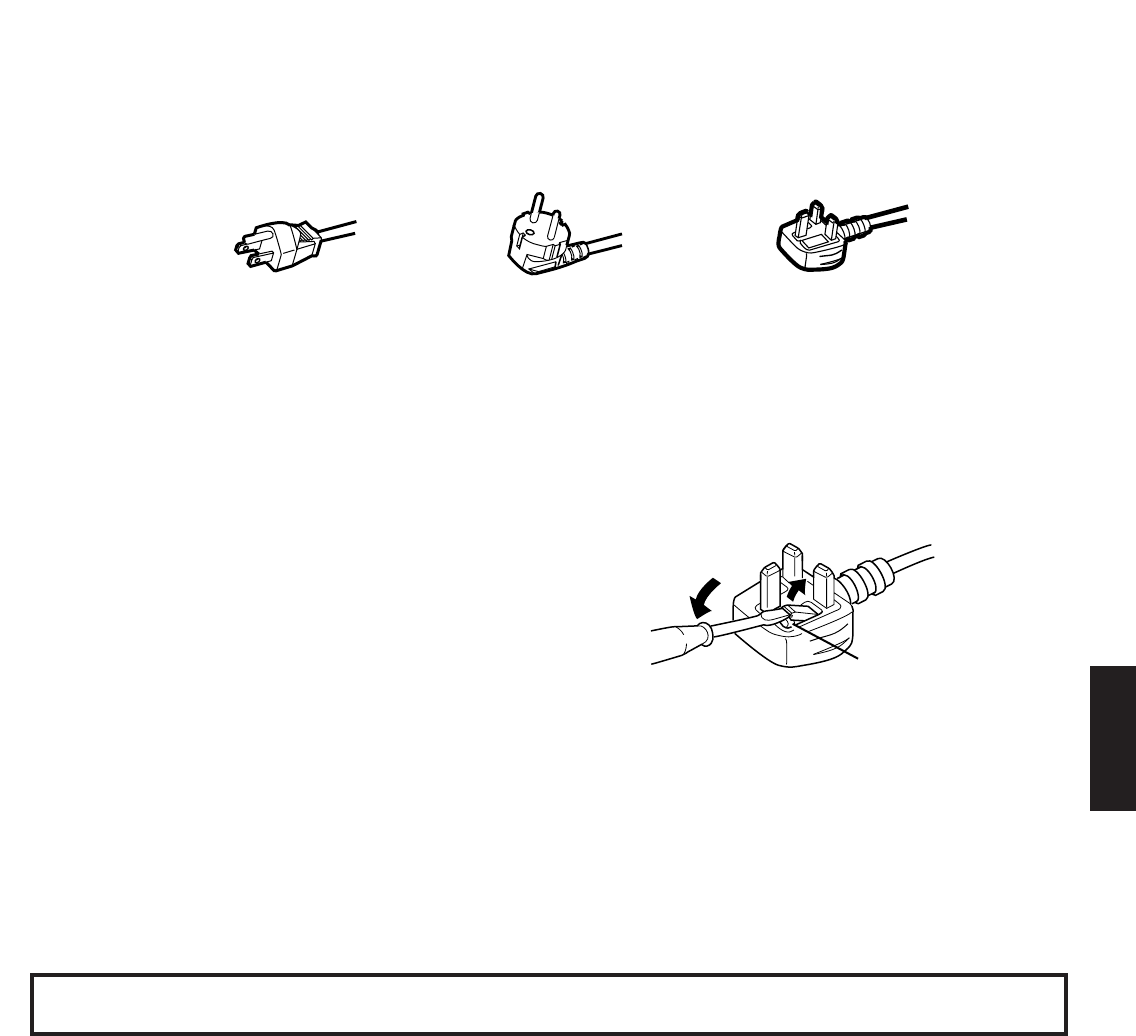
Note for the United Kingdom power cord only
The plug on the United Kingdom power cord has a built-in fuse. When replacing the fuse, be sure to use only a correctly rated
approved type, re-fit the fuse cover.
(Consult your dealer or qualified service personnel.)
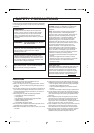
How to replace the fuse
Open the fuse compartment with the blade screw driver, and
replace the fuse.
(* An example is shown in the illustration.)
EN_LCT1024-001C-H.pm6 03.8.28, 6:54 PM3