


A-61527 May 2006 17
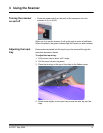
Turning the scanner on/
finalizing Kodak Driver
Software installation
When the USB and/or SCSI cable and power connections have been
made, and the Kodak Software Drivers have been properly installed,
the installation will be complete when the PC and the scanner have
been powered up in the proper sequence.
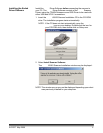
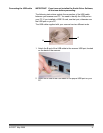
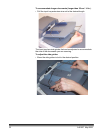
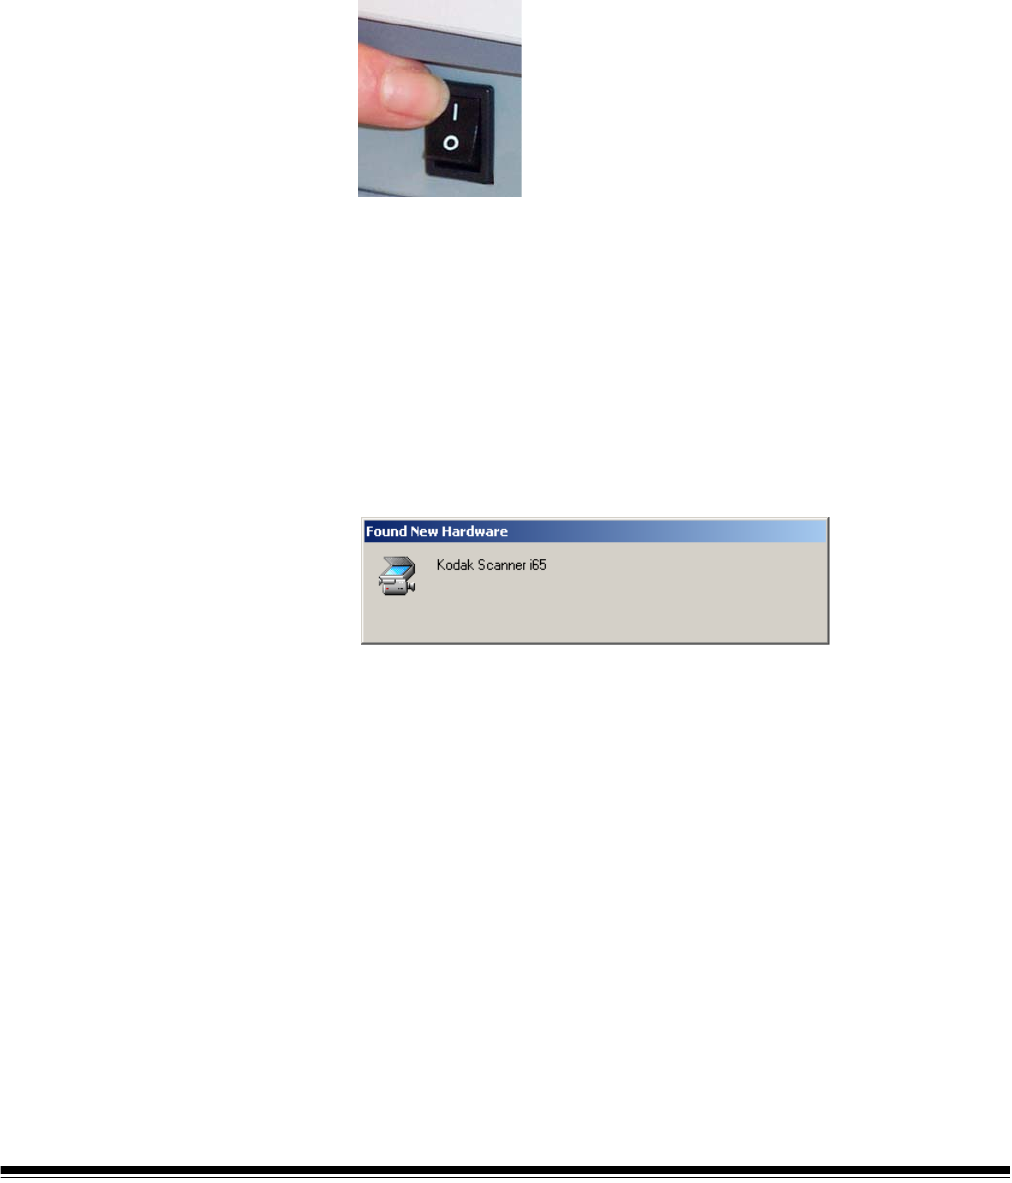
1. Turn off the host PC.
2. Use the power switch on the back of the scanner to turn the scanner
on (I).
When you turn on the scanner, the scanner goes through a series of
self-tests, the green LED indicator will flash. When it is finished and
ready to scan, the indicator will stop flashing and stay lit. If the
scanner does not pass the self-test, refer to Chapter 6,
Troubleshooting.
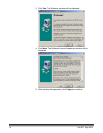
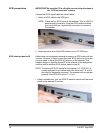
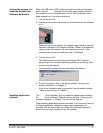
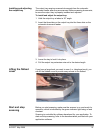
3. Turn on the host PC.
The following screens are based on Windows 2000. However,
depending on the computer operating system you are using, these
screens may be different.
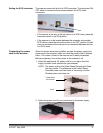
Your operating software will now auto detect the scanner.
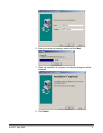
4. To test the scanner, refer to the section entitled “Verifying your
scanner installation” in Chapter 3.
If the driver installation was unsuccessful, see the section entitled,
“Scanner not working” in Chapter 6, Troubleshooting.
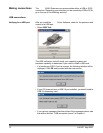
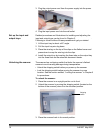
Installing application
software
The Kodak Scan Validation Tool is installed by default when installing
the Kodak Driver Software. Refer the section entitled, “Verifying your
scanner installation” in Chapter 3 for instructions and use.
Other scanning applications are also provided. If you choose to use one
of these applications, or another image capture application not
provided, see the User Guide’s provided with these applications for
instructions on how to install and use the software.