


4
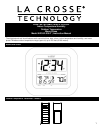
SET Hold to enter into the set mode for the following functions: time zone, DST ON/OFF (daylight saving time),
hour, minute, year, month, date, weekday, 12/24h time format display, ºF/ ºC temperature unit.
+ Hold to change any values in manual set mode
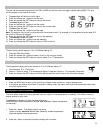
Press and release to toggle between the seconds, indoor, and outdoor display
ALM Hold to enter into the alarm set mode
Press and release to activate/deactivate the alarm
SNZ Press and release to activate the snooze function during alarm
Press and release to exit manual setting modes
Program Menu
Note: If the atomic wall clock has already successfully received the WWVB time signal and displays the correct time and
date, then the Manual settings can be skipped.
The SET button moves through the program menu. The + button changes a value. The following settings can now be
programmed:
• Time zone setting
• DST ON/OFF
• Manual time setting (Hour, Minute)
• Year setting
• Month setting
• Date setting
• Weekday setting
• 12/24h time format display
• ºF/ºC temperature setting
Time Zone
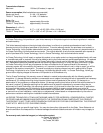
The time zone can be set between the +/–12-hour range. Hold the SET button for 5 seconds.
1. The time zone -5 EST will flash. Use the + button to select the desired time zone.
Time zone settings: -12, -11, -10, ALA, PST, MST, CST, EST, ATL, EST, -4, -3, -2, -
1, 0, +1, +2...+12. (Default: EST)
2. Press and release the SET button to enter the DST Setting.
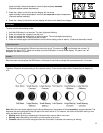
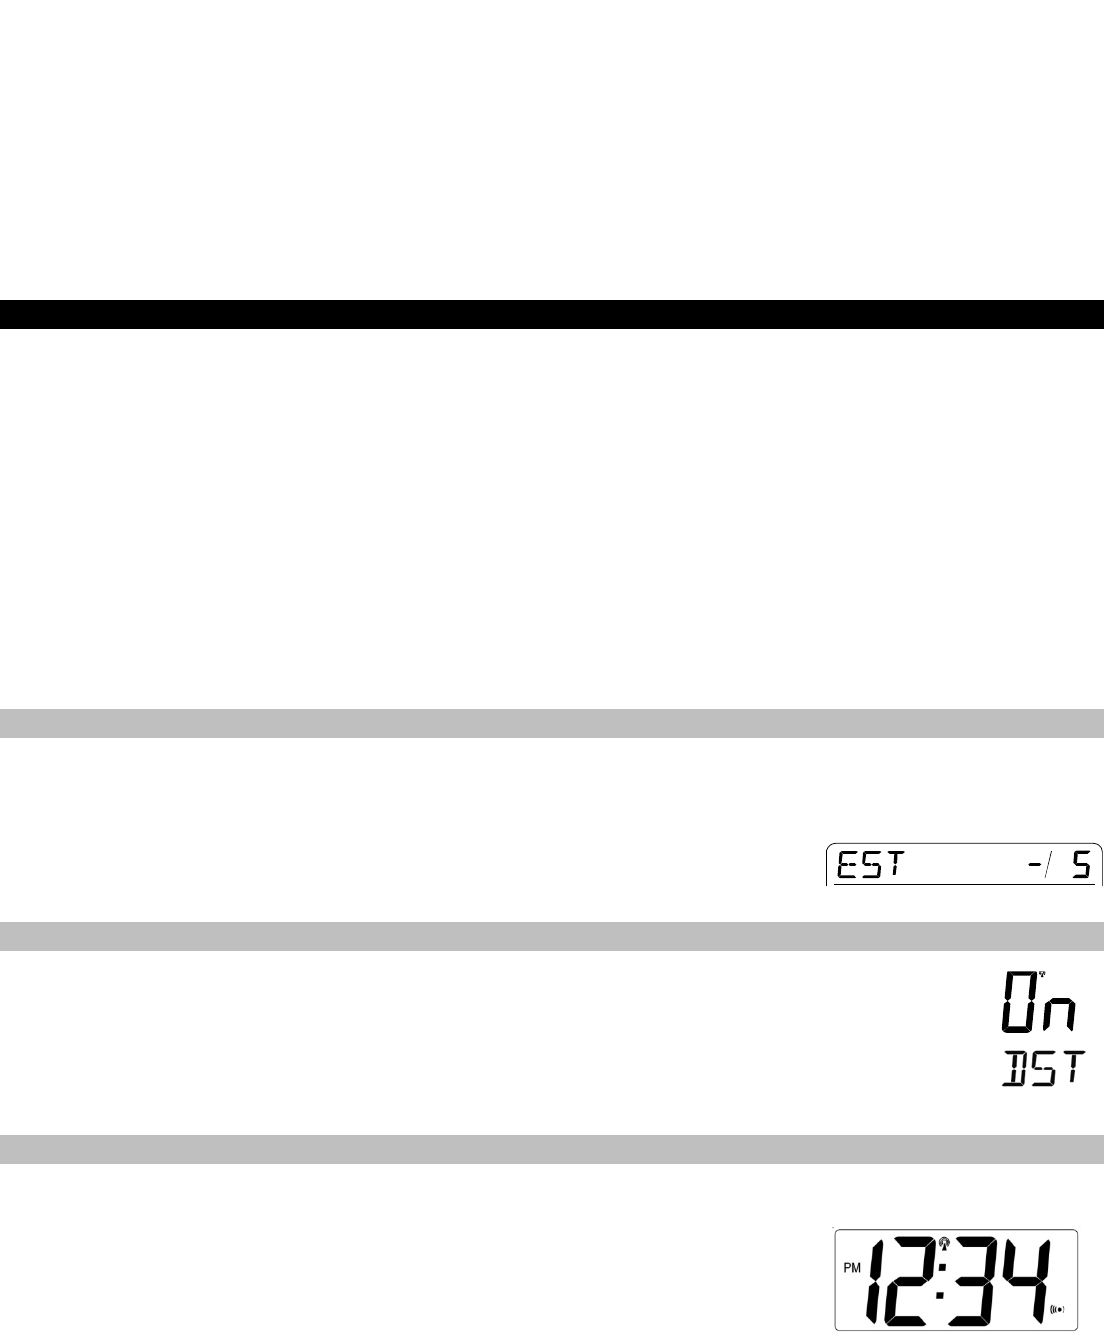
DST (daylight saving time)
1. The ON digit will flash on. Select DST ON or OFF by pressing the + button.
2. Press and release the SET button to manually set the time.
Note: The DST default is “ON”, meaning that the WWVB will automatically change the time according to
Daylight Saving Time in the spring and fall. For areas that do not recognize DST changes (Arizona and
Hawaii) turn the DST “OFF”.
Time Set
1. The hour digits will flash.
2. Press and release the + button to set the hour.
3. Press and release the SET button to move to the minutes.
4. The minute digits will flash.
5. Press and release the + button to set the minutes. If the + button is held, the units will
increase by 5.
6. Press and release the SET button to move to calendar set.