


Copying
56
2
Note
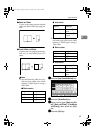
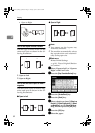
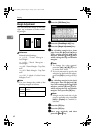
❒ You can move the scanned posi-
tion up to 30 mm (in 1mm steps)
upward, downward, to left and to
right.
1.
Top: 0 – 30 mm, 0" – 1.2"
2.
Right: 0 – 30 mm, 0" – 1.2"
3.
Bottom: 0 – 30 mm, 0" – 1.2"
4.
Left: 0 – 30 mm, 0" – 1.2"
A
AA
A
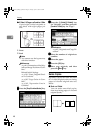
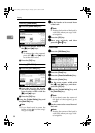
Press the [Edit/Stamp] key.
B
BB
B
Press the [Edit Image] key.
C
CC
C
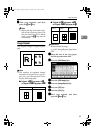
Press the [Scan Position] key.
D
DD
D
Set the scanned position for the
face of the original. Press the [↑
↑↑
↑]
or [↓
↓↓
↓] key to set the top or bottom
position. Press the [←
←←
←] or [→
→→
→] key
to set the left or right position.
Note
❒ If you have incorrectly set the
position, readjust with the [↑
↑↑
↑],
[↓
↓↓
↓], [←
←←
←] or [→
→→
→] key.
❒ If you don't need to set the
scanned position of the back of
the original, go to step F.
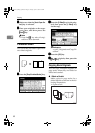
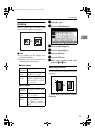
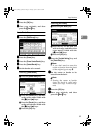
E
EE
E
Set the scanned position for the
back of the original. Press the [↑
↑↑
↑]
or [↓
↓↓
↓] key to set the top or bottom
position. Press the [←
←←
←] or [→
→→
→] key
to set the left or right position.
Then press the [OK] key.
Note
❒ The scanned position for the
back set here is valid when you
copy 2-sided originals.
F
FF
F
Press the [OK] key.
G
GG
G
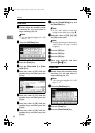
Press the [OK] key.
H
HH
H
Place your originals, and then
press the {
{{
{Start}
}}
} key.
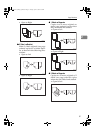
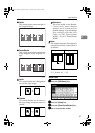
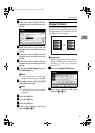
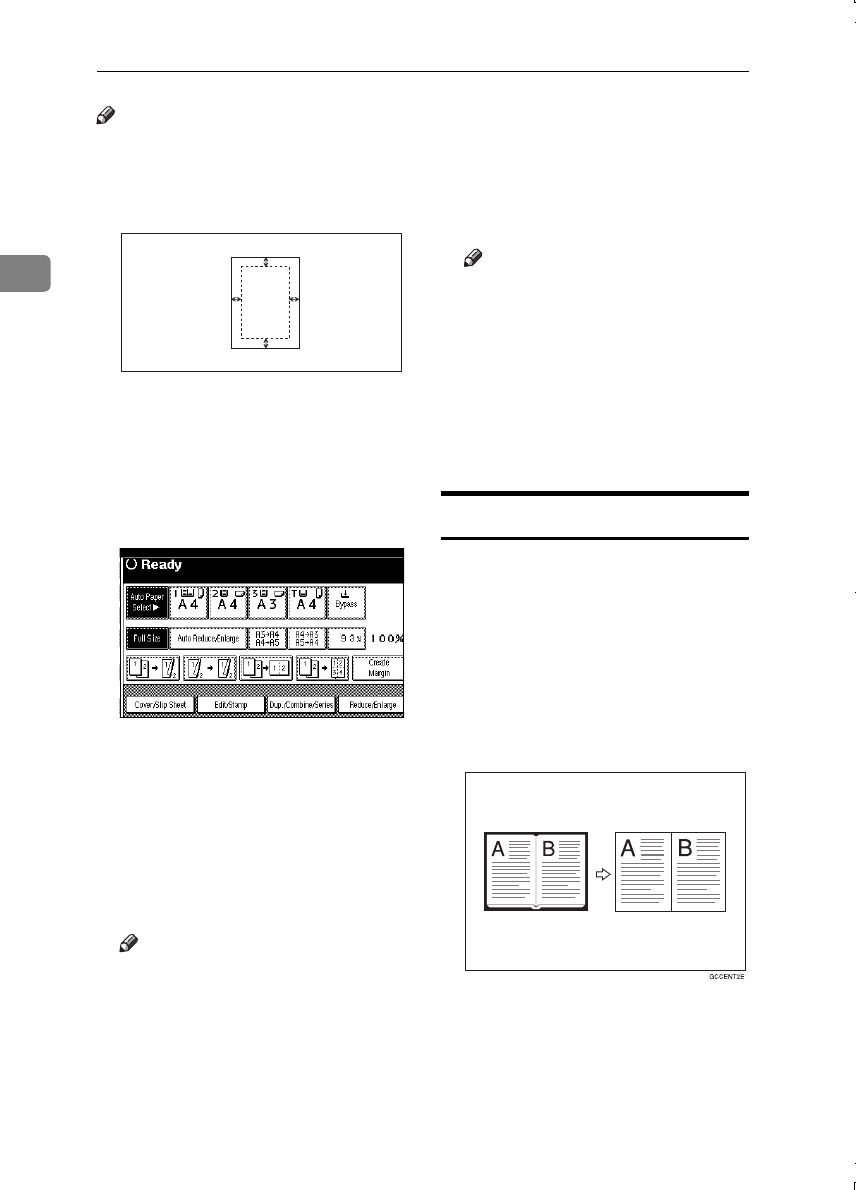
Erase
This function erases the center
and/or all four sides of the original
image. This function also erases the
inside or outside of a specified area.
This function has the following three
types:
❖
❖❖
❖ Border
This mode erases edge margin of
the original image.
1
2
3
4
MartiniC1_GBcopy4_FM.book Page 56 Tuesday, April 23, 2002 6:23 PM