2. If the server is installed in a rack cabinet, remove the server from the rack cabinet and place it on a at,
clean, and static-protective surface. See the Rack Installation Instructions that comes with the server.
3. Remove the server cover. See “Removing the server cover” on page 71.
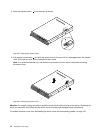
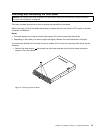
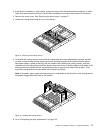
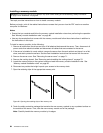
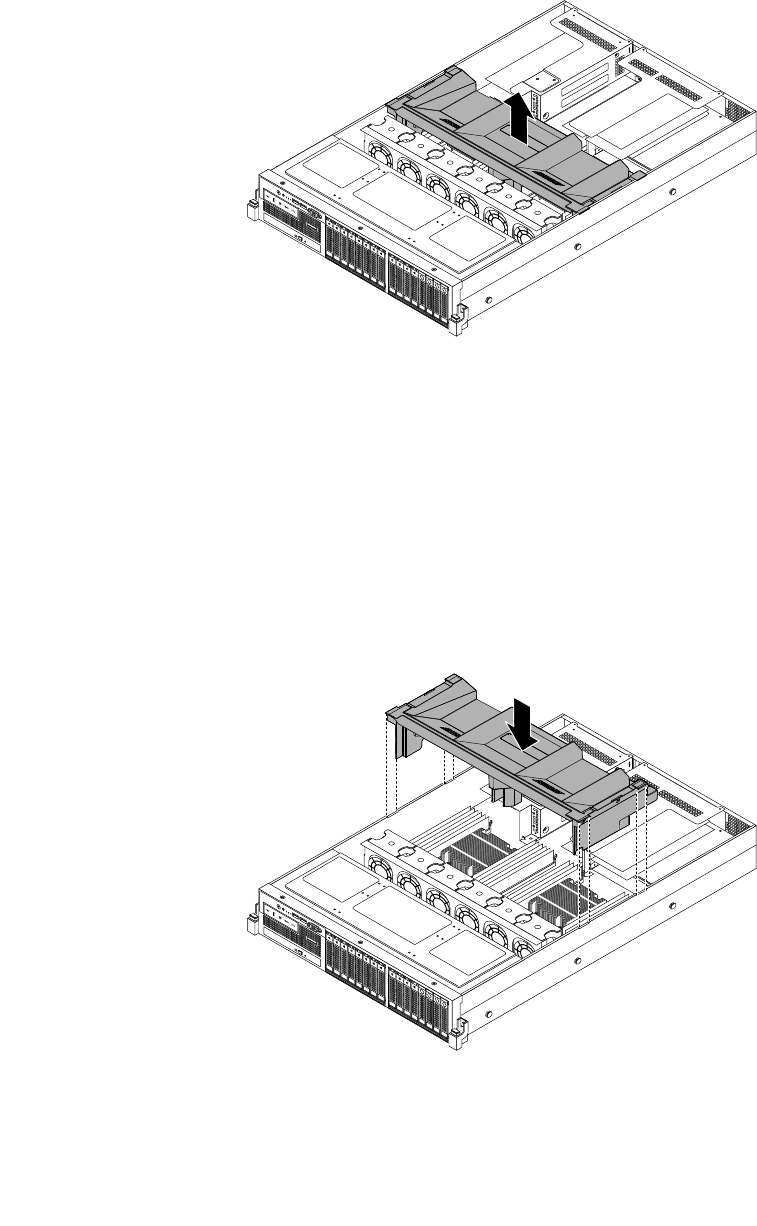
4. Locate the cooling shroud and lift it out of the server.
Figure 41. Removing the cooling shroud
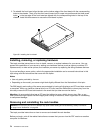
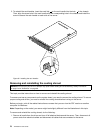
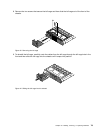
5. To reinstall the cooling shroud, ensure that all components have been reassembled correctly and that
no tools or loose screws are left inside your server; and also ensure that all cables inside the server
have been properly routed so that they will not interfere with installing the cooling shroud. Note the
orientation of the cooling shroud and then place it above the server so that the tabs on both sides of the
cooling shroud are aligned with the corresponding holes or gaps in both sides of the chassis. Then,
lower the cooling shroud into the chassis until it snaps into position.
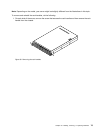
Note: If necessary, gently press the cooling shroud on both sides so that the tabs on the cooling shroud
completely engage with both sides of the chassis.
Figure 42. Installing the cooling shroud
6. Go to “Completing the parts replacement” on page 152.
Chapter 6. Installing, removing, or replacing hardware 77


