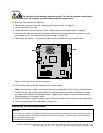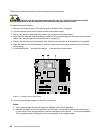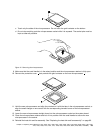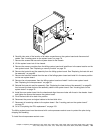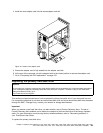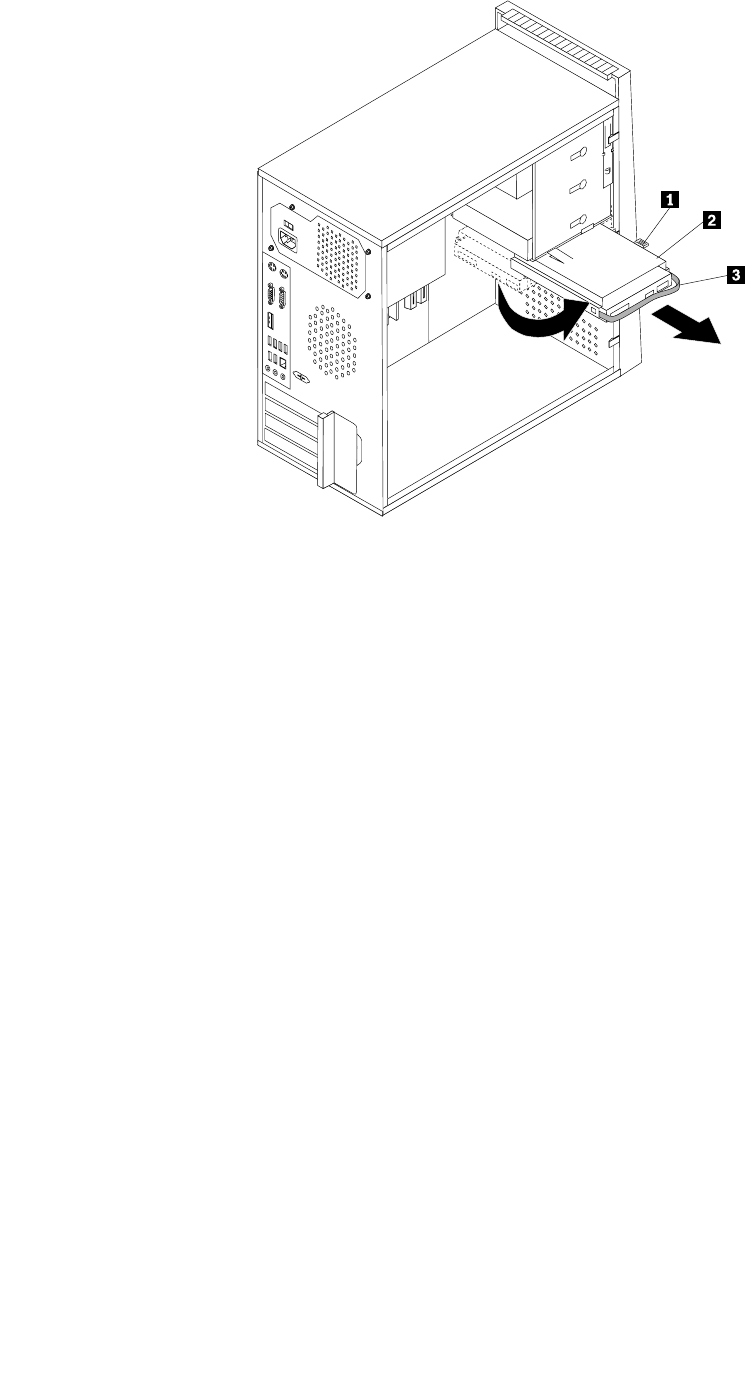
6. Carefully take note of the location of all cable connections on the system board and disconnect all
cables. See “Locating parts on the system board” on page 76
.
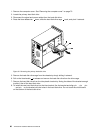
7. Remove the screws that secure the system board to the chassis.
8. Lift the system board out of the chassis.
9. Remove the memory modules from the failing system board and install them in the same location on the
new system board. See “Replacing a memory module” on page 78.
10. Remove the heat sink and fan assembly from the failing system board. See “Replacing the heat sink and
fan assembly” on page 80
.
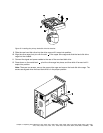
11. Remove the retention module from the rear of the failing system board and install it in the same position
on the new system board.
12. Remove the microprocessor from the failing system board and install it on the new system board.
See “Replacing the microprocessor” on page 81.
13. Reinstall the heat sink and fan assembly. See “Replacing the heat sink and fan assembly” on page 80.
And connect the heat sink and fan assembly cable to the system board. See “Locating parts on the
system board” on page 76.
14. Install the new system board into the chassis and align the screw holes with those in the chassis. Insert
and tighten the screws that secure the system board.
15. Pivot the hard disk drive back into position.
16. Reconnect the power and signal cables to the hard disk drive.
17. Reconnect all remaining cables to the system board. See “Locating parts on the system board”
on page 76.
18. Go to “Completing the FRU replacement” on page 103.
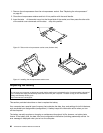
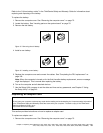
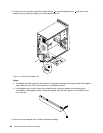
The failing system board must be returned with a microprocessor socket cover to protect the pins during
shipping and handling.
To install the microprocessor socket cover:
Chapter 8. Replacing FRUs (Machine Types: 3063, 3231, 3285, 4084, 4085, 4086, 4087, 6138, 6209, 6239, 6302, 7188, 7244,
7347, 7355, 7358, 7373, 7484, 7571, 7628, 7635, 7639, 8494, 8854, 9728, 9960, and 9965.) 85


