10
BASIC SALES ENTRY
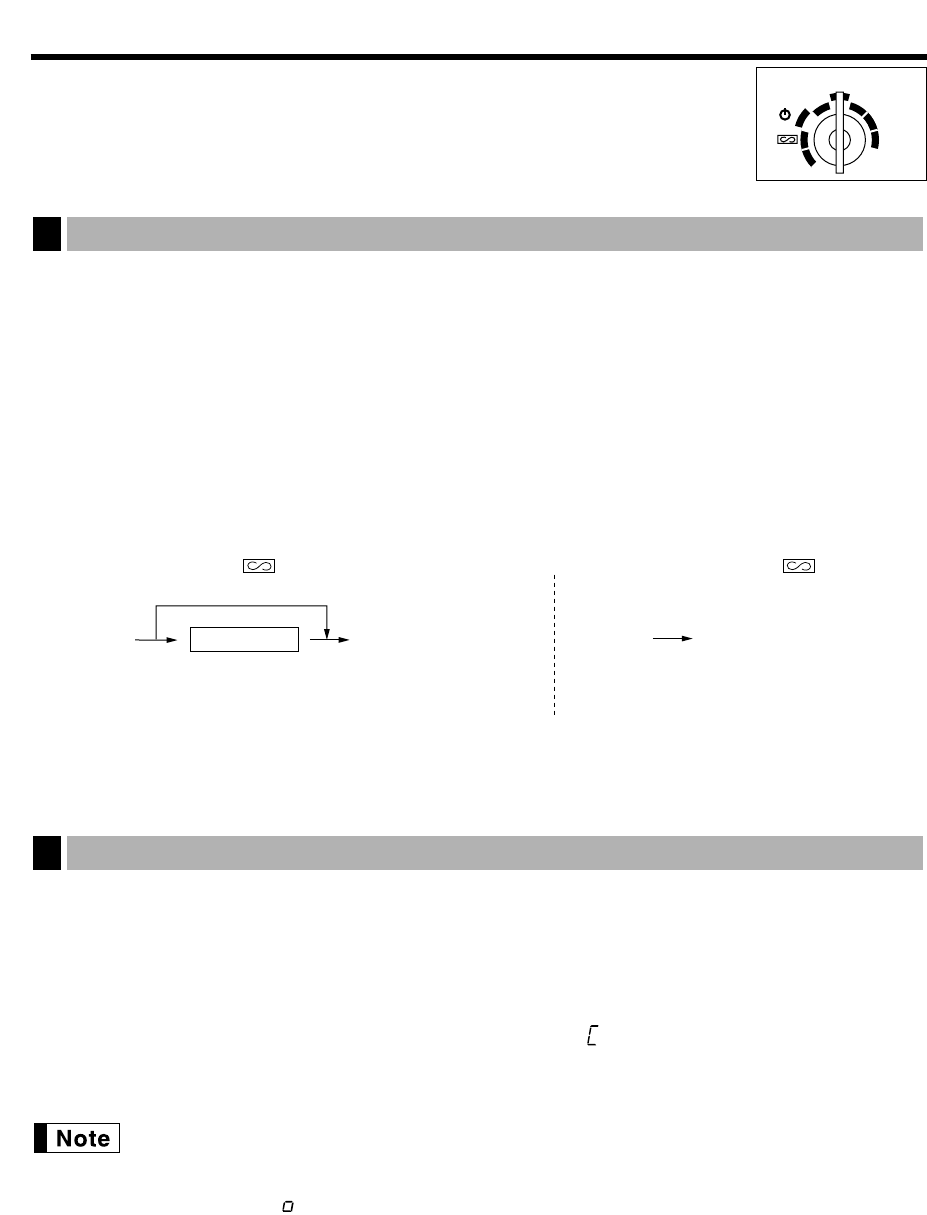
Before registrations, insert the operator or manager key into the mode switch and turn it to the “REG” position
and check the following items:
Receipt ON/OFF function
When you use the printer to issue receipts, you can disable receipt printing in the REG mode to save paper
using the receipt function. To disable receipt printing, press the
Ü
key in the OP X/Z position. This key toggles
the receipt printing status “ON” and “OFF”. When the status is “OFF”, the receipt off indicator “_” illuminates in
the display. Your register will print reports regardless of the receipt state, so the paper roll must be installed
even when the receipt state is “OFF”.
Cashier assignment
Prior to any item entries, cashiers must enter their cashier codes into the register. However, the code entry may
not be necessary when the same cashier handles the next transaction.
1. Enter the price for the first item with numeric keys.
2. Press the appropriate department key.
3. Repeat steps 1 and 2 for all the items.
4. Press the
Ñ
key to display the amount due. (You can omit this step.)
5. Enter the amount received from the customer with numeric keys. (You can omit this step if the amount
tendered is the same as the subtotal.)
6. Press the
É
key, and change due is displayed with the symbol “ ” and the drawer is opened.
7. Tear off the receipt and give it to the customer with his or her change displayed.
8. Close the drawer.
• When you finalize the transaction with the
É
key without tendering, the total sales amount is
displayed.
• If you enter the amount tendered which is smaller than the subtotal, the register shows a deficit
with the symbol “ ”. Make an additional tender entry.
Basic sales entry
2
‹
*Cashier code
To display the signed-on cashier code
*Cashier code: 1-6(ER-A160) 1-8(ER-A180)
Enter the code using numeric keys.
‹‹
■ Sign-on (in REG, MGR, , OP X/Z, X1/Z1, X2/Z2 mode) ■ Sign-off (in REG, MGR, mode)
Prior to entries
1
REG
OPX/Z MGR
PGM
X1/Z1
X2/Z2


