User Manual English
4
Installation
NOTE: You must install the driver before attaching the USB to DVI-I Adapter to your
computer!
1. Insert the driver CD into your CD-Rom drive and follow the on screen instructions
2. Once the installation has finished you must restart your computer to begin using the
adapter. If you are installing more than one USB DVI-I Adapter (maximum 6) you will need
to repeat the installation process by installing the driver and then connecting each adapter
individually; completing each installation before installing the next adapter. When you have
installed all the adapters please restart your computer
3. Turn on the power to your 2nd monitor and connect it to the USB to DVI Adapter (If you are
using a VGA monitor/projector please use the supplied DVI to VGA adapter)
4. Plug the USB to DVI Adapter into an available USB 2.0 port on your computer
5. Once the computer has rebooted the extended desktop will display on the 2nd display
To make sure the USB to DVI-I Adapter(s) has been installed successfully, use the following
steps:
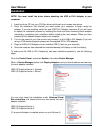
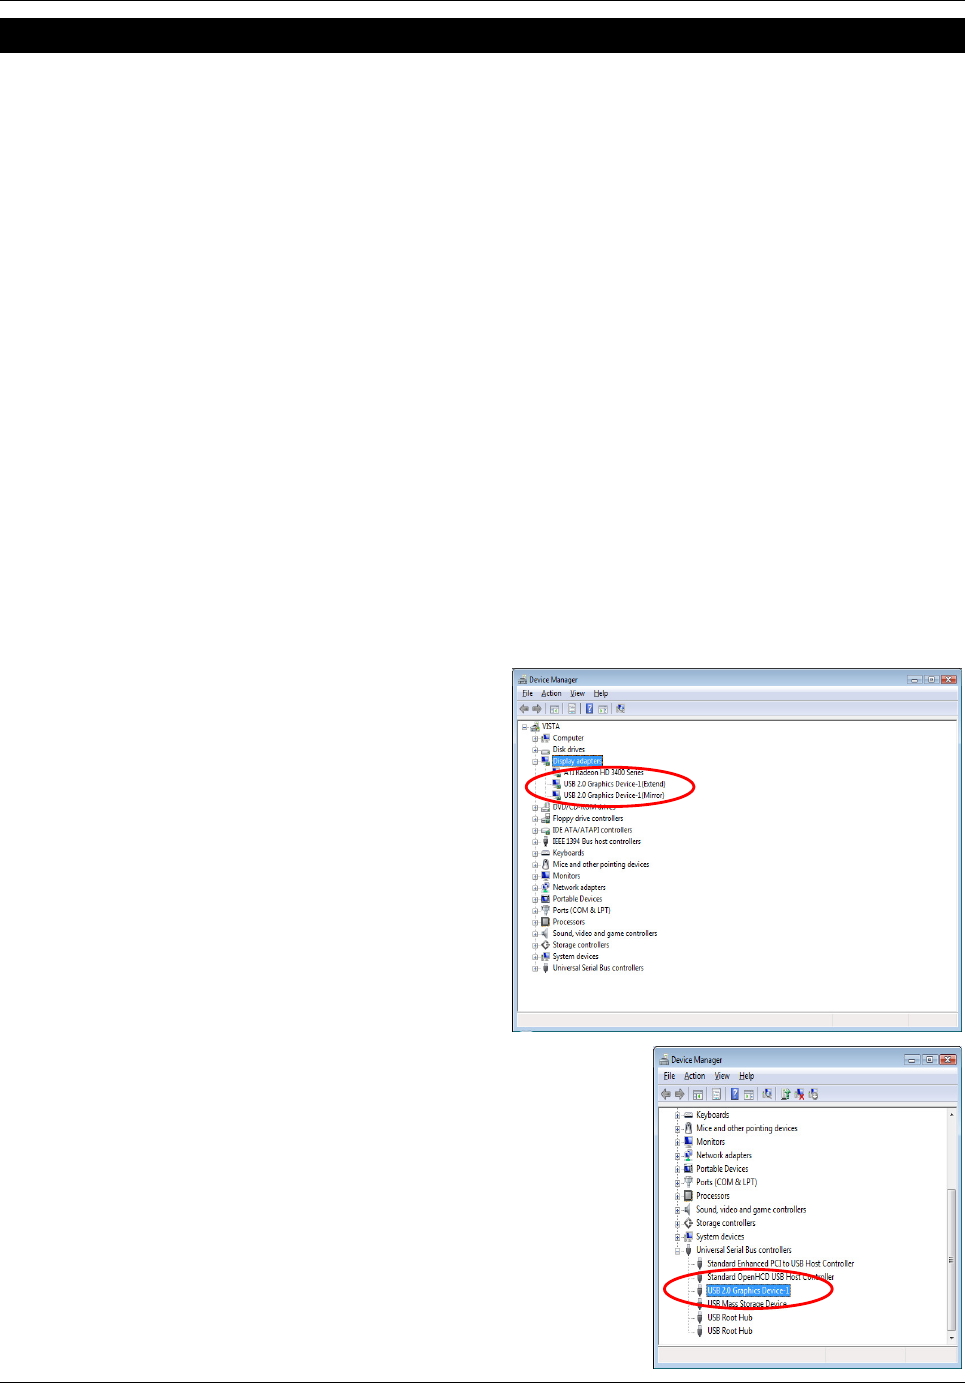
Go to the Control Panel, and select System, then select Device Manager.
When in Device Manager double click Display Adapters, and you should see two new devices
(for each adapter installed).
USB 2.0 Graphics Device-1 (Extend)
USB 2.0 Graphics Device-1 (Mirror)
You can also check the installation under Universal Serial
Bus controllers; this should show one new device (for each
adapter installed).
USB 2.0 Graphics Device-1
USB 2.0 Graphics Device-2*
(*If a second Adapter is installed and so on up to Device-6)


