


User Manual
3
Installing the Ethernet Card
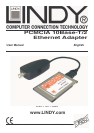
The LINDY PCMCIA 10Base-T/2 Ethernet Card installs into a spare Type II or III PCMCIA slot
in your computer. If you are having trouble locating this slot, refer to your computer’s user
manual or consult the manufacturer.
Gently slide the card into the PCMCIA slot. Make sure the card is firmly seated in the socket.
Now you are ready to setup and install your communication software, as detailed in the
following section.
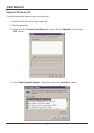
README.TXT File
On the driver disk is a file called README.TXT which contains an installation guide and
information about the disk contents.
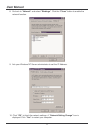
Diagnostics
A DOS based diagnostics program, named CARDTEST.EXE is located on the driver disk; it can
be used to check network connectivity after the hardware installation is complete. It provides the
following diagnostics functions:
I/O Port verification
IRQ verification
RAM testing
Ethernet node address verification
Internal loop-back testing
External loop-back testing
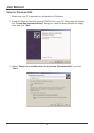
To run the CARDTEST.EXE file, the PCMCIA enabling program must be loaded first.
ENABLE.EXE is used to enable the PCMCIA interface.
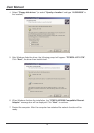
Setup for DOS/Windows 3.x
Before you use the Ethernet Card in a DOS or Windows 3.x environment, your computer must
have the proper Card and Socket Services drivers installed. The Card and Socket Services
driver software allows your computer to access the PCMCIA sockets. If these drivers are not
already installed on your system, or if you do not know whether they are installed, check your
system manual or consult the manufacturer of your computer. The most popular Socket and
Card Services are Systemsoft, CardWizard, Phoenix’s PCM and AMI Card Manager Pro 3.0.
If EMM386.EXE is installed in the CONFIG.SYS file, please exclude memory address D400-
D7FF from your system. The PCMCIA Ethernet card enabling program will use this space to
read Ethernet Node ID and CIS from the on-board flash memory.
[Example]
DEVICE=EMM386.EXE NOEMS X=D400-D7FF
or
DEVICE=EMM386.EXE NOEMS X=D000-DFFF