English Manual
LINDY ELECTRONICS LIMITED & LINDY-ELEKTRONIK GMBH - FIRST EDITION (APR 2001)
6
blue bars will indicate the quality of channel. Select a good channel for
the Ad-Hoc Network.
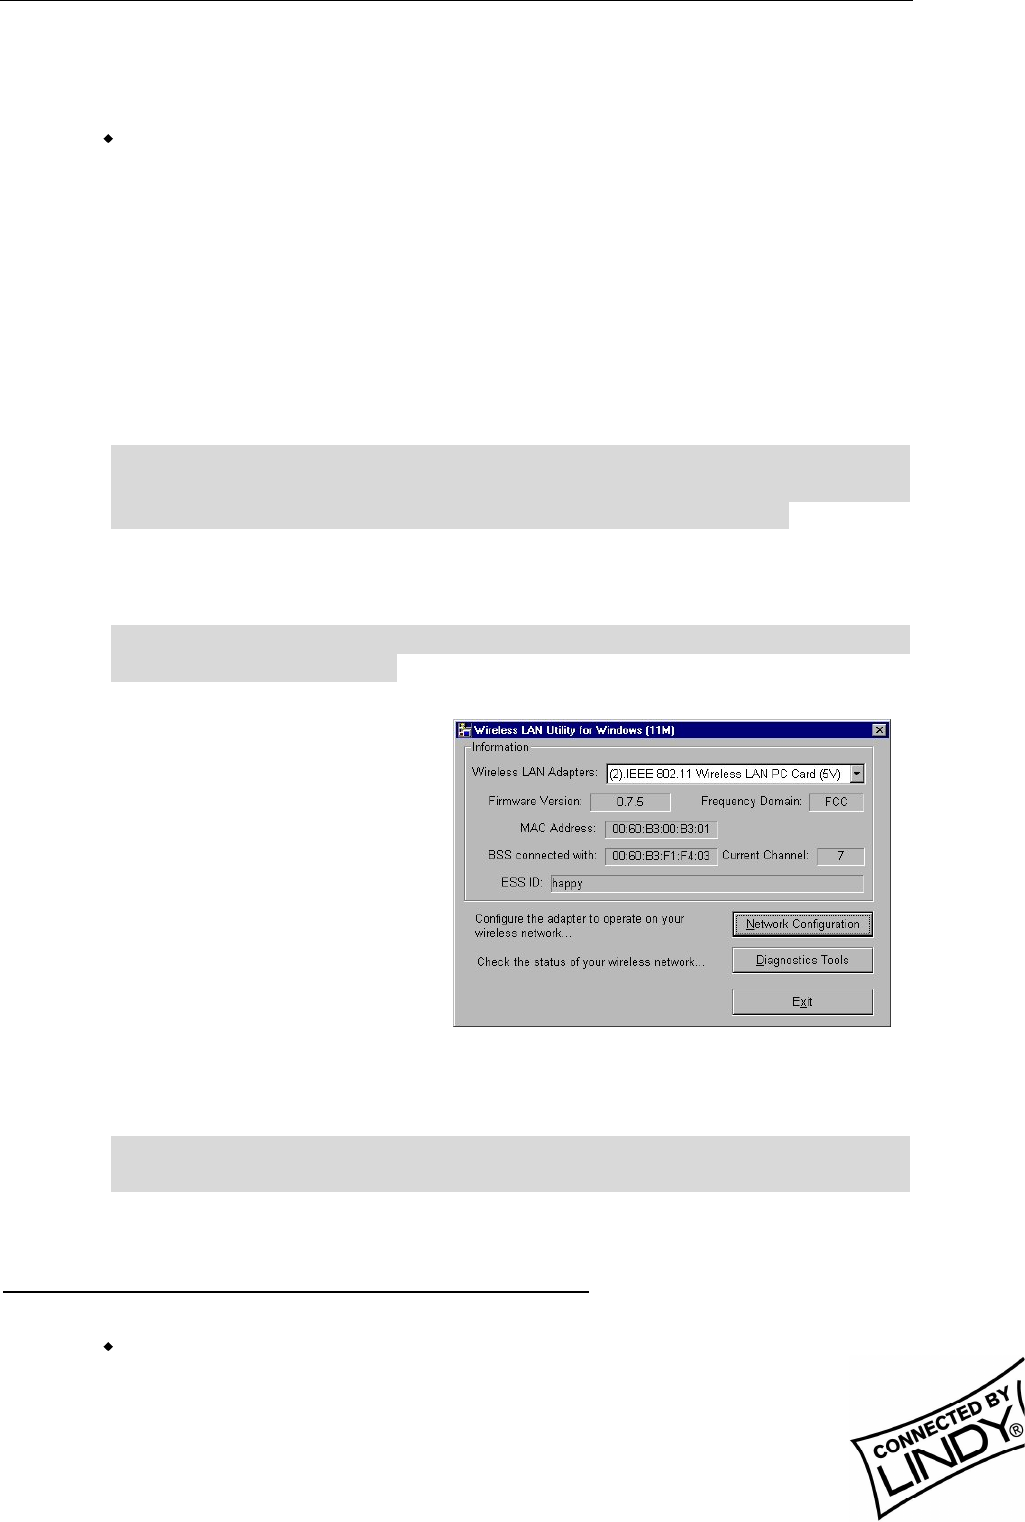
Back on the main utility interface, click on [Network Configuration] and
“Configure the Adapter” window will appear. Setup procedures are as
follows:
1. ESSID denotes the assigned name for the designated wireless LAN. If
ESSID differs, then wireless clients will not communicate with each
other. Please note that by selecting [Use Non-Specified ESSID:
ANY], the PC card may connect to other wireless LANs. Therefore,
ESSID setup is highly recommended.
2. Example: Specify ESSID as : Wireless001.
Note: Once the ESSID is set on the initial 11Mbps Wireless PC Card, and
the rest of the ESSID remains as default value ANY, then the initial
11Mbps Wireless PC Card with the ESSID must be started first.
3. Select [Ad-Hoc] under ‘Network Type’, select a good channel as noted
in step 1. Select the channel under [Ad-Hoc Default Channel].
Note: Under Ad-Hoc, it would require a single, uniform channel to enable a
wireless networking group.
4. Using WEP. The default is
‘Disable’. If you require
high security in
transmission, please
select the Enable item and
select [Key List]. WEP
works in conjunction with
all of your clients.
Therefore, you must enter
the same key you have
entered for your other
clients. For example, if
you enter “MyCar” in key 1 for you PC Card, enter “MyCar” in key 1 for
all other clients. Please refer to the Infrastructure section for WEP key
input on the following page.
Note: When you use WEP to communicate with the other wireless clients,
all the wireless devices in this network must have the same encryption key.
5. Upon completing steps 1~3, click on [Modify] to save the new values.
3.2 Using Utility to set up an Infrastructure Network
On the main Utility interface, click on [Diagnostic Tools] and then click
on [Access Point Browser]. This would disable wireless connection


